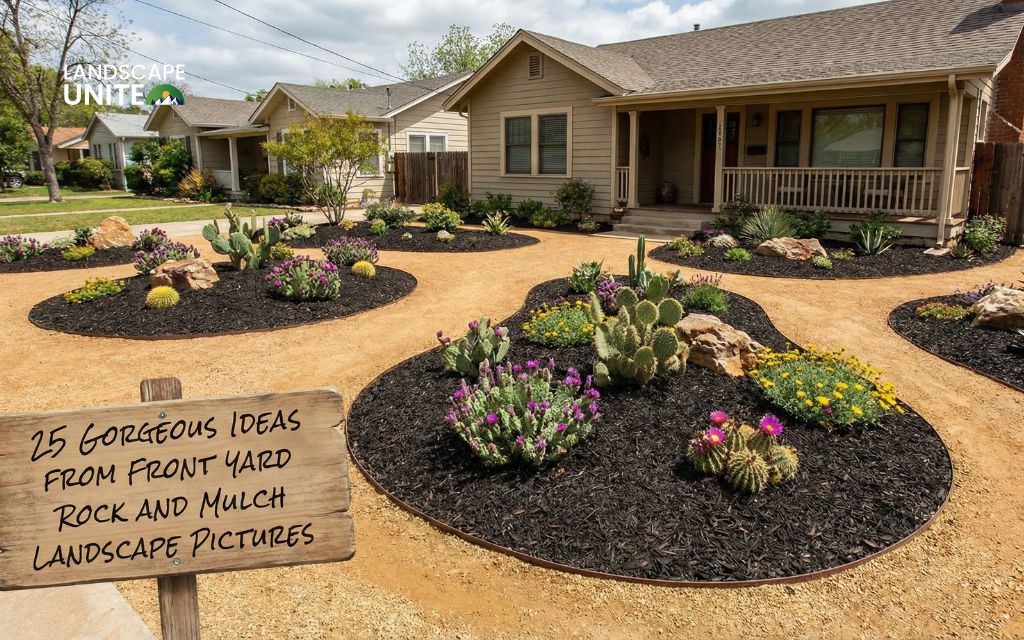
Transform your landscape into a water-efficient, low-maintenance xeriscape with this comprehensive drip irrigation installation guide. This sustainable approach on how to install drip irrigation for xeriscaping can help you reduce water usage by 50-75% while supporting healthy plant growth in drought-prone regions.
What is drip irrigation for xeriscaping?
Drip irrigation delivers water directly to plant root zones through a network of tubes and emitters, making it ideal for xeriscaping. This method operates at low pressure and provides precise water control that complements drought-tolerant plant selections.
Why drip irrigation works perfect for xeriscaping
Drip irrigation systems reduce water usage by 50-75% compared to traditional sprinkler systems while operating at the optimal 20-30 PSI pressure range.
This precise water delivery prevents overwatering drought-tolerant plants while ensuring water-loving accent plants receive adequate moisture. The system eliminates runoff and evaporation losses that plague overhead watering methods.
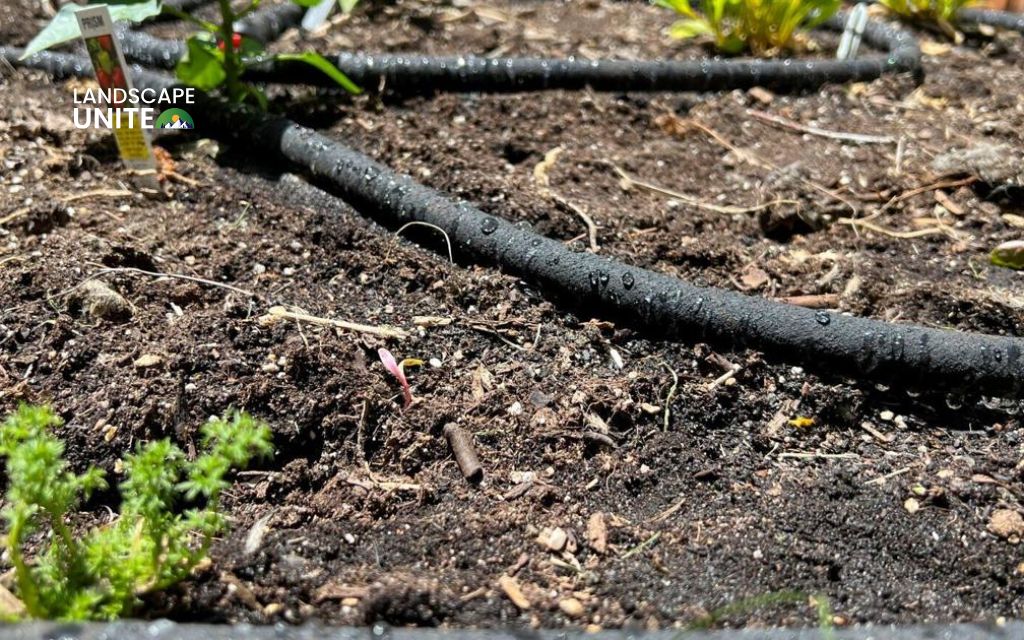
Essential system components
Your drip irrigation system consists of several key components working together:
- Pressure regulator: Maintains consistent 25 PSI for point source systems or 40 PSI for pressure-compensating systems
- Distribution tubing: Mainline (½-inch) tubing carries water from your source, while lateral (¼-inch) tubing delivers water to individual plants
- Filtration system: 200-mesh filters prevent debris from clogging emitters and ensure clean water flow
- Emitters and flow control: Various emitter types control water flow rates from 0.5 to 4 gallons per hour based on plant needs
- Connection hardware: Barbed fittings, tees, and elbows create secure connections throughout the system
- End caps and stakes: Seal tubing ends and secure lines in proper position
Planning your system
Successful installation begins with thorough planning:
- Soil Assessment: Sandy soils require closer emitter spacing due to rapid drainage, while clay soils allow wider spacing as water moves laterally
- Plant Zoning: Group plants with similar water needs into hydrozones for efficient irrigation scheduling
- Pressure Testing: Measure your water pressure using a gauge attached to your outdoor faucet – readings of 30-40 PSI are safe for direct connection, while pressures over 80 PSI require regulation
- Flow Calculation: Calculate your total system flow by adding individual emitter flow rates to ensure your water source can supply adequate volume
- Layout Design: Map your garden noting plant locations and spacing to determine optimal tubing routes and emitter placement
Essential tools and materials
Gather these items before starting installation:
Tools required
- Poly pipe cutters for clean tubing cuts
- Punch tools for precise emitter holes
- Measuring tape and layout equipment for proper spacing
- Safety equipment (gloves, safety glasses)
System materials
- Pressure regulators (25 PSI for individual emitters, 40 PSI for pressure-compensating systems)
- High-quality polyethylene tubing (½-inch mainline, ¼-inch lateral)
- Appropriate fittings (barbed connectors, tees, elbows)
- Emitters based on plant needs (0.5-4 GPH flow rates)
- 200-mesh filtration system
- Stakes and end caps for securing and sealing
- Programmable timer for automation
- 20% extra emitters and fittings for future additions
How to install drip irrigation for xeriscaping
Step 1: Connect to your water source
Choose your connection method based on available options. For simple installations, attach a programmable hose-end timer to your outdoor faucet, then connect your pressure regulator and filter. For existing irrigation systems, retrofit valves by removing sprinkler heads and installing pressure regulators directly to valve outputs.
Step 2: Install mainline distribution
Roll out ½-inch tubing along your planned route, working on warm days when tubing is more flexible. Secure tubing with stakes every 2-3 feet to prevent movement. Create distribution branches using tee fittings, keeping lateral runs under 30 feet to maintain adequate pressure.
Step 3: Position emitters
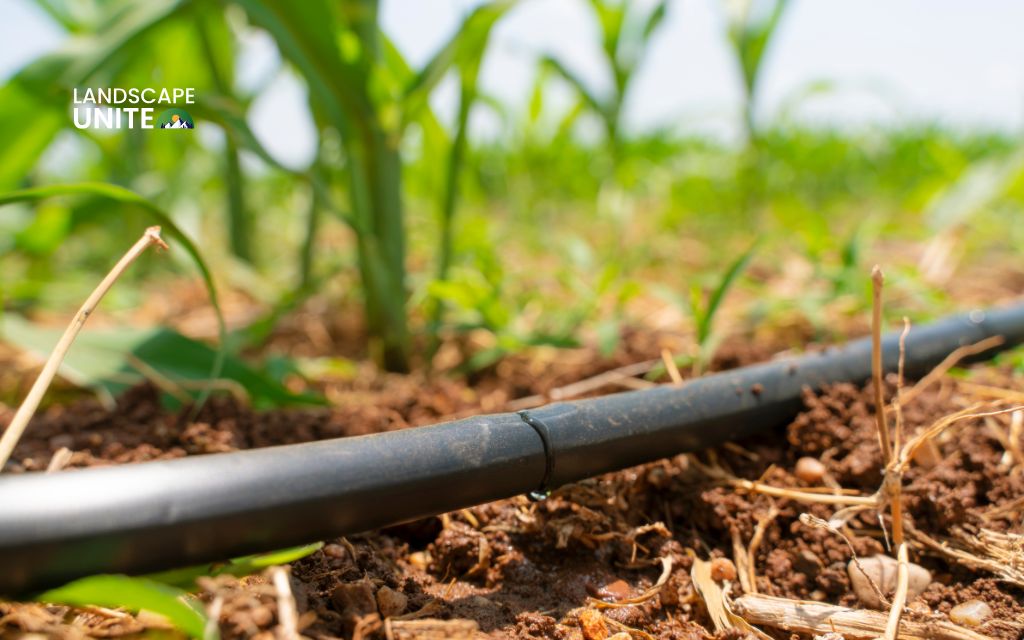
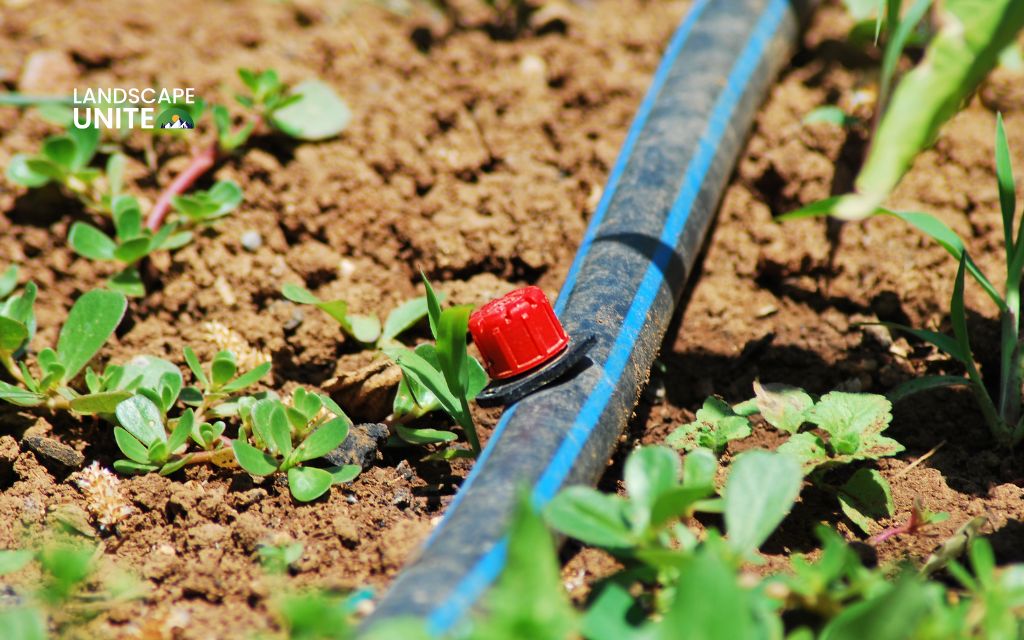
Place emitters at least 6 inches from plant bases to prevent fungal infections. For closely spaced plants, emitter tubing with built-in emitters at 6, 12, or 24-inch intervals provides even coverage. Space individual emitters based on soil type: 12-18 inches apart in sandy soils and 18-24 inches apart in clay soils for shrubs.
Step 4: Add system protection
Install filtration at your water source connection to prevent emitter clogging. Choose appropriate pressure regulation – 15 PSI maximum for drip tape systems or 25 PSI for standard emitters. Flush all tubing runs before installing end caps to remove manufacturing debris.
Step 5: Apply mulch and fine-tune
Apply 2-3 inches of organic mulch around plants while keeping emitters visible above the surface. Run your system for 30-60 minutes to verify even water distribution, adjusting emitter positions as needed for uniform coverage.
Step 6: Program and test
Set timers for early morning watering (4-8 AM) when evaporation rates are lowest. Start with 20-30 minute cycles every 2-3 days, adjusting based on plant response and weather conditions. Test multiple complete cycles while checking for leaks and verifying proper emitter operation.
Maintenance and optimization
Regular maintenance ensures long-term system performance:
Monthly tasks
- Clean filters during active growing season to prevent clogging
- Check emitters for proper operation and clear any blockages
- Inspect tubing for damage or leaks
- Verify timer programming accuracy
Seasonal adjustments
- Reduce watering frequency by 50-75% during fall and winter months
- Adjust schedules quarterly to match plant needs and weather patterns
- Shut down zones for drought-tolerant plants during dormant periods
- Increase watering duration during hot summer periods
System optimization
- Monitor plant response and soil moisture to fine-tune emitter placement
- Replace damaged emitters or tubing as needed
- Add new emitters for plant growth or landscape changes
- Document successful watering schedules for future reference
Professional recommendations
- Train deep root growth with consistent watering during first two summers
- Use drip irrigation for 90% of xeriscapes to create drought-resilient plants
- Invest in initial consistent watering to minimize future irrigation needs
Common mistakes to avoid
Avoid placing emitters too close together or too far apart, as this creates oversaturated or dry areas. Don’t install too many emitters on single lines, which reduces pressure and causes inconsistent flow.
Remember that drip irrigation creates small wet spots (about 3 inches diameter) rather than large puddles, so don’t expect to see standing water.
Conclusion
Installing drip irrigation for xeriscaping combines water conservation with plant health, reducing irrigation needs by up to 75% while supporting sustainable landscaping.
This systematic approach – from careful planning through ongoing maintenance – creates an efficient water management system that pays for itself through reduced utility costs and healthier plants.
The key to success lies in matching emitter selection and spacing to your specific soil conditions and plant needs. With proper installation and maintenance, your drip irrigation system will support a thriving xeriscape for years to come while contributing to environmental conservation efforts.
Ready to transform your landscape into a water-wise paradise?
Your journey to sustainable gardening doesn’t end here. Explore our landscape resources of outdoor living guides, landscaping tips, and seasonal maintenance strategies to master the art of xeriscaping.
Learn more about xeriscaping with these guides:
- 30 inspiring xeriscape ideas to completely transform your yard
- 15 easy xeriscaping ideas that will completely transform your yard
- Top 10 reasons xeriscaping is the smart choice for your landscape
- Zeroscape vs xeriscape: What are the differences?
Frequently asked questions (FAQs)
What is the cost of installing a drip irrigation system for xeriscaping?
DIY installation typically costs $200-800 for residential landscapes, with professional installation adding $300-1,000 in labor. Most homeowners recover costs within 2-3 years through water savings.
Can I install drip irrigation myself?
Yes, most homeowners can successfully install basic systems using this guide. Consider professional help for complex landscapes or integration with existing irrigation systems.
How long does installation take?
Expect 1-2 full days for typical residential installation, including planning and material procurement. Simple systems may be completed in 4-6 hours.
What emitter type works best for xeriscaping?
Pressure-compensating emitters in the 1-2 GPH range work best, maintaining consistent flow rates across elevation changes. Use 0.5 GPH emitters for succulents and very drought-tolerant plants.
How often should I adjust seasonal schedules?
Adjust watering schedules quarterly, reducing frequency by 50-75% during fall and winter months. Many drought-tolerant plants require no supplemental irrigation during dormant periods.
