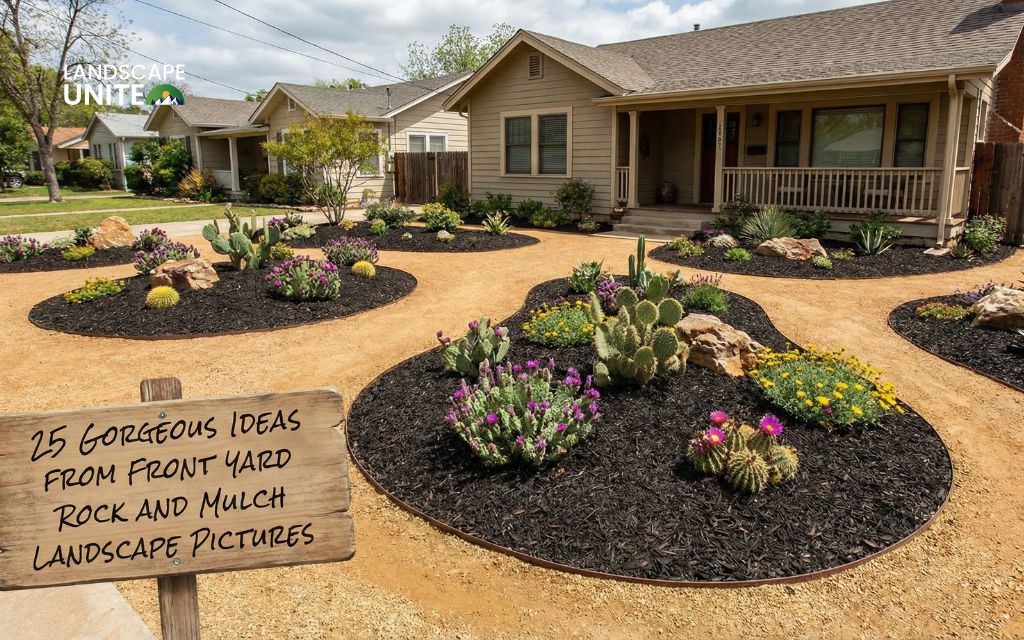
Your landscape rocks work hard. They handle weather, collect dust, trap leaves, and sometimes develop algae or stains. Over time, this buildup makes your yard look tired instead of polished. Learning how to clean landscape rocks properly transforms your outdoor space and extends the life of your materials.
Clean rocks boost curb appeal, support healthy plant growth, and maintain that fresh landscape look you invested in. Whether you’re dealing with outdoor structures such as river rock landscaping, white marble chips, or standard gravel, the right cleaning approach makes all the difference.
Understanding your rock type before cleaning
Different rocks need different care. Here’s what you’re working with:
- River rock: Smooth surfaces rinse easily but attract algae in moist conditions. These stones respond well to pressure washing and gentle scrubbing.
- Gravel and crushed stone: Compact surfaces trap debris between pieces. You’ll need patient rinsing and occasional deep cleaning to keep these looking sharp.
- White marble chips: Beautiful but stain-prone. These require gentle methods to avoid discoloration while maintaining their bright appearance.
- Lava rock: Porous texture grabs onto dirt and organic matter. Expect to use brushes and multiple rinse cycles for best results.
Knowing your rock type helps you choose the most effective cleaning method without wasting time or potentially damaging your landscape investment.

Essential tools for cleaning landscape rocks
Gather these supplies before starting your rock cleaning project:
- Garden hose with adjustable spray nozzle
- Leaf blower or sturdy rake
- Stiff-bristled brush or scrub brush
- Mild dish soap or white vinegar
- Low-pressure washer (optional)
- Protective gloves and safety glasses
- Wheelbarrow for deep cleaning projects
- Mesh screen or plastic tarp
Pro tip: Skip harsh chemicals like bleach. These products can harm nearby plants and contaminate soil. Stick with plant-safe options that clean effectively without environmental risks.

How to clean landscape rocks (step-by-step guide)
Step 1: Remove loose debris
Start by clearing surface debris using a leaf blower or garden rake. This removes leaves, twigs, and loose dirt without disturbing your rock arrangement. For smaller gravel, a soft broom or gloved hands work effectively. Focus on areas under trees where debris accumulates most heavily.
Step 2: Separate rocks from plants (if needed)
Protect nearby plants by covering them with tarps or plastic sheets, securing edges with stakes or rocks. For deep cleaning, remove sections of rock into a wheelbarrow, working in manageable 2 – 3 square foot areas. This allows easier washing and lets you inspect the landscape fabric underneath.
Step 3: Rinse rocks with a garden hose
Use a high-pressure nozzle attachment to spray rocks systematically. Hold the nozzle at a 45-degree angle and keep it moving to prevent soil erosion. Direct water flows toward drainage areas or lawn, away from your home’s foundation. Continue until water runs clear.
Step 4: Deep clean (for heavy dirt or algae)
Option 1: Mild soap or vinegar solution
Mix 1 part mild dish soap or white vinegar with 4 parts water. For removed rocks, soak them in this solution for 20 – 30 minutes, scrub stubborn spots with a stiff brush, then rinse thoroughly. For rocks in place, spray the solution on surfaces, wait 10 – 15 minutes, and rinse completely until water runs clear.
Option 2: Pressure washing
Use a pressure washer set to 1,500 – 2,000 PSI for large areas or heavily soiled stones. Hold the wand at least 12 inches from the surface and use sweeping motions. This method works exceptionally well for river rocks. Avoid high pressure near delicate plants or soft stone types.
Step 5: Let rocks dry completely
Spread cleaned rocks on a tarp or clean surface in direct sunlight. Allow 4 – 6 hours of drying time in sunny weather, or up to 24 hours in humid conditions. Complete drying prevents mold growth and makes rocks easier to spread evenly.
Step 6: Replace rocks and refresh beds
Inspect and replace damaged landscape fabric if necessary. Spread rocks evenly across the bed at 2 – 4 inches depth, depending on rock size: 3 inches for river rocks or large decorative stones, 2 inches for smaller gravel. Add a fresh layer if coverage appears thin to restore that professional landscaped appearance.

How to clean landscape rocks without killing plants
This concern is one of the most common questions homeowners have, and for good reason. Many conventional cleaning products can harm or kill your carefully tended plants.
Here’s how to keep your vegetation safe while cleaning your rocks effectively.
Avoid bleach or harsh chemicals
While bleach is a powerful disinfectant, it’s devastating to plants. Even small amounts can damage root systems, kill beneficial soil microbes, and alter soil chemistry for months.
Similarly, avoid ammonia-based cleaners, chlorine-based products, and heavy-duty degreasers, which can persist in soil and cause long-term damage.
Use vinegar, baking soda, or eco-friendly detergents instead
White vinegar (5% acetic acid) is tough on algae and mineral deposits but breaks down quickly in soil without harming plants when used in diluted form.
Baking soda creates a gentle abrasive paste perfect for scrubbing without chemicals. Look for plant-safe or biodegradable detergents labeled for outdoor use – many dish soaps fit this category, but always check the label.

Rinse thoroughly to prevent residue buildup
Even plant-safe cleaners should be rinsed completely from rocks and the surrounding area. Soap residue can interfere with water absorption and create a film on leaves that blocks sunlight. Continue rinsing until water runs clear and you can’t feel any slippery residue on the rocks.
Clean in sections to minimize runoff and protect nearby vegetation
Rather than flooding your entire landscape with a cleaning solution, work in small 3 – 4 square foot sections. This controlled approach allows you to manage runoff more effectively, preventing cleaning solutions from reaching plant roots.
Direct rinse water toward lawn areas or drainage zones rather than toward delicate plantings or vegetable gardens.
How to clean specific rock types
Different landscape rocks require tailored cleaning approaches based on their composition and texture. Here’s how to clean each type effectively.
How to clean river rock landscaping
River rocks are among the easiest to clean thanks to their smooth, water-polished surfaces.
- Rinse thoroughly with a high-pressure garden hose nozzle, working across the entire area. The smooth surface allows dirt to wash away easily.
- For algae stains common in shaded areas, mix equal parts white vinegar and water.
- Spray the solution on affected stones, let sit for 15-20 minutes, then scrub with a stiff brush and rinse completely.
- After cleaning, redistribute rocks evenly to maintain proper drainage flow, positioning larger stones at the bottom of slopes.
How to clean white landscape rocks
White landscape rocks show dirt readily but respond well to proper cleaning.
- For routine maintenance, make a paste using 3 parts baking soda to 1 part water. Apply to stained areas, scrub in circular motions with a brush, and rinse thoroughly.
- For tougher stains or algae, use hydrogen peroxide (3% solution). Spray directly on problem spots, allow it to bubble for 10 – 15 minutes, then rinse clean.
- After rinsing completely, let rocks dry in direct sunlight, which naturally brightens white stones and prevents algae regrowth.
Avoid bleach because it causes permanent yellowing or gray discoloration on white stones and harms surrounding plants.

How to clean gravel or small stones
Small gravel and pea stone are best cleaned using a sifting method.
- Use a hardware cloth sifter with ½-inch or ¼-inch mesh.
- Scoop gravel into the sifter and shake over a wheelbarrow or tarp to separate clean stones from debris.
- For deeper cleaning, wash gravel in batches using a large bucket. Fill one-third with gravel, cover with water, and agitate vigorously.
- Pour off dirty water through the mesh screen, catching the gravel. Repeat 2-3 times until water runs clear.
- Spread clean gravel on a tarp to air dry completely before returning to landscape beds.
How to clean large decorative rocks (e.g., flagstone, boulders)
Large decorative stones require targeted attention.
- Scrub with a stiff brush and mild detergent mixed with water, working in circular motions to lift dirt from textured surfaces.
- For flagstone with deep grooves, use an old toothbrush to reach tight spots.
- Rinse thoroughly with a garden hose, ensuring all soap residue is removed. A pressure washer at 1,200 PSI works well for flagstone walkways, but test on an inconspicuous area first.
- After cleaning and drying, apply a stone sealer to enhance natural color and protect against future staining.
Important: Avoid acidic cleaners like vinegar on limestone, marble, or calcareous stones – the acid will permanently etch and damage the surface. Use only pH-neutral cleaners specifically designed for natural stone on these materials.

Maintaining rock landscaping for long-term success
Regular maintenance keeps your landscape rocks looking great and reduces the need for intensive cleaning sessions.
Monthly tasks:
- Blow or rake away leaves and debris
- Check for weed growth and remove immediately
- Inspect for thin spots that need additional rock
Seasonal maintenance:
- Apply pre-emergent weed control twice yearly
- Deep clean rocks as needed based on local conditions
- Top off areas where rocks have settled or scattered
Annual assessment:
- Evaluate overall rock coverage and condition
- Consider adding fresh rock to refresh appearance
- Check that landscape fabric remains properly covered
This approach to how to maintain rock landscaping prevents problems before they develop and keeps your investment looking professional year-round.
Conclusion
Clean landscape rocks create the foundation for a beautiful, low-maintenance outdoor space. The methods outlined in this guide help you achieve professional-looking results while protecting your plants and respecting your budget.
Whether you’re working with river rock, white marble chips, or standard gravel, consistent maintenance and proper cleaning techniques keep your landscape looking its best year-round.
Ready to tackle your rock cleaning project? Start with the basic tools and techniques covered here, and remember that regular attention prevents the need for intensive restoration work.
Check out our library for more expert landscaping tips and discover new posts that help you create and maintain the outdoor space you’ve always wanted. Your landscape deserves the best care, and we’re here to help you achieve it.
Other rock landscaping blogs you might like:
- 4 simple steps to remove landscape rock (homeowner’s complete guide)
- Landscaping rock costs exposed: How much you’ll really pay?
- Install landscape rock like a pro with this foolproof DIY guide
Frequently asked questions (FAQs)
How often should I clean my landscape rocks?
Clean landscape rocks at least once yearly, with more frequent attention for high-traffic areas or locations with heavy dust and debris accumulation.
Can I use a pressure washer on all rock types?
Most rock types handle pressure washing well, but use lower pressure on softer stones like sandstone. Always test in an inconspicuous area first.
Will cleaning damage my landscape fabric?
Proper cleaning techniques won’t damage quality landscape fabric. Avoid excessive pressure directly over fabric seams and maintain adequate rock coverage.
What’s the best time of year for rock cleaning?
Spring and fall offer ideal conditions for how to clean landscaping rocks. Avoid extreme heat that stresses plants and freezing temperatures that affect cleaning solution effectiveness.
How do I prevent rocks from getting dirty quickly?
Regular debris removal, proper drainage, and adequate rock depth help maintain cleaner rocks longer. Pre-emergent weed control also reduces organic buildup.