Artificial grass offers the perfect solution for homeowners seeking a lush, green lawn. But with installation quotes often reaching thousands of dollars, many budget-conscious homeowners wonder: what’s the cheapest way to lay artificial grass?
The good news is that you can significantly reduce installation costs through strategic planning, smart material choices, and DIY techniques.
Whether you’re dealing with a small backyard patch or a larger landscape project, there are proven methods to cut expenses while still achieving professional-quality results that will last for years.
The cheapest way to lay artificial grass
The most economical approach to artificial grass installation combines strategic material selection with smart labor decisions. By understanding where to save and where to invest, you can create a beautiful, durable lawn that fits your budget.
DIY installation vs. professional installation
DIY installation benefits
Taking on the installation yourself represents the single largest opportunity for cost savings.
Labor typically accounts for 40-60% of total project costs, meaning a DIY approach can save you $2,000-$4,000 on an average 500 square foot installation.
- Cost savings: Up to 50% reduction in total project costs
- Material costs: $2-$5 per square foot for turf and supplies
- Time investment: 1-2 weekends for most residential projects
- Skill requirements: Basic gardening and construction abilities
- Tools needed: Shovel, rake, compactor, turf cutter, and adhesive
When professional installation makes sense
While DIY offers substantial savings, certain situations warrant professional installation:
- Complex terrain: Slopes, drainage issues, or multiple elevation changes
- Large areas: Projects exceeding 1,000 square feet where efficiency matters
- Time constraints: When weekend availability is limited
- Warranty considerations: Some manufacturers require professional installation
Professional installation costs
Expect to pay $5 – $10 per square foot for professional installation, with prices varying based on:
- Project complexity and site preparation requirements
- Regional labor costs and contractor availability
- Additional features like drainage systems or decorative edging
Cost-effective material selection
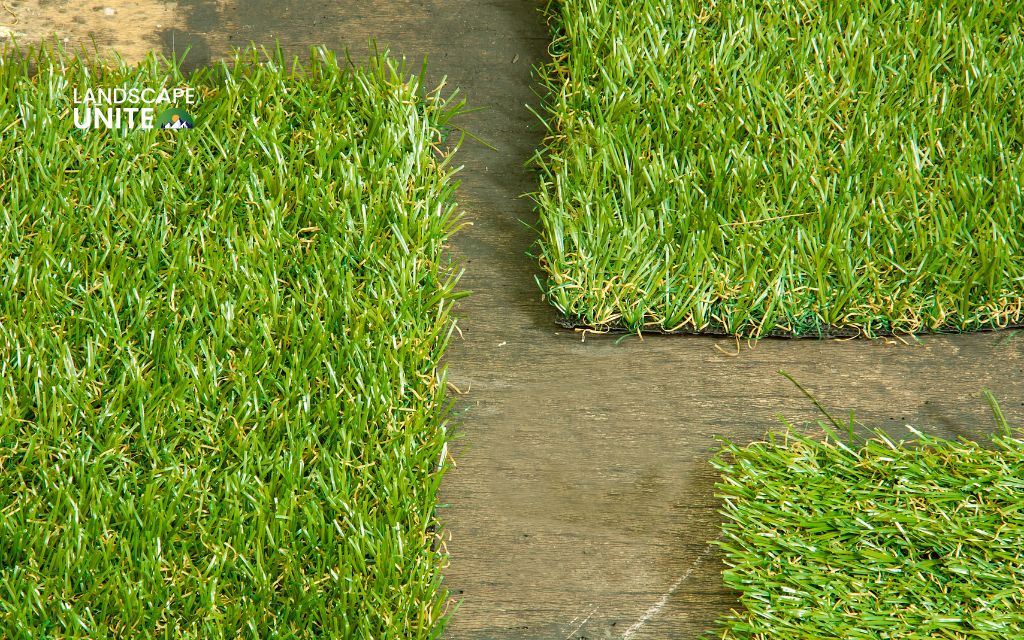
Understanding artificial grass materials helps you make informed budget decisions:
Polypropylene turf ($2 – $4 per square foot):
- Most affordable option for budget-conscious projects
- Suitable for low-traffic decorative areas
- Shorter lifespan but adequate for ornamental landscaping
- Less resilient to heavy foot traffic
Polyethylene turf ($4 – $7 per square foot):
- Superior durability and natural appearance
- Better resilience for moderate to high traffic
- Longer warranty periods (8 – 15 years typical)
- Excellent value for money balance
Nylon turf ($6 – $10 per square foot):
- Premium durability for extreme conditions
- Best choice for sports applications or heavy use
- Longest lifespan but highest upfront cost
Infill material affects both performance and cost:
Sand infill ($0.5 – $1 per square foot):
- Most economical option for budget installations
- Provides adequate weight and stability
- Requires periodic replenishment
- Works well for low to moderate traffic areas
Rubber infill ($1 – $2 per square foot):
- Enhanced durability and cushioning
- Better drainage properties
- Minimal maintenance requirements
- Worthwhile investment for high-traffic areas
Step-by-step budget installation guide
Step 1: Site preparation
Ground clearing: Proper preparation ensures long-term success while keeping costs manageable:
- Remove existing grass, weeds, and debris thoroughly
- Clear roots and organic matter that could cause settling
- Address any obvious drainage issues early
Leveling and grading:
- Use a long board or level to identify high and low spots
- Add or remove soil to create proper drainage slope (1% grade minimum)
- Rent equipment for large areas to save time and effort
Soil compaction:
- Compact the soil base using a plate compactor (rental: $30-$50/day)
- Multiple passes ensure stability and prevent future settling
- Focus extra attention on areas that were previously soft or muddy
Step 2: Base layer installation
Affordable base materials: The foundation determines your installation’s longevity:
Crushed stone/gravel ($1 – $2 per square foot):
- Install 2-3 inch layer for optimal drainage
- Quarter-minus gravel works well for most applications
- Provides excellent stability and water management
Decomposed granite ($1 – $1.50 per square foot):
- Budget-friendly alternative with good compaction
- Natural appearance blends well with landscape
- May require more frequent maintenance in heavy rain areas
Installation tips:
- Level the base material carefully using a screed board
- Compact in thin lifts rather than one thick application
- Check for proper grade and drainage before proceeding
Step 3: Weed barrier installation
Geotextile fabric benefits: This inexpensive addition ($0.5 – $1 per square foot) provides:
- Effective weed prevention without chemicals
- Improved drainage while blocking soil migration
- Added stability to the base layer
- Long-term maintenance reduction
Installation technique:
- Overlap seams by 6 inches minimum
- Secure edges with landscape staples
- Cut precise openings for sprinkler heads or fixtures
Step 4: Turf installation
Layout and cutting:
- Plan turf direction for consistent appearance
- Minimize seams in high-visibility areas
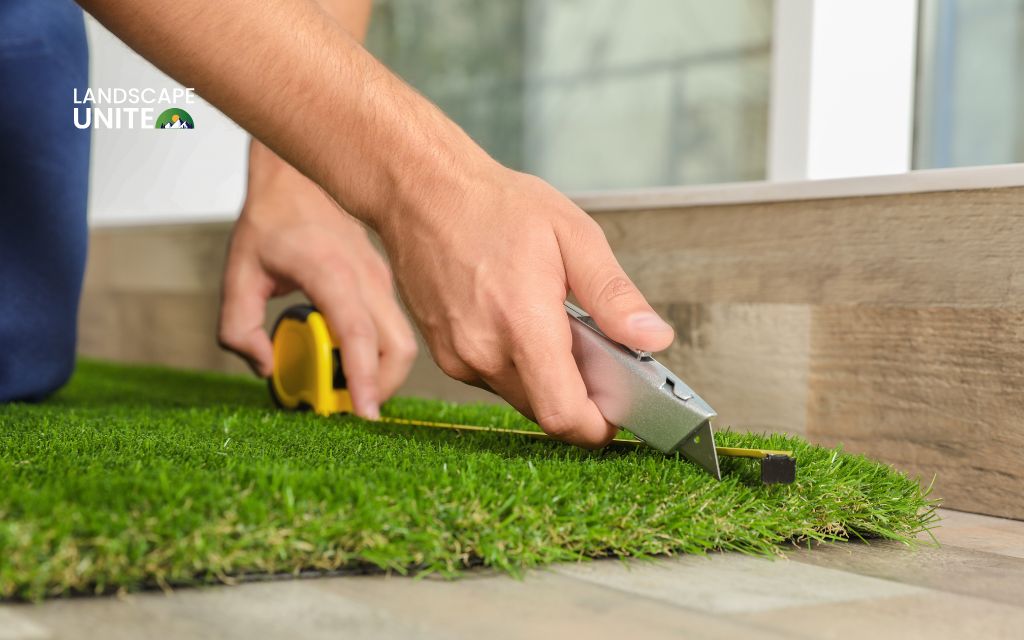
- Use a sharp utility knife for clean, precise cuts
- Allow turf to acclimate in sunlight before installation
Securing the edges:
- Place landscape staples every 6-8 inches along perimeters
- Drive staples flush with turf backing
- Pay special attention to seams and transition areas
Seaming techniques:
- Use seaming tape and adhesive for invisible joins
- Apply steady pressure while adhesive cures
- Brush fibers to blend seam areas naturally
Step 5: Infill application and finishing
Infill distribution:
- Spread infill evenly using a drop spreader for large areas
- Hand-broadcast for small or detailed areas
- Apply in thin layers, brushing between applications
Final brushing:
- Use a stiff brush or power broom to lift grass fibers
- Work against the grain to achieve natural appearance
- Remove excess infill from fiber tips
Money-saving strategies
Bulk purchasing advantages
Material sourcing:
- Contact multiple suppliers for competitive quotes
- Look for end-of-season sales and clearance inventory
- Consider slightly imperfect rolls at significant discounts
- Join with neighbors for bulk purchasing power
Shipping considerations:
- Calculate total delivered costs, not just material prices
- Some suppliers offer free shipping above minimum orders
- Local suppliers may provide better service and flexibility
Strategic size selection
Minimizing waste:
- Measure accurately and plan cuts carefully
- Consider multiple smaller rolls for irregular shapes
- Save remnants for future repairs or small projects
- Design landscaping to work with standard roll widths
Labor cost optimization
Partial DIY approach: If full DIY isn’t feasible, consider handling specific tasks yourself:
- Site clearing and basic preparation
- Material transportation and staging
- Simple finishing work like brushing and cleanup
This hybrid approach can save 20-30% while ensuring professional results for complex tasks.
Common budget mistakes to avoid
Skipping essential steps
Foundation shortcuts:
- Inadequate site preparation leads to premature failure
- Skipping base materials causes drainage problems
- Poor compaction results in settling and unevenness
Material quality issues:
- Extremely cheap turf may not last two seasons
- Inadequate infill leads to matting and poor appearance
- Wrong turf type for intended use creates disappointment
Hidden cost factors
Tool and equipment: Budget for necessary tools or rental costs:
- Compactor rental: $40-$60/day
- Specialized cutting tools: $50-$100
- Adhesives and fasteners: $100-$200 for average project
Conclusion
Installing artificial grass on a budget requires careful planning, smart material choices, and realistic assessment of your DIY capabilities. By following these cost-effective strategies, you can achieve professional-quality results while saving thousands of dollars compared to full professional installation.
The key to success lies in balancing immediate cost savings with long-term value. While it’s tempting to choose the cheapest option for every component, investing in quality materials for high-impact areas ensures your beautiful, low-maintenance lawn will provide years of enjoyment.
Visit our complete landscaping knowledge base for seasoned advice, thorough instructional landscape content, and wallet-friendly strategies that bring your outdoor vision to life cost-effectively.
Frequently asked questions (FAQs)
Can I install artificial grass myself to save money?
Yes, DIY installation can save 40 – 50% on total project costs. Most homeowners with basic gardening skills can successfully complete the installation over 1-2 weekends.
What are the cheapest types of artificial grass?
Polypropylene turf offers the most affordable option at $2 – $4 per square foot, suitable for decorative and low-traffic areas. For better durability, polyethylene turf ($4 – $7 per square foot) provides excellent value for moderate to high-traffic applications.
How do I maintain artificial grass to ensure its longevity?
Polypropylene turf offers the most affordable option at $2 – $4 per square foot, suitable for decorative and low-traffic areas. For better durability, polyethylene turf ($4 – $7 per square foot) provides excellent value for moderate to high-traffic applications.
Is it worth investing in professional installation for artificial grass?
Professional installation makes sense for complex projects involving drainage issues, large areas, or challenging terrain. Consider your skill level, available time, and project complexity when deciding.
