Many gardeners lose roses over winter due to poor timing or using the wrong method for their variety or zone. Without proper protection, your plants may suffer dieback or fail to bloom next spring, leaving you with bare canes and disappointment come spring.
The harsh reality is that even established rose gardens can be devastated by a single brutal winter if proper precautions aren’t taken.
This guide will walk you through easy, variety-specific steps on how to winterize roses. Whether you’re protecting delicate hybrid teas or hardy shrub roses, you’ll discover proven techniques that ensure your roses survive winter’s worst and emerge ready for spectacular spring blooms.
Keep reading to learn more about this topic.
Know your rose type before winterizing
Different roses have different needs. Start here:
- Hybrid Tea, Floribunda, Grandiflora: Tender varieties that need heavy protection. These classic garden roses are grafted onto rootstock and require the most comprehensive winter care to survive freezing temperatures.
- Shrub and Landscape Roses (e.g., Knock Out): Cold hardy, minimal coverage needed. These modern varieties are bred for resilience and can withstand harsh conditions with basic protection.
- Climbing Roses: Need special handling for long canes. Their extended growth requires unique techniques to protect both the root system and lengthy stems from winter damage.
- Miniature Roses: Often grown in pots; need container-specific protection. These compact beauties face unique challenges when grown in containers that freeze completely through.

How to winterize roses: Step-by-step
Stop fertilizing and pruning in late summer
Stops soft new growth that’s vulnerable to frost. Discontinue all feeding by late August to early September, allowing your roses to naturally slow their growth and begin hardening off for winter.
Let the plant begin natural dormancy by reducing watering frequency and allowing seed hips to form, which signals the plant to prepare for winter rest.
Clean up around the base
Remove fallen leaves and old mulch to create a clean foundation for winter protection. This crucial step prevents overwintering pests and disease that can attack weakened plants during dormancy.
Dispose of all debris in municipal compost or trash – never compost diseased rose material in home systems.
Mound soil or compost around the base
Create an 8–12 inch mound around the crown, focusing on protecting the graft union where the rose variety meets the rootstock.
Use loose, well-draining compost, soil, or leaf mold that won’t compact and trap moisture. This mounding technique insulates the most critical part of your rose against temperature fluctuations.
Apply a protective mulch layer
Add 4 – 6 inches of shredded leaves, straw, pine needles, or bark mulch over the soil mound.
This organic layer insulates roots and regulates soil temperature, preventing the damaging freeze-thaw cycles that can heave plants from the ground.
Avoid fine mulches that may mat down and create drainage problems.
Wrap or cover with burlap or rose collars
Best for Hybrid Teas and exposed areas where wind and extreme cold pose the greatest threat. Use burlap or rose cones with ventilation holes to prevent condensation buildup that leads to fungal problems.
Avoid plastic materials that create greenhouse effects during warm winter days, potentially breaking dormancy prematurely.
Water deeply before the ground freezes
Hydrated plants are less prone to winter stress and desiccation from cold, dry winds. Apply a thorough soaking to ensure roots have adequate moisture reserves for the dormant period. Do not water once ground is frozen, as this can create ice around roots and cause damage.
How to winterize roses in pots
Container roses face unique challenges since their roots are completely exposed to freezing temperatures through the pot walls.
- Move containers into unheated garages, sheds, or basements where temperatures stay between 20-40°F – cold enough for proper dormancy but not freezing enough to kill roots.
- Wrap pots in insulating material such as burlap, bubble wrap, or blankets, paying special attention to the sides and bottom where roots are most vulnerable.
- Group pots together for shared warmth and easier maintenance access.
- Water sparingly during winter dormancy, checking soil moisture monthly. The goal is preventing complete drying while avoiding waterlogged conditions that promote root rot in cool temperatures.
How to winterize climbing roses
Climbing roses require special handling due to their long canes that extend well above typical protection methods.
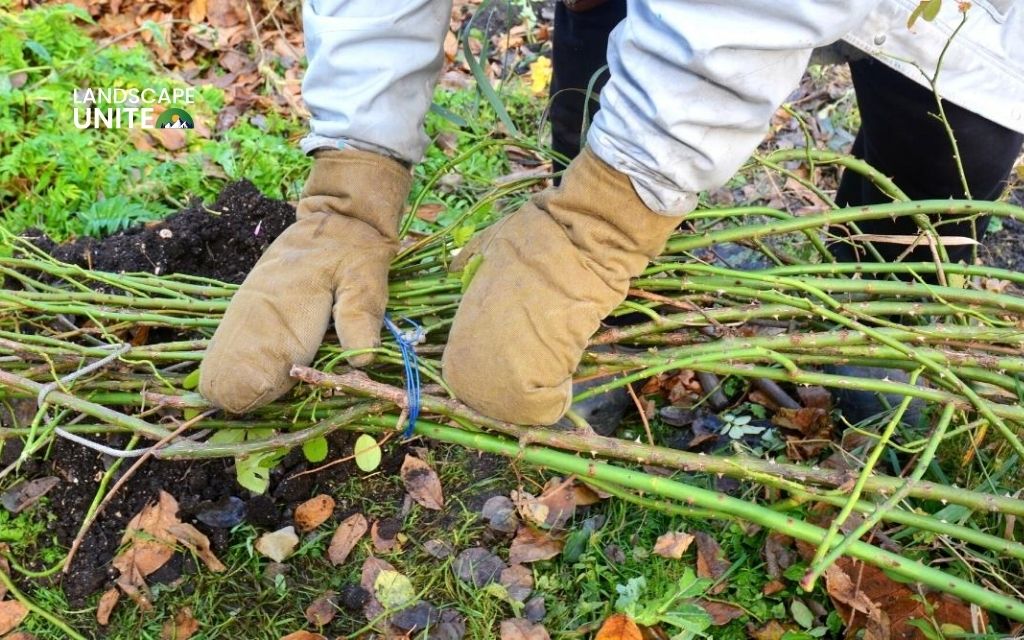
- Detach canes carefully from trellis or support structures, working systematically to avoid breakage of valuable growth.
- Lay flat on the ground if space allows, securing canes with landscape staples or weights to prevent wind damage.
- Cover canes with soil, mulch, or straw, ensuring complete coverage of all growth.
- Alternatively, wrap upright canes with burlap and insulation for situations where laying down isn’t practical.
- Create a cylinder of protection around the entire structure, allowing for air circulation while blocking harsh winds.
Why winterizing roses matters
Proper winter protection prevents winter dieback and cane damage that can set back your garden for years. Well-protected roses maintain their energy reserves and root systems, leading to vigorous spring growth and abundant blooms.
Winter care encourages strong recovery by protecting root systems from damaging freeze-thaw cycles that can heave plants or damage feeder roots. This protection is essential for tender varieties in cold climates, where unprotected roses often suffer complete loss.
When to start winterizing roses
Timing your winter preparation correctly ensures maximum protection without interfering with natural dormancy processes.
Begin winterizing roses after the first killing frost, but before the ground freezes solid.
General timelines for winter preparation:
- Zone 3–5: Early to mid-November, when nighttime temperatures consistently drop below 25°F
- Zone 6–7: Late November to early December, after several hard frosts signal the end of growing season
Avoid winterizing too early – premature covering may trap heat and cause disease problems or delay proper dormancy. Wait for clear signals that your roses have entered their natural rest period.
Common mistakes to avoid
- Winterizing too early or too late disrupts natural dormancy cycles and reduces protection effectiveness
- Using plastic to cover roses creates condensation problems and temperature fluctuations that damage plants
- Skipping cleanup invites pests and fungus to overwinter in garden debris, creating spring problems
- Overwatering in dormant phase leads to root rot and fungal issues in cold, wet conditions
- Pruning heavily before winter removes protective canes and stimulates new growth vulnerable to frost damage – wait until spring for major pruning
Conclusion
With a little extra care and preparation, your roses can make it through even the harshest winters and reward you with beautiful blooms next year.
Whether you’re tending hybrid teas, climbing varieties, or container roses, this guide equips you with the zone-smart knowledge to protect your investment and set your garden up for success.
Discover additional winter plant care strategies and seasonal gardening tips in our comprehensive gardening resource center.
Frequently asked questions (FAQs)
Should I prune my roses before winter?
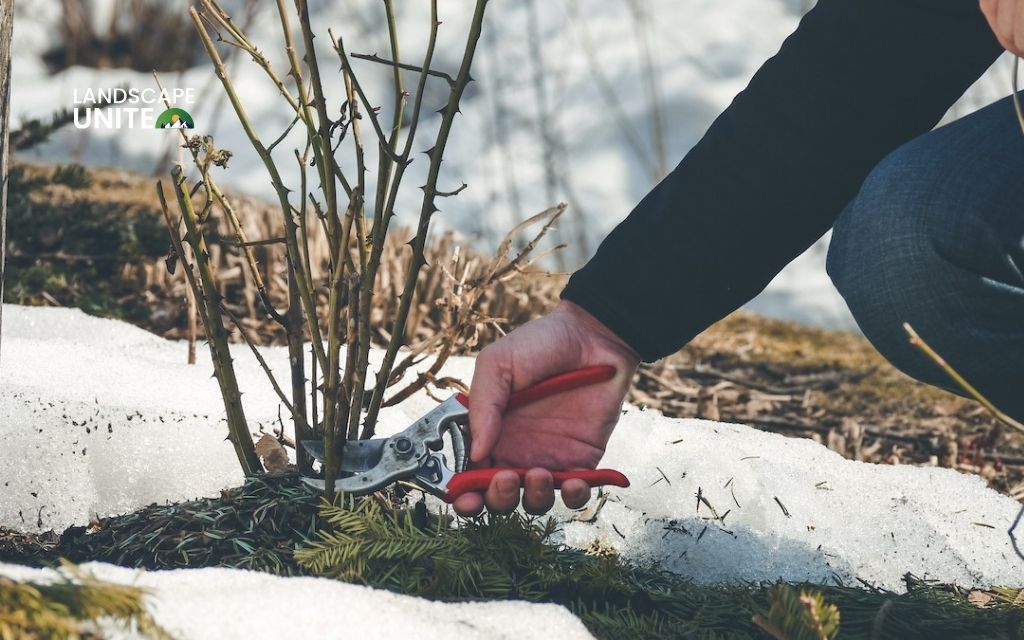
Limit winter pruning to removing dead, diseased, or damaged wood only. Save major pruning for early spring when you can assess winter damage and shape plants for new growth.
Can I leave potted roses outside all winter?
In zones 6-7, well-insulated containers may survive outdoors with proper protection. Zones 3-5 require moving containers to protected areas like unheated garages or wrapping extensively.
What if my rose is already showing frost damage?
Don’t panic – wait until spring to assess true damage. What appears dead may regenerate from protected crown or root areas. Avoid pruning damaged canes until new growth clearly indicates what survived.
Do all roses need protection in winter?
Hardy shrub roses and species roses often survive with minimal protection, while hybrid teas and tender varieties require comprehensive coverage. Know your specific variety’s cold tolerance and local climate conditions.
When should I uncover my roses in spring?
Remove protection gradually after the last expected hard frost, typically when forsythia begins blooming. Uncover on cloudy days to prevent shock from sudden sun exposure on tender new growth.

