Winter preparation for your outdoor plumbing doesn’t have to be complicated, but it’s absolutely essential for preventing expensive repairs. When temperatures drop below freezing, water trapped in outdoor faucets and connected pipes can expand, causing pipes to burst and leading to thousands of dollars in damage.
Protect your home from this freeze damage with our step-by-step guide for how to winterize outdoor faucets and spigots. This guide will walk you through step-by-step methods to safely winterize, with tips based on system type and region. Proper winterization techniques will keep your plumbing system safe throughout the coldest months.
Tools and supplies you’ll need
Before you begin winterizing your outdoor faucets, gather these essential items to ensure a smooth and effective process:
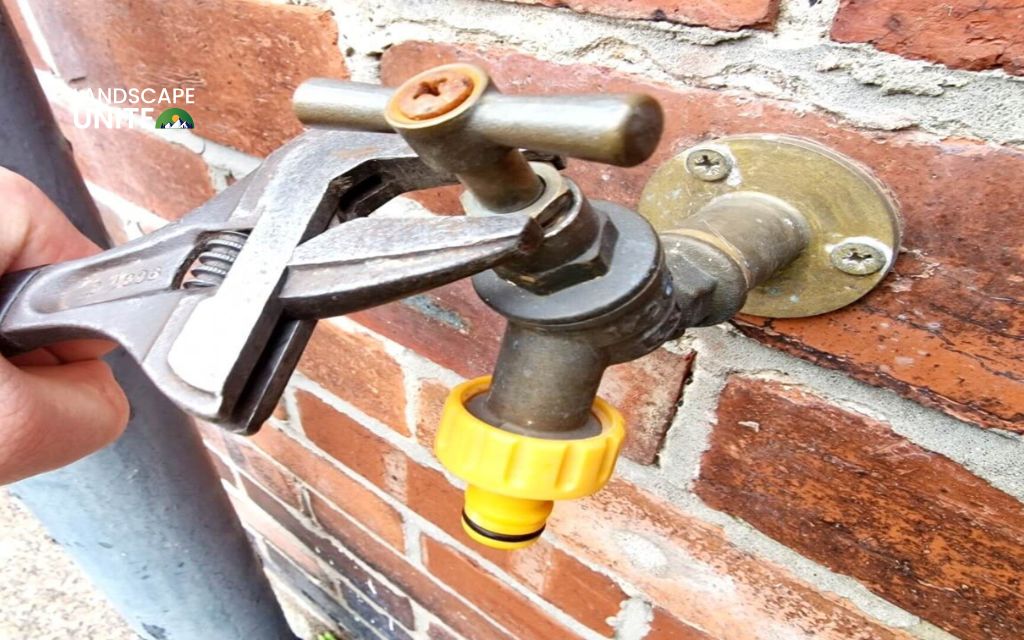
- Adjustable wrench or pliers: For disconnecting hoses and accessing shut-off valves
- Outdoor faucet covers or insulated socks: Primary protection against freezing temperatures
- Bucket or bowl: To catch draining water and prevent mess
- Hose bib shut-off valve access: If your system includes interior shut-off valves
- Pipe insulation or heat tape: Optional but recommended for extra protection in extremely cold climates
Step-by-step: How to winterize outdoor faucets
Follow these detailed steps to properly winterize your outdoor faucets and protect your home’s plumbing system from freeze damage.
Step 1: Disconnect and drain all garden hoses
Begin by detaching all garden hoses from your outdoor faucets, regardless of the weather forecast. Even frost-resistant hoses can trap water that will freeze and expand back into your faucet and connecting pipes.
Remove hoses completely and store them in a garage, basement, or shed where they won’t be exposed to freezing temperatures.
After disconnecting, drain any remaining water from the hoses by lifting one end higher than the other and allowing gravity to pull the water out.
Leaving hoses attached is one of the most common winterization mistakes that leads to burst pipes and expensive repairs.
Step 2: Shut off interior valve (if available)
Locate the water supply valve that controls flow to your outdoor spigot. These shut-off valves are typically found in basements, crawlspaces, utility rooms, or near your water heater. The valve may be a lever-style ball valve or a traditional wheel-style gate valve.
Turn the valve clockwise to shut off water flow to the outdoor faucet. If you’re unsure which valve controls your outdoor spigot, turn on the outdoor faucet first, then systematically turn off interior valves until the water stops flowing. Mark or label the correct valve for future reference.
Step 3: Drain the faucet and inside pipe
With the interior valve closed, return to your outdoor faucet and open it fully to drain any remaining water from the line.
Water may continue to flow for several seconds or even minutes, depending on the length of pipe between the shut-off valve and the outdoor spigot.
Keep the outdoor faucet in the open position throughout the winter months. This prevents pressure buildup that could occur if any residual water freezes and expands within the pipe system.
Step 4: Install faucet covers or insulated socks
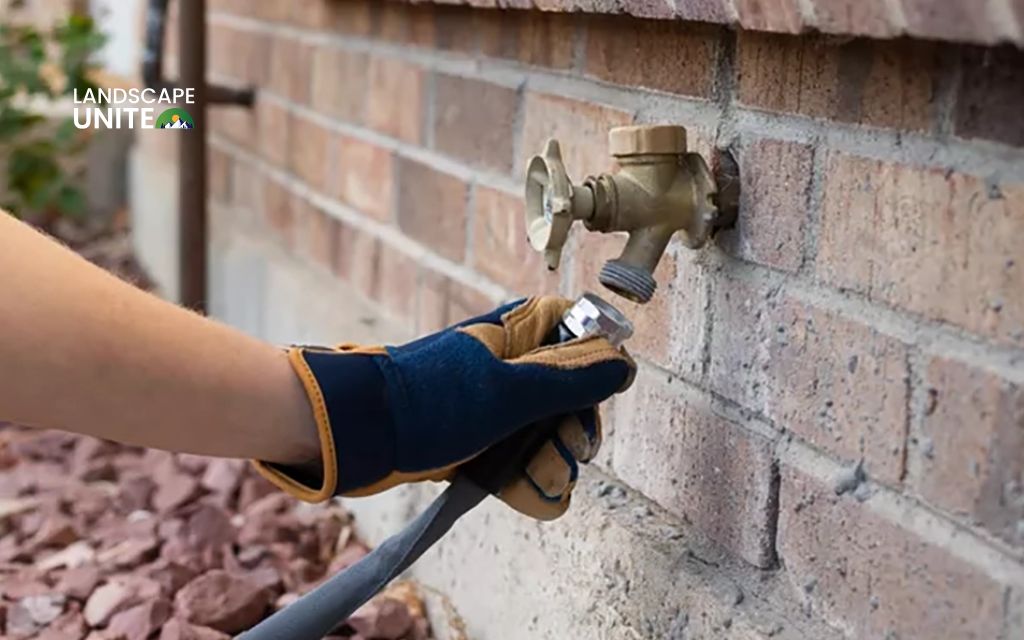
Cover your outdoor spigot with a foam faucet cover or insulated sock designed specifically for outdoor plumbing protection. These covers create an insulating air pocket around the faucet and block cold air from direct contact with the metal components.
Secure the cover tightly using the attached drawstring, elastic band, or Velcro closure. Ensure the cover fits snugly without gaps that would allow cold air to penetrate.
Quality faucet covers are inexpensive insurance against costly freeze damage.
Frost-free spigots vs. Standard faucets
Understanding the difference between frost-free spigots and standard outdoor faucets helps you choose the most appropriate winterization approach for your home’s plumbing system.
Frost-free spigots
Frost-free spigots, also called freeze-proof faucets, feature a long valve stem that extends several inches into your home’s interior where temperatures remain above freezing.
When you turn off the faucet, the valve closes inside the warm area of your house, and water drains out of the external portion of the pipe. These faucets significantly reduce freeze risk but still benefit from proper winterization practices.
Standard outdoor faucets
Standard outdoor faucets have their shut-off mechanism right at the exterior wall, making them much more vulnerable to freezing. The valve and connecting pipe sections remain exposed to outdoor temperatures, requiring more diligent winterization efforts.
How to winterize outdoor spigots without a shut-off valve
If your outdoor faucet lacks an interior shut-off valve, you can still provide effective freeze protection using external winterization methods.
- Use insulated faucet covers as your primary defense against freezing temperatures. Choose heavy-duty foam covers or insulated socks specifically designed for extreme cold conditions. Double-layering covers can provide additional protection in regions with severe winter weather.
- Wrap exposed pipes with foam pipe insulation wherever outdoor plumbing is visible. Pay special attention to pipe sections in unheated areas like crawlspaces, garages, or exterior wall cavities. Secure insulation with electrical tape or zip ties to prevent shifting during winter storms.
- Consider installing a frost-proof spigot during the next plumbing upgrade season. While this requires professional installation or advanced DIY skills, frost-proof faucets provide superior long-term protection and reduce annual winterization requirements.
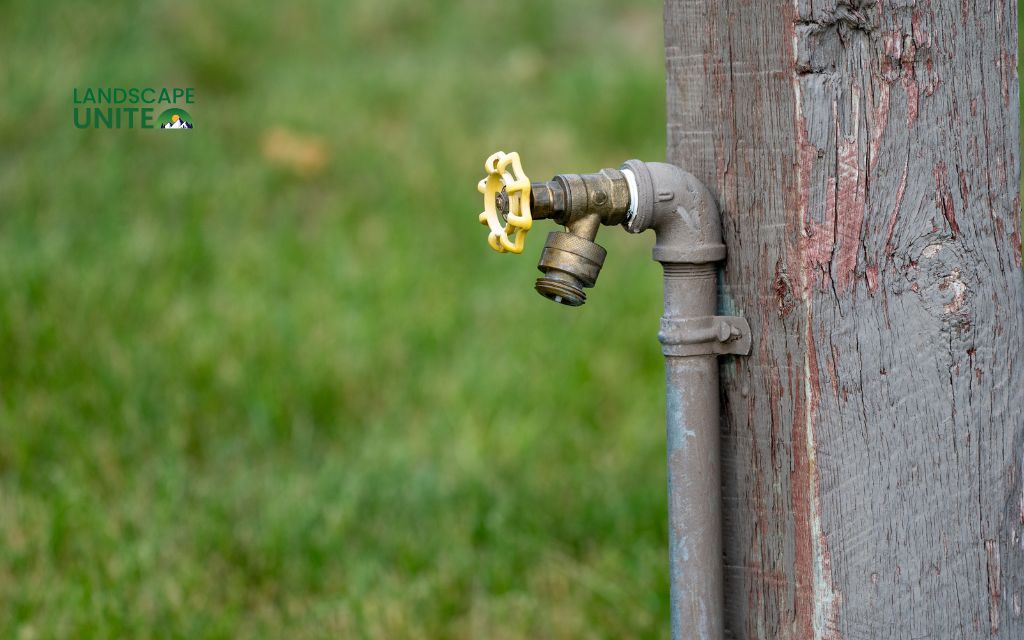
Why you need to winterize outdoor faucets
Outdoor faucet winterization isn’t optional maintenance – it’s essential protection against expensive property damage and costly repairs that affect thousands of homeowners each winter.
- Frozen pipes can burst when water expands as it freezes, creating tremendous pressure within your plumbing system. A single burst pipe can release hundreds of gallons of water into your home, causing damage to floors, walls, personal belongings, and structural components.
- Outdoor spigots face the greatest exposure to temperature extremes and are often overlooked during routine home maintenance. Unlike indoor plumbing that benefits from heated interior air, outdoor faucets experience direct contact with freezing temperatures, wind, and moisture.
- Winterization saves money by preventing repair costs and reducing water waste from damaged pipes. The few minutes spent on proper winterization can save thousands in emergency plumber calls, pipe replacement, and water damage restoration.
This protection is particularly important for homes in USDA zones 3-8 or any areas where temperatures regularly drop below 32°F (0°C) during winter months.
Even homes in typically mild climates can experience unexpected freeze events that damage unprotected outdoor plumbing.
When to winterize outdoor faucets
The optimal window for winterizing outdoor faucets falls between late September and early November, ideally completed before the first sustained freezing temperatures arrive in your area.
Don’t wait for the first freeze warning – temperatures can drop unexpectedly, and emergency winterization is less thorough than planned preparation.
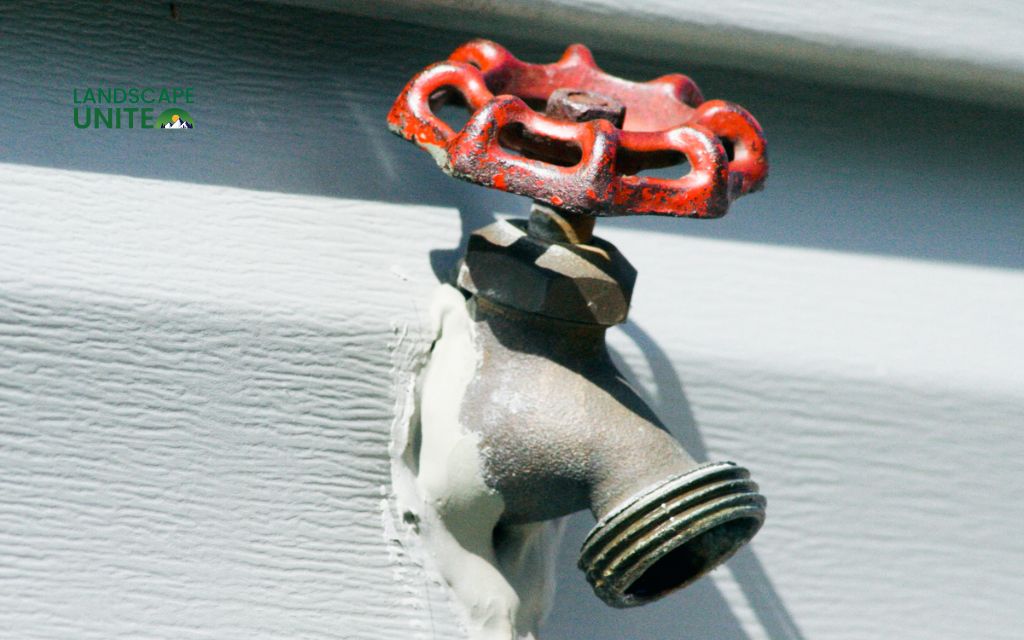
Common mistakes to avoid
Learning from common winterization errors helps ensure your efforts provide maximum protection against freeze damage throughout the winter season.
- Forgetting to disconnect hoses remains the most frequent and costly mistake homeowners make. Even a small amount of water trapped in a connected hose can freeze, expand, and force ice back into your faucet and connecting pipes.
- Incomplete draining leaves water in the system that can freeze and cause damage. After shutting off interior valves, ensure outdoor faucets run completely dry and remain open to prevent pressure buildup. Check for dripping or residual water flow that indicates incomplete drainage.
- Skipping insulation in freezing climates leaves faucets vulnerable even after proper draining procedures. Faucet covers and pipe insulation provide crucial additional protection, especially during extended cold periods or extreme temperature drops.
- Over-relying on covers alone during severe freezes can lead to damage if other winterization steps are skipped. Faucet covers work best as part of a comprehensive winterization approach that includes disconnecting hoses, shutting off interior valves, and draining the system completely.
Conclusion
Winterizing your outdoor faucets is a simple yet crucial home maintenance task that protects your property from expensive freeze damage and ensures reliable plumbing function when warm weather returns.
The step-by-step process outlined in this guide works for both standard and frost-free faucets, with modifications available for systems without interior shut-off valves.
Remember that proper timing – completing winterization before the first sustained freeze – ensures maximum effectiveness and peace of mind throughout the cold season.
Stay ahead of winter weather with proactive faucet protection, and enjoy the confidence that comes from knowing your home’s plumbing system is prepared for whatever cold temperatures may bring.
Discover additional winter garden equipment maintenance tips and techniques in our comprehensive gardening resource center.
Read more other winterization guides here:
Frequently asked questions (FAQs)
Can I leave a hose attached if I insulate the faucet?
No, always detach the hose. Even with insulation, water trapped in connected hoses can freeze and expand back into your faucet system, potentially causing pipe bursts and expensive damage.
Will one night of freezing temps cause damage?
Possibly, it’s better to winterize early. Even brief freezing periods can damage unprotected outdoor faucets, especially if water remains trapped in the system from connected hoses or inadequate draining.
How do I know if my faucet is frost-proof?
Check for a long stem inside the house or consult a plumber. Frost-proof faucets have valve stems extending 6-12 inches into heated interior space, while standard faucets have their shut-off mechanism at the exterior wall.
Is it better to put your outside faucets on a drip or to wrap them and cover them with a foam cover?
Wrapping and covering with foam covers is generally more effective than leaving faucets on a drip. Dripping wastes water and may not prevent freezing in severe cold, while proper winterization with covers provides reliable protection without ongoing water consumption.
How do you prepare outdoor faucets for winter?
Follow the 4-step process: disconnect and drain all hoses, shut off interior valves if available, open outdoor faucets to drain completely, and install insulated covers. This comprehensive approach provides maximum protection against freeze damage.
What to put over an outside faucet for winter?
Use foam faucet covers or insulated socks designed specifically for outdoor plumbing protection. These covers create insulating air pockets around the faucet and should fit snugly with secure closures to block cold air and moisture effectively.
