Are you tired of constantly watering your flower beds and battling stubborn weeds? Learning how to mulch flower beds properly can transform your gardening experience from high-maintenance to effortless. This comprehensive guide will show you exactly how to mulch a flower bed in four straightforward steps, plus everything you need to know about timing, maintenance, and choosing the right materials.
Proper mulching isn’t just about aesthetics. It’s one of the most effective ways to conserve water, suppress weeds, regulate soil temperature, and create healthier growing conditions for your plants. Whether you’re a beginner gardener or looking to refine your technique, this step-by-step approach will help you achieve professional results.
Why mulching matters for your flower beds
Before diving into the how-to process, let’s understand why mulching is so crucial for garden health. When you mulch flower beds correctly, you’re creating a protective barrier that works around the clock to benefit your plants.
- Retains moisture and reduces watering needs: Mulch acts like a sponge, holding moisture in the soil and slowing evaporation.
- Suppresses weeds naturally: A thick layer of mulch blocks sunlight from reaching weed seeds, preventing them from germinating.
- Regulates soil temperature: Mulch keeps roots cool during scorching summer days and insulated during freezing winter nights. This temperature moderation helps plants establish stronger root systems and reduces transplant shock.
- Adds nutrients and improves soil texture: Organic mulches gradually decompose, releasing valuable nutrients back into the soil. This increases beneficial microbial activity, and creates the rich, crumbly texture that plants love.
- Creates a clean, polished look for your landscape: Beyond the practical benefits, mulch gives your flower beds a finished, professional appearance. It creates visual definition between your beds and lawn, making colors pop and giving your entire landscape a cohesive, well-maintained look.
What is the best mulch for flower beds?
Not all mulches are created equal, and choosing the right type for your specific garden conditions makes all the difference in your results.
Organic mulch types
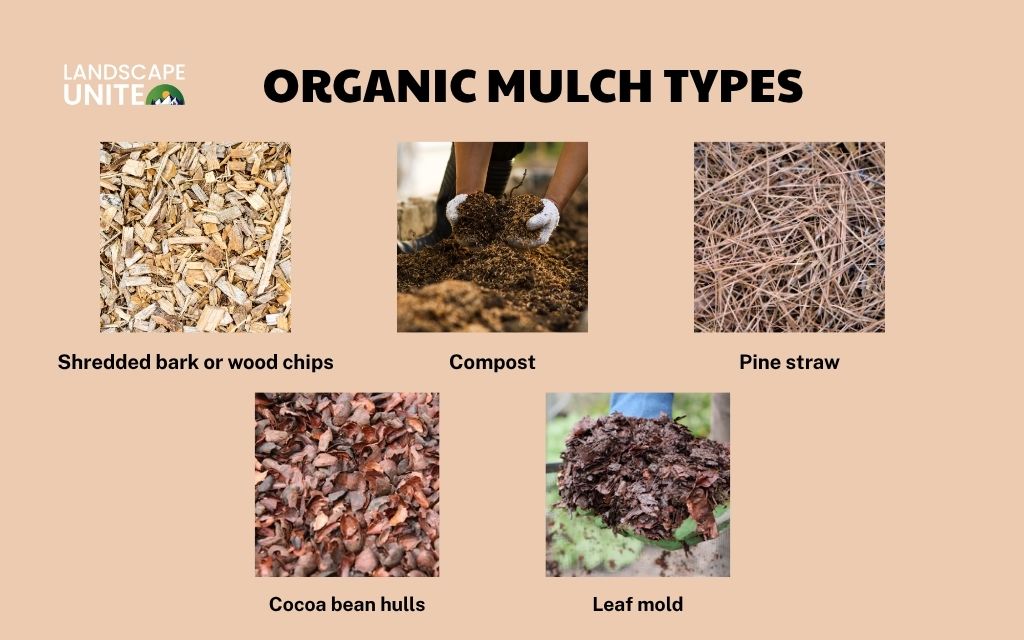
Organic mulches are the most popular choice for flower beds because they improve soil health while providing all the benefits mentioned above.
1. Shredded bark or wood chips: This is the most common and versatile mulch option. Shredded bark stays in place better than larger chunks and breaks down slowly, making it long-lasting and attractive for perennial flower beds. Cedar and cypress varieties also offer natural pest-repelling properties.
2. Compost: If soil improvement is your top priority, compost is your best friend. This nutrient-rich material improves soil fertility and structure while providing moderate weed suppression. It breaks down quickly (within a few months), so it’s perfect for annual beds where you’ll be replanting regularly.
3. Pine straw: Lightweight and easy to apply, pine straw creates an airy mulch layer that allows excellent water penetration. Its slightly acidic nature makes it ideal for acid-loving plants like azaleas, hydrangeas, camellias, and rhododendrons. It’s also budget-friendly and gives beds a natural, woodland appearance.
4. Cocoa bean hulls: These aromatic hulls add a rich chocolate-brown color and a pleasant cocoa scent to your garden. They’re lightweight and attractive but come with an important warning: they contain theobromine, which is toxic to dogs and cats. Use cautiously around pets or skip this option if you have curious animals.
5. Leaf mold: Made from decomposed leaves, leaf mold is excellent for improving soil health and moisture retention. It’s essentially free if you collect and compost your own autumn leaves. This dark, crumbly material is particularly beneficial for woodland gardens and shade-loving flowers.
Inorganic mulch options
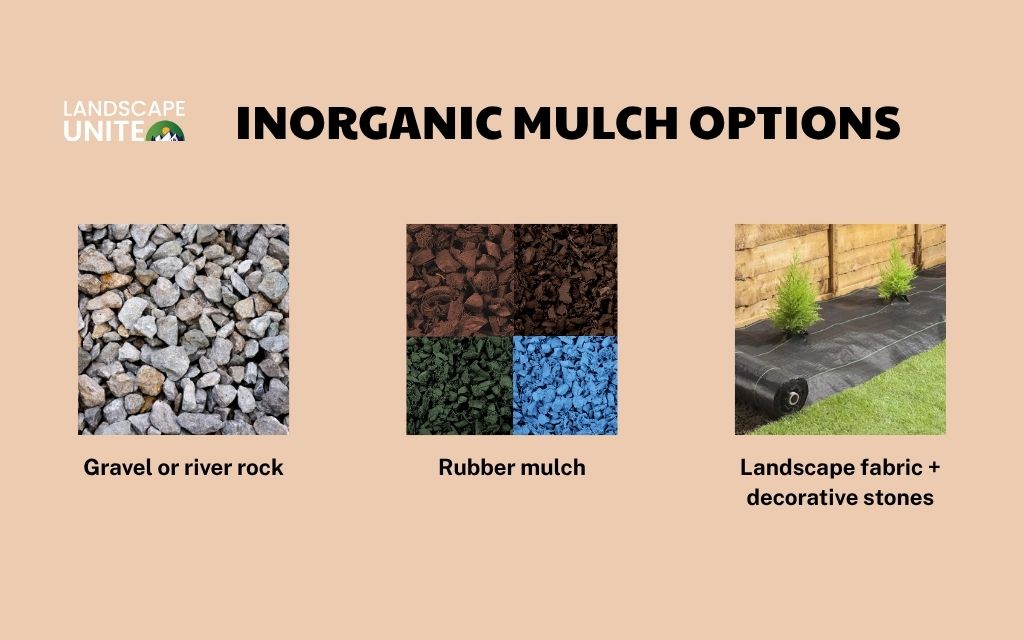
While they don’t enrich the soil, inorganic mulches offer durability and low maintenance that appeals to many gardeners.
1. Gravel or river rock: Perfect for heat-tolerant plants, Mediterranean gardens, or desert-style landscapes. Stone mulches reflect heat, making them ideal for sun-loving succulents and xeriscaping projects. They’re virtually permanent and create excellent drainage.
2. Rubber mulch: Made from recycled tires, rubber mulch is a long-lasting, low-maintenance choice for decorative areas. It doesn’t decompose, won’t attract insects, and provides excellent cushioning. However, it doesn’t improve soil health and can get quite hot in the summer sun.
3. Landscape fabric + decorative stones: This combination works best for high-traffic areas or erosion-prone spots where you need maximum weed control. The fabric blocks weeds while allowing water through, and the stones on top add visual appeal and weight to keep everything in place.
How to mulch flower beds (step-by-step guide)
Now let’s get into the practical process of how to apply mulch to flower beds correctly. Following these steps ensures you’ll get all the benefits without common problems like rot or poor drainage.
Step 1: Prepare your flower bed properly
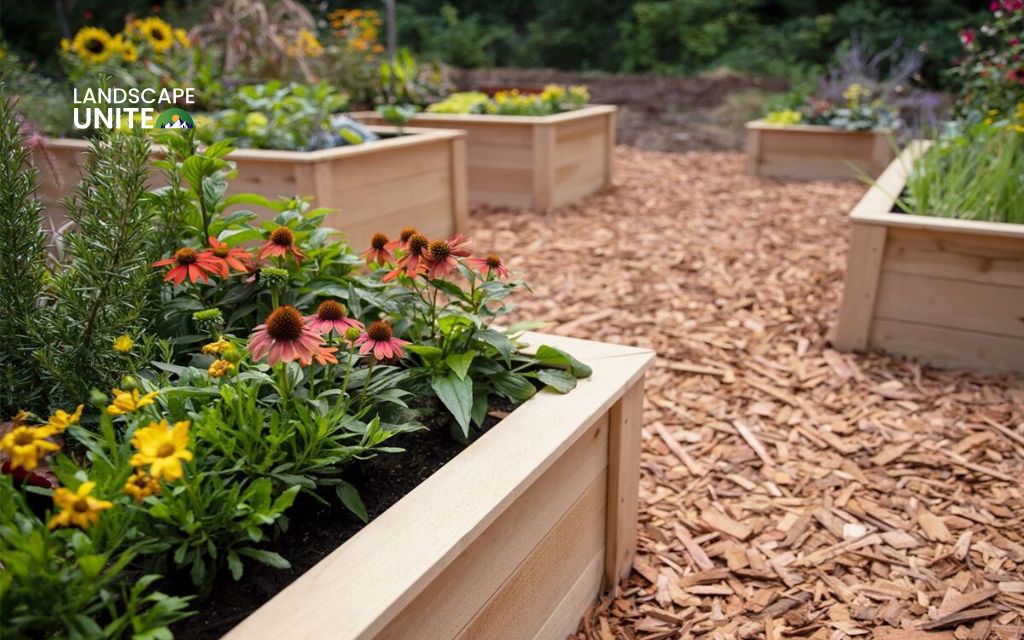
The foundation of successful mulching starts with proper bed preparation. Begin by removing all weeds, including roots, as mulch won’t eliminate existing weeds but will prevent new ones from sprouting. Clear away any debris, dead plant material, or rocks that might interfere with even mulch distribution.
Water your soil deeply before applying mulch. This ensures your plants have adequate moisture before you add the protective layer. If you’re starting a new bed or refreshing an established one, this is the perfect time to add compost or slow-release fertilizer to boost soil nutrition.
Check your soil’s drainage by observing how quickly water absorbs. If water pools on the surface, consider improving drainage before mulching, as trapped moisture under mulch can lead to root rot and fungal issues.
Step 2: Choose the right mulch type
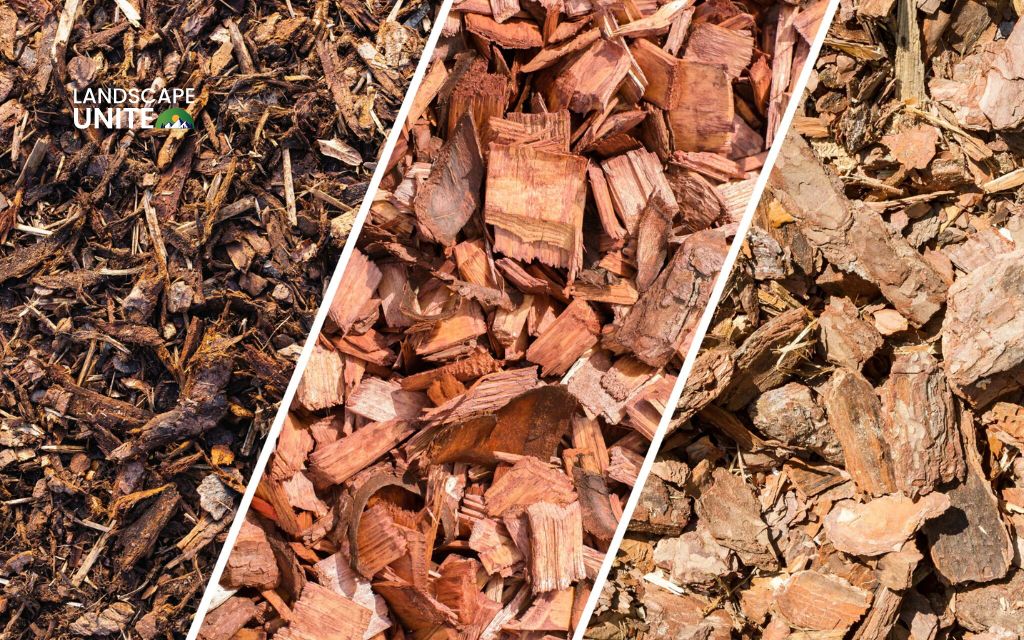
Selecting appropriate mulch depends on your specific plants, climate, and aesthetic preferences. Organic mulches like shredded bark work excellently for perennial flower beds and shrubs. They’re affordable, readily available, and break down gradually to improve soil health.
Wood chips offer attractive, long-lasting coverage but may temporarily reduce soil nitrogen as they decompose. This makes them ideal for established plantings but less suitable for newly planted beds without supplemental fertilization.
For acid-loving plants like azaleas and blueberries, pine needles create perfect growing conditions while providing excellent drainage. Cedar and cypress mulches naturally repel insects and resist decay, making them worthwhile investments despite higher initial costs.
Rock mulch works well in xeriscapes and desert gardens where water conservation is paramount. However, avoid rock mulch in areas that receive intense sun, as stones can overheat soil and stress plant roots.
Step 3: Apply mulch with proper technique
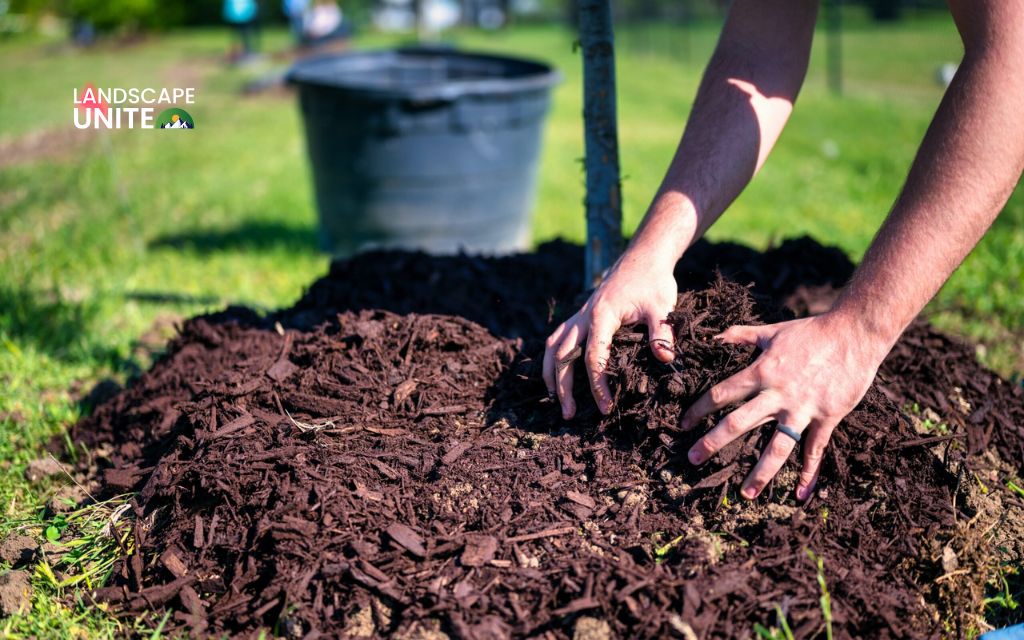
Now for the main event: how to put down mulch in flower beds correctly. Spread organic mulch 2 to 3 inches deep throughout your bed, using slightly less (1 to 2 inches) for fine materials like compost or leaf mold.
The most critical rule is maintaining proper distance from plant stems and tree trunks. Keep mulch at least 2 to 3 inches away from plant bases to prevent moisture buildup, pest problems, and bark damage. This “mulch-free zone” allows air circulation and prevents rodents from nesting against plants.
Use a rake to spread mulch evenly, creating a uniform appearance and consistent depth. Avoid creating “mulch volcanoes” around trees or piling mulch against building foundations, as this traps moisture and can cause structural damage.
Step 4: Water and settle your mulch
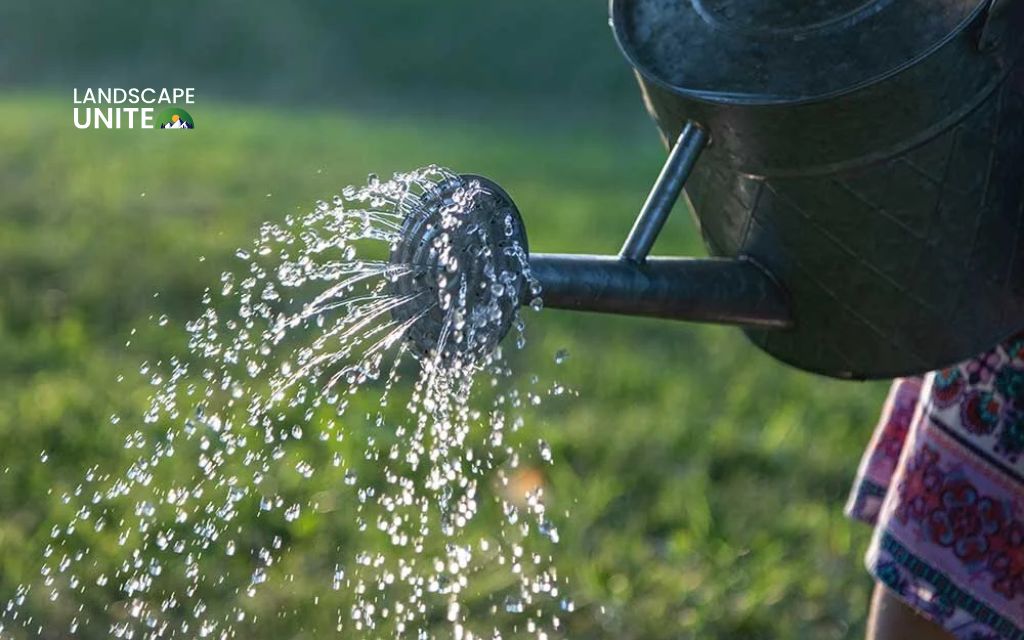
After application, lightly water the mulched area to help settle the material and prevent wind dispersal. Don’t saturate the mulch, just provide enough moisture to help it conform to the soil surface and stay in place.
This initial watering also begins the process of mulch integration with your soil ecosystem. Beneficial microorganisms will start colonizing the mulch layer, beginning the gradual decomposition process that enriches your soil over time.
When to mulch flower beds for best results
Timing your mulching correctly ensures the best results for your plants:
- Spring: Refresh mulch before the growing season. Apply mulch in late spring after soil temperatures reach 55 – 60°F and the danger of frost has passed. This timing helps conserve moisture during summer and suppresses spring weeds. Mulching too early can trap cold in the soil and slow plant growth.
- Fall: Add mulch before winter for root protection. Apply or refresh mulch in late fall after plants go dormant but before the ground freezes. This protects perennial roots and bulbs from temperature fluctuations and frost heaving during winter months.
- Mid-summer touch-ups: Replace thin or decomposed areas. Check your beds during summer and add fresh mulch to any bare spots or areas where the layer has thinned below 2 inches. This maintains moisture retention during hot, dry periods.
How often to mulch flower beds
The frequency depends on your mulch type and climate conditions:
- Organic mulch: Replenish every 6 – 12 months. Fast-decomposing materials like compost need replacement every 6 months, while shredded bark and wood chips last 12-18 months. Check depth regularly – when it falls below 2 inches, it’s time to add more.
- Inorganic mulch: Replace every 3 – 5 years or as needed. Stone, gravel, and rubber mulch don’t decompose, so they only need replacement when they become discolored, displaced, or you want to update your garden’s appearance.
- Most flower beds need mulching 1 – 2 times per year. A typical schedule includes one major application in spring and a lighter fall refresh. Hot, humid climates may require more frequent top-ups due to faster decomposition.
- Signs it’s time to re-mulch: visible bare soil, mulch depth below 2 inches, compacted layers forming a dense mat, or weeds breaking through the mulch layer.
How to mulch flower beds over winter
Winter mulching requires special considerations for plant protection and moisture management. How to mulch flower beds over winter starts with applying thicker layers (3 to 4 inches) in late fall, focusing extra protection around shallow-rooted perennials and recent transplants.
Excellent winter mulch materials include straw, shredded leaves, evergreen boughs, and coarse bark chips. These materials provide insulation while allowing air circulation, preventing the freeze-thaw cycles that can damage plant crowns and roots.
Remove or thin winter mulch in early spring as temperatures warm and new growth appears. Leaving thick winter mulch in place too long can delay soil warming and promote pest problems.
Best mulch types for different flower bed types
| Garden Type | Perennial borders | Annual flower beds | Rose gardens | Mediterranean & xeriscape gardens |
| Best Mulch Options | Shredded hardwood bark, leaf compost | Straw, grass clippings, fine compost | Composted manure, shredded leaves, fine bark | Gravel, decomposed granite, river rock |
Professional mulching tips for success
Avoid common mistakes that reduce mulching effectiveness:
- Never use synthetic weed fabrics under organic mulch, as they prevent beneficial decomposition and can block water penetration over time.
- Install permanent edging using brick, stone, or steel to keep mulch contained and create clean garden lines. This professional touch also reduces maintenance by preventing mulch from washing into lawn areas.
- Monitor mulch thickness regularly, especially in sloped areas where heavy rains can cause shifting. Redistribute mulch as needed to maintain even coverage and proper depth.
- Choose organic mulches whenever possible for long-term soil improvement. While inorganic materials like rock provide immediate benefits, organic options offer ongoing nutrition and soil structure enhancement.
Conclusion
Learning how to mulch flower beds properly transforms both plant health and garden maintenance requirements. By following these four essential steps – proper bed preparation, choosing appropriate mulch, correct application technique, and post-application watering – you’ll create thriving flower beds that require less water, fewer weeds, and minimal ongoing care.
Remember that successful mulching is about consistency and attention to detail rather than perfection. Start with proper timing, maintain appropriate depths, and keep mulch away from plant stems for the best results.
At Landscape Unite, we’re committed to providing the best information about landscaping, hardscaping, gardening, and tools for everyone. Our expertise comes from Mile High Lifescape with years of professional experience helping homeowners create beautiful, sustainable outdoor spaces.
FAQs about how to mulch flower beds
How much mulch is too much for flower beds?
More than 4 inches can suffocate plant roots and block water penetration. Stick to 2-3 inches for most applications, using slightly less for fine mulches like compost.
Do you need to remove old mulch before adding new?
Not always. If existing mulch isn’t matted or compacted, simply fluff it with a rake and add fresh material on top. Complete removal is only necessary when old mulch has become problematic.
When should you mulch flower beds each year?
Late spring (April-May) provides optimal timing for most regions. This allows soil to warm while providing summer protection. Add winter protection mulch in late fall for tender plants.
How to re mulch flower beds without damaging plants?
Carefully pull existing mulch away from plant bases, fluff remaining material, and add fresh mulch gradually. Work around plants rather than over them, maintaining proper clearances from stems and crowns.
What should you avoid when mulching flower beds?
Never pile mulch against plant stems, use moldy or sour-smelling materials, or apply layers thicker than 4 inches. Avoid fresh wood chips around heavy-feeding plants without supplemental nitrogen fertilization.
What is the 3-3-3 mulch rule?
Apply 3 inches deep, keep 3 inches away from plant stems and trunks, and refresh every 3 years. This simple rule prevents most mulching problems while ensuring maximum benefits.

