Moss on your roof isn’t just unsightly – it’s a serious threat that can cause shingle damage, water retention, and costly repairs. Most commonly found on north-facing slopes and shaded areas, moss thrives in moisture-rich environments and can compromise your roof’s integrity over time.
This guide will show you how to safely remove moss from your roof and prevent it from returning, protecting your home investment with proven DIY methods and professional tips.
We’ll walk through everything from understanding why moss appears in the first place to mastering the step-by-step cleaning moss off roof process, all while prioritizing your safety and the integrity of your roofing materials.
Why is there moss on my roof?
Moss grows on roofs due to several key factors:
- Shade and moisture create ideal growing conditions, especially on north-facing sections and areas covered by overhanging trees.
- Organic debris from leaves and twigs provides nutrients for moss establishment, while poor attic ventilation contributes to excess moisture buildup.
- Moss-prone climates include the Pacific Northwest, Northeast, and Southeast, where frequent rain and high humidity provide optimal conditions.
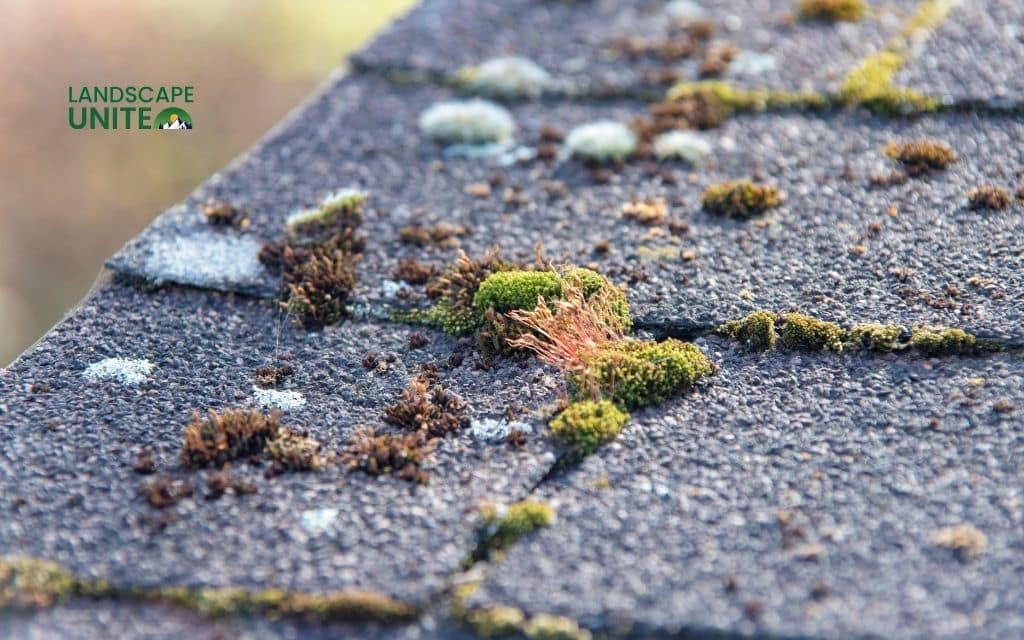
- Asphalt shingles are particularly vulnerable because their granular surface offers excellent grip for moss roots.
Is moss on roofs dangerous?
Yes, moss poses several serious risks:
Shingle and underlayment damage occurs as moss roots work their way under shingles, gradually lifting and loosening them.
This root penetration can crack shingles and compromise the waterproof barrier that protects your home’s interior. Once this barrier is breached, water can seep into your roof deck and potentially cause rot in the underlying wood structures.
Water retention is perhaps the most serious concern with moss-covered roofs. Moss acts like a sponge, holding moisture against your roofing materials for extended periods.
This prolonged exposure to water can lead to premature deterioration of shingles, increased risk of ice dam formation and potential leaks that could damage your home’s interior.
Moss growth significantly impacts your home’s aesthetic appeal and property value. A moss-covered roof gives the impression of poor maintenance and can be a red flag for potential buyers if you ever decide to sell your home.
When is the best time for cleaning moss off roof?
Late spring or early fall offer ideal conditions – dry weather with moderate temperatures. Avoid winter (dangerous icy conditions) and summer’s hottest months (slippery hot surfaces).
Schedule moss removal alongside gutter cleaning and roof inspections for maximum efficiency.
When moss becomes urgent to remove:
- Moss covering more than 20% of your roof surface
- Shingles are visibly lifting or damaged
- Experiencing any signs of water leaks
If you notice any one of these, it’s time to take immediate action.
These conditions indicate that the moss has moved beyond a cosmetic issue and is actively threatening your roof’s integrity.
How to clean moss off roof (Step-by-step DIY guide)
Tools & supplies you’ll need
- Safety gear: Non-slip shoes, work gloves, safety harness for steep roofs
- Tools: Garden hose, soft-bristled brushes, pump sprayer, stable ladder
- Solutions: White vinegar (1:1 with water), commercial moss killers, or eco-friendly options
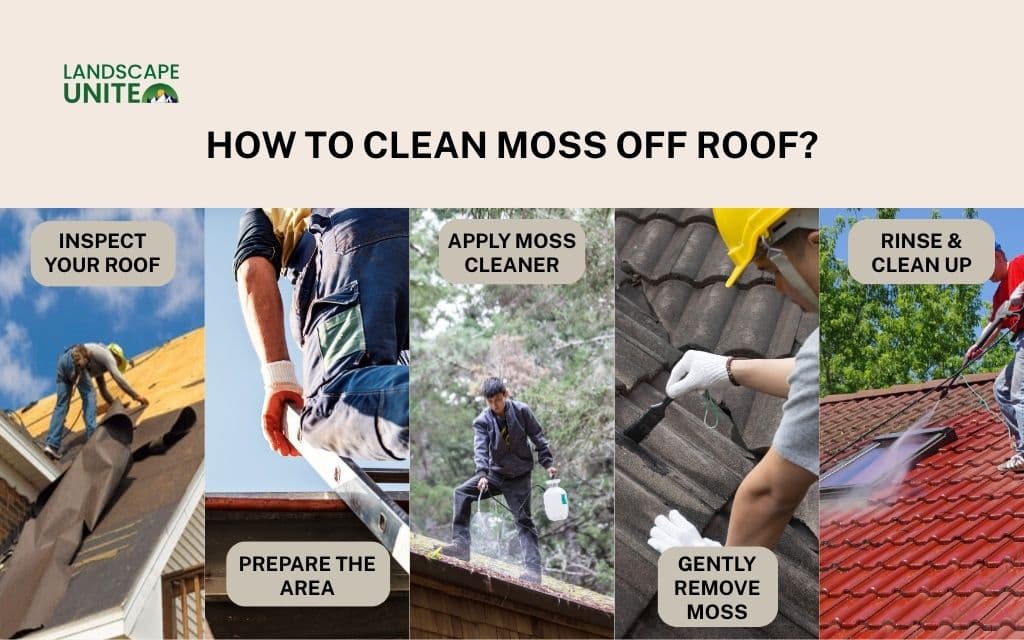
Step 1: Inspect your roof
Before beginning any cleaning process, conduct a thorough roof inspection from the ground using binoculars, then carefully inspect up close once you’re safely on the roof.
- Check for structural issues including loose, cracked, or missing shingles, damaged flashing around chimneys or vents, and any signs of sagging or water damage. If you discover significant damage, consider consulting a professional roofer before proceeding with moss removal.
- Identify moss concentration zones to plan your attack strategy. Note areas with the heaviest moss growth, typically found in valleys, along the north side of the roof, and areas shaded by trees or other structures.
This assessment helps you determine how much cleaning solution you’ll need and which areas require extra attention.
Step 2: Prepare the area
Proper preparation prevents damage to your landscaping and ensures efficient cleanup afterward.
- Clear gutters completely of leaves, debris, and any existing moss buildup. This prevents clogged downspouts during the cleaning process and ensures proper drainage of cleaning solutions and rinse water.
- Protect surrounding vegetation by covering plants, shrubs, and grass with plastic tarps or drop cloths. Even eco-friendly moss killers can be harmful to desirable plants if not properly diluted during rinsing.
- Ensure ladder stability by placing it on solid, level ground and having a helper hold it steady.
Step 3: Apply moss cleaner
- Choose your cleaning solution based on the extent of moss coverage and your environmental preferences. For light moss growth, a vinegar solution often proves sufficient. For heavier infestations, commercial moss killers designed specifically for roofs provide more powerful results.
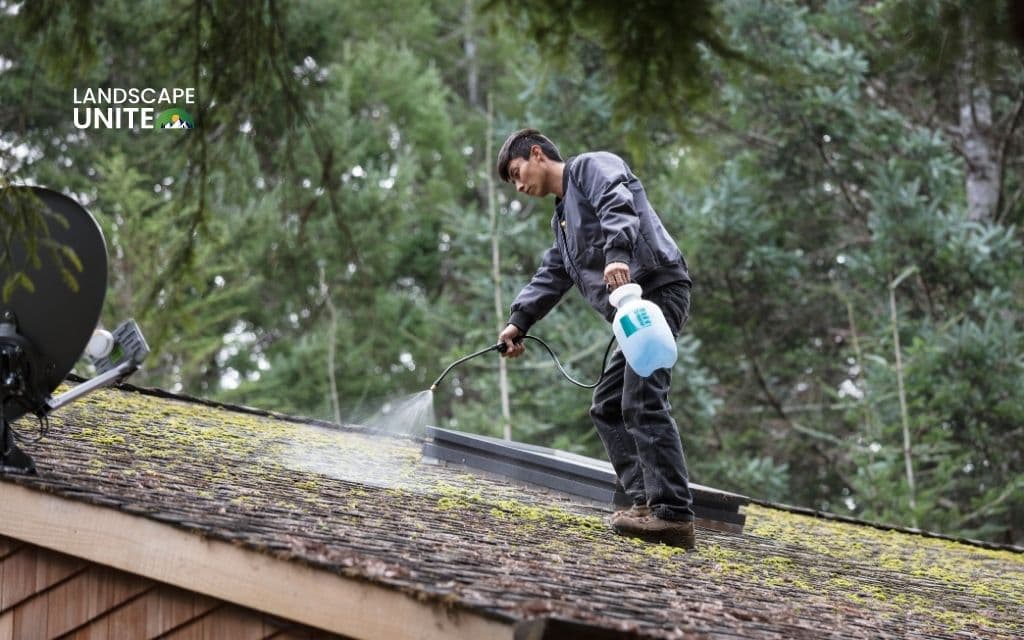
- Apply the solution generically using your pump sprayer, working from the bottom of the moss-covered area upward. This prevents the solution from running off before it has time to work effectively. Ensure complete saturation of all moss-covered areas.
- Allow adequate saturation time, typically 15 – 30 minutes for most solutions, though some commercial products may require longer contact time. Read manufacturer instructions carefully and avoid letting solutions dry completely on the roof surface, as this can make removal more difficult.
Step 4: Gently remove moss
- Use proper technique by scrubbing with soft-bristled brushes in a downward motion only, following the natural direction of water flow on your roof. Never scrub upward, as this can lift shingles and force water underneath them.
- Avoid power washing asphalt shingles, as the high pressure can strip protective granules and significantly reduce your roof’s lifespan. The gentle action of hand scrubbing, combined with effective moss-killing solutions, provides better long-term results.
Work across the roof, focusing on small sections at a time. Dead moss should come away relatively easily after proper treatment. If moss remains stubbornly attached, apply additional solution and wait longer rather than increasing scrubbing pressure.
Step 5: Rinse & clean up
- Rinse thoroughly using your garden hose with gentle water pressure, again working from top to bottom to ensure all moss debris and cleaning solution residue flows toward gutters and downspouts.
- Dispose of moss debris properly by collecting it in tarps or bags for disposal. Don’t allow moss to accumulate in gutters or on the ground around your home, as it can simply reestablish itself in these new locations.
- Rinse landscaping thoroughly to remove any cleaning solution residue that may have contacted your plants, even if they were covered during the cleaning process. This extra precaution helps ensure your garden remains healthy.
How to prevent moss from coming back
Successful moss prevention requires addressing the underlying conditions that allow moss to establish and thrive on your roof.
- Install zinc or copper strips along the ridge of your roof. When rainwater flows over these metal strips, it picks up trace amounts of zinc or copper ions that are naturally toxic to moss and algae.
- Trim overhanging branches to increase sunlight exposure and air circulation around your roof. Focus particularly on branches that cast shadows during the morning hours when dew evaporation is most critical for preventing moss establishment.
- Improve attic ventilation by ensuring adequate soffit and ridge venting. Proper ventilation reduces moisture buildup that can contribute to moss-friendly conditions and also helps prevent ice dam formation in colder climates.
- Establish routine maintenance schedules including bi-annual roof and gutter cleaning, annual moss inspections during late spring, and prompt removal of organic debris like leaves and twigs that accumulate in roof valleys.
- Consider professional treatments for severe cases or if moss continues returning despite your prevention efforts. Professional-grade treatments often provide longer-lasting results and may include warranty protection.
Conclusion
Removing moss from your roof protects your home’s structural integrity and maintains property value. With proper preparation, the right tools, and systematic approach, DIY moss removal is entirely achievable.
Focus on prevention through metal strips, improved sunlight exposure, and regular maintenance to avoid future problems. For extensive moss coverage or if you’re uncomfortable working at heights, consult professional roofers.
Visit our landscape knowledge library for more home maintenance tips and seasonal care guides to keep your property in top condition.
Frequently asked questions (FAQs)
What is the best moss remover for roofs?
Zinc sulfate-based products or eco-friendly options with potassium salts work well without harming vegetation. For DIY solutions, white vinegar mixed 1:1 with water effectively treats light moss growth, though commercial products handle severe infestations better.
Can I pressure wash moss off my roof?
No, pressure washing damages asphalt shingles by stripping protective granules and can force water underneath, causing leaks. Use gentle hand scrubbing with soft brushes after applying moss-killing solutions.
Is roof moss removal covered by homeowners insurance?
Moss removal is considered routine maintenance and typically isn’t covered. However, damage caused by moss (like leaks or rot) may be covered depending on your policy terms.
How long does it take for moss to grow back?
With proper prevention measures, moss may not return for 3 – 5 years. In ideal growing conditions without prevention, regrowth can begin within 6 – 12 months.
Are vinegar or bleach safe for removing roof moss?
White vinegar is safe for most roofing materials and environmentally friendly when properly diluted. Bleach can damage shingles and harm landscaping. If used, dilute heavily (1:10 ratio) and rinse thoroughly.
