If you’re tired of watering your garden, battling weeds, and spending hundreds of dollars on bagged mulch each year, you’re not alone. Many homeowners struggle with these exact challenges, wondering if there’s a better way to maintain a healthy, beautiful garden without breaking the bank or their backs.
The answer lies in wood chips as mulch – an organic solution that addresses every common gardening frustration. Using wood chips for mulch is one of the most effective, sustainable, and budget-friendly strategies available to modern gardeners.
This guide will walk you through everything you need to know about mulching a garden with wood chips. You’ll discover how this simple switch can reduce your maintenance time while improving your soil health and plant vitality.
What are wood chips for garden use?
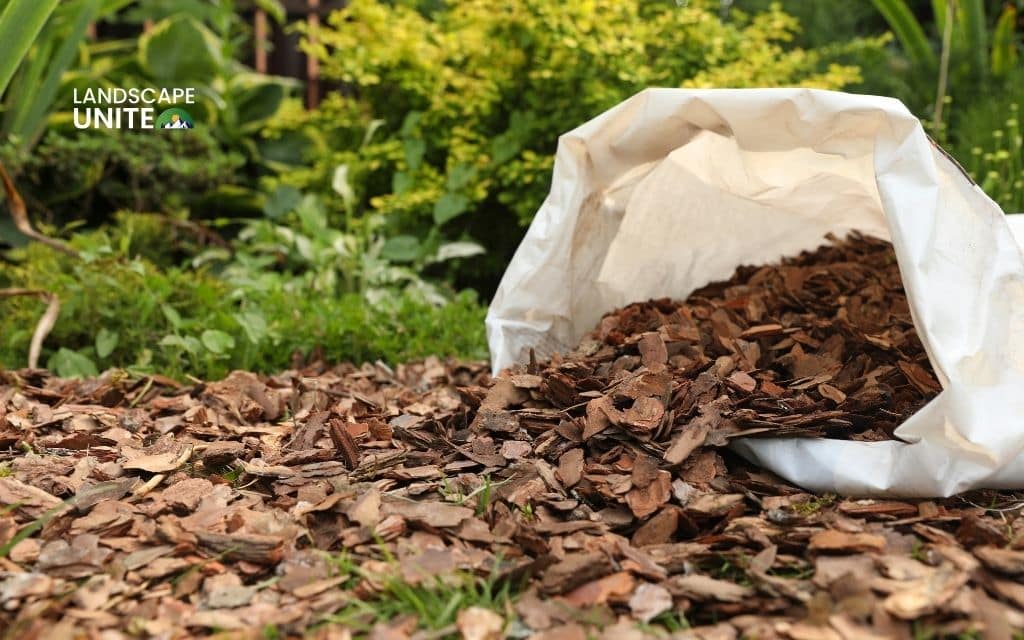
Garden wooden chips are small fragments of wood created through mechanical processing of tree branches, bark, and woody materials. Unlike synthetic mulches, these organic pieces break down over time, feeding your soil with essential nutrients and improving its structure naturally.
Think of wood chips as nature’s own slow-release fertilizer system. As they decompose, they create the same forest floor conditions that have nurtured plants for millions of years – rich, moisture-retentive soil teeming with beneficial microorganisms.
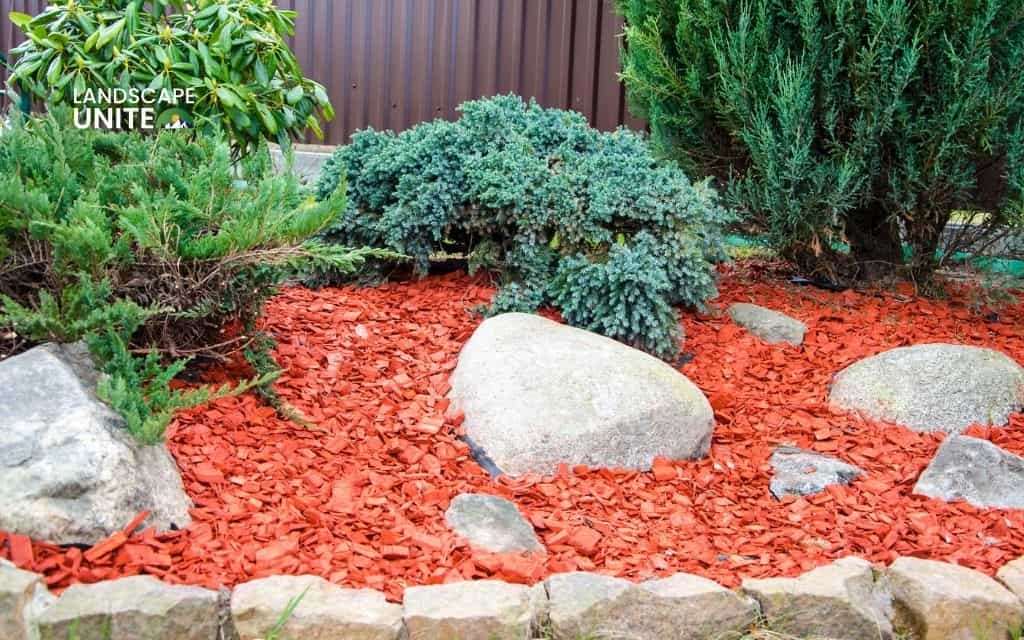
Key characteristics of quality mulch chips:
- Size ranges from ½ inch to 2 inches for optimal coverage
- Mixed composition of bark, wood, and sometimes leaves
- Natural brown colors (avoid artificially dyed products)
- Fresh, earthy scent without chemical odors
How is wood mulch made?
Chipping wood for mulch involves several steps that directly impact the quality and performance of your final product. Understanding this process helps you make informed decisions when sourcing materials.
- Material collection: Tree services, utility companies, and municipalities gather branches from pruning, storm cleanup, and routine maintenance
- Mechanical processing: Industrial chippers reduce branches into uniform pieces, creating consistent mulch chips
- Screening and sorting: Materials are filtered by size and composition
- Optional aging: Some producers age chips for 6 – 12 months, allowing initial decomposition and pH stabilization
Pro tip: The best woodchip soil amendments come from local sources using native tree species, as they’re adapted to your regional climate and soil conditions.
Types of wood chips and mulch options
Not all wood chips and mulch are created equal. Choosing the right type for your specific garden needs can make the difference between success and disappointment.
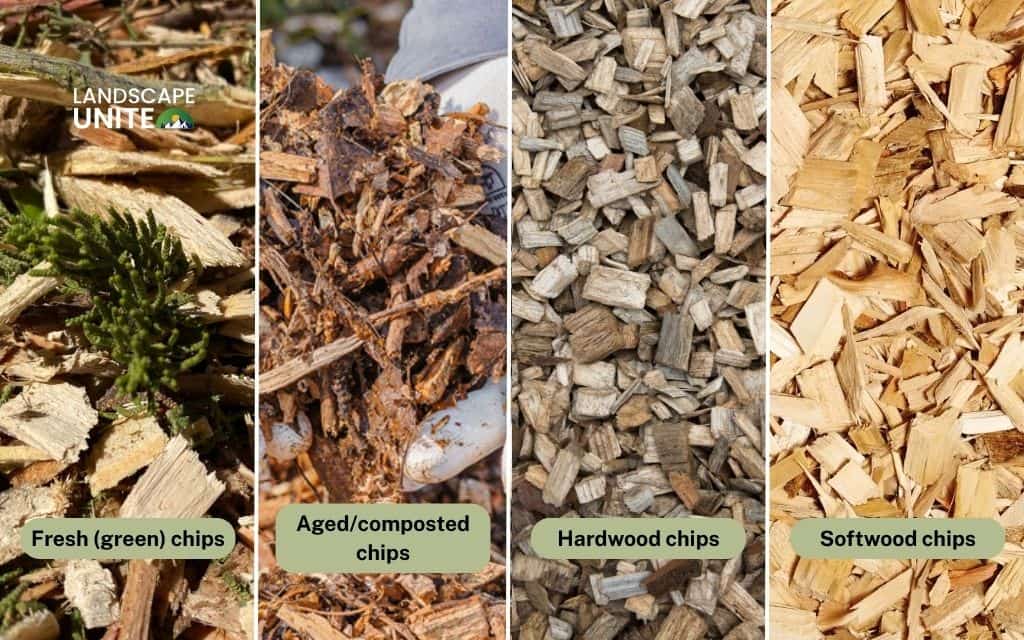
Fresh (green) chips
- Recently processed materials with high moisture content
- Ideal for pathways, around established trees, and erosion control
- May temporarily tie up surface nitrogen during initial decomposition
- Often available free from local tree services
Aged/composted chips
- Weathered for 6+ months, with stable nutrient profile
- Perfect for vegetable gardens and annual flower beds
- Darker color and finer texture
- Slightly higher cost but eliminates nitrogen concerns
Hardwood chips (oak, maple, hickory)
- Dense, long-lasting coverage
- Excellent for permanent plantings and walkways
- Slower decomposition means less frequent replacement
- Neutral pH impact on soil
Softwood chips (pine, cedar, fir)
- Naturally pest-repellent properties
- Lighter weight, easier to spread
- May slightly acidify soil (beneficial for acid-loving plants)
- Faster decomposition provides quicker soil benefits
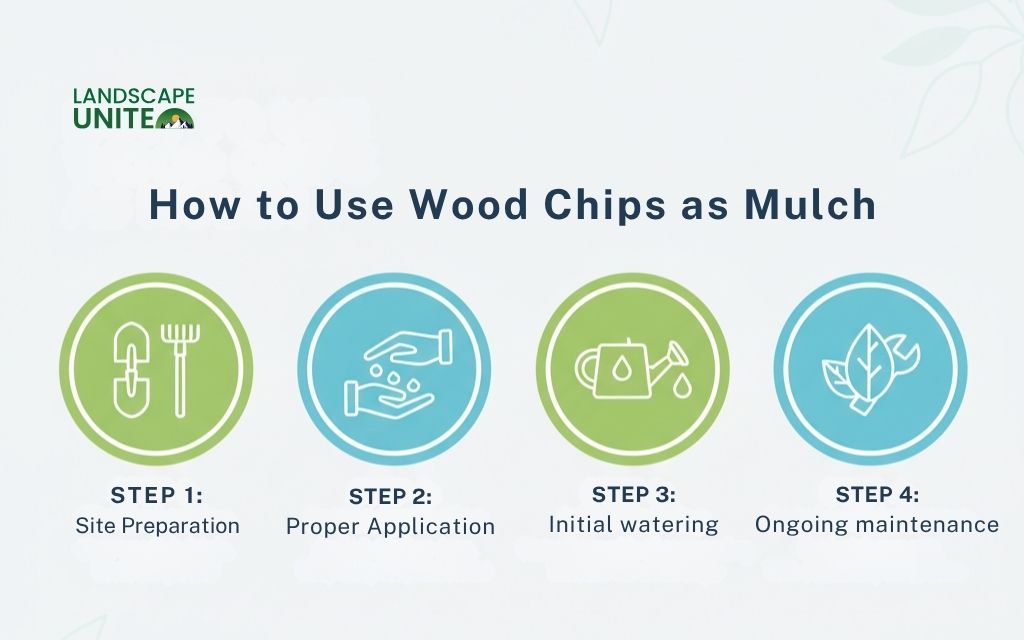
Step-by-step guide to use wood chips as mulch
Using wood chips for mulch successfully requires proper preparation and application techniques. Follow these proven steps for optimal results:
Step 1: Site preparation
- Remove existing weeds and debris
- Lightly cultivate soil surface (no deep tilling needed)
- Water area if soil is extremely dry
- Install any edging or borders before mulching
Step 2: Proper application
- Spread chips 2 – 4 inches deep for most applications
- Maintain 3-inch clearance around plant stems and tree trunks
- Create slightly thicker layers (4 inches) around trees and shrubs
- Use thinner applications (2 inches) near small perennials
Step 3: Initial watering
- Lightly irrigate to settle chips and begin microbial activity
- Avoid heavy watering that might displace lightweight materials
- Monitor moisture levels during first few weeks
Step 4: Ongoing maintenance
- Rake annually to prevent matting and improve air circulation
- Add 1 – 2 inch refresh layer every 18 – 24 months
- Remove any weeds that emerge before they establish
Benefits of wood chips as garden mulch
The advantages of mulching a garden with wood chips extend far beyond simple weed control.
Here’s how this organic approach transforms your garden ecosystem:
Water conservation
Wood chip mulch reduces evaporation, dramatically cutting your irrigation needs. In drought-prone regions, this translates to significant water bill savings and improved plant resilience during dry spells.
Soil health enhancement
As chips decompose, they feed beneficial soil organisms, creating rich woodchip soil that rivals expensive commercial composts. This gradual process improves soil structure, drainage, and nutrient retention naturally.
Temperature regulation
A proper wood chip layer moderates soil temperature swings, keeping roots cooler in summer heat and providing insulation during winter freezes. This stability reduces plant stress and extends growing seasons.
Weed suppression
Dense wood chip coverage blocks sunlight from reaching weed seeds, reducing germination by 85-90%. The few weeds that do emerge are easily removed from the loose, organic surface.
Cost savings
Free or low-cost wood chips from local sources can replace expensive bagged mulches, saving typical homeowners $200-500 annually on garden maintenance supplies.
Disadvantages of wood chips
Honest evaluation of disadvantages of wood chips helps you make informed decisions and avoid common pitfalls:
Nitrogen tie-up concerns
Fresh wood chips may temporarily reduce surface nitrogen availability as soil microbes begin decomposition. However, this effect is limited to the top inch of soil and doesn’t impact established plant roots in deeper layers.
Solution: Use aged chips near sensitive plants or add compost when applying fresh materials.
Potential pest issues
Improperly applied wood chips near building foundations may attract termites or carpenter ants. However, this risk is easily managed with proper placement.
Solution: Maintain 12-18 inch clearance between mulch and structures.
Weather displacement
Lightweight chips can wash away during heavy rains or blow around in windy conditions, especially on slopes.
Solution: Choose coarser hardwood chips for problem areas and use temporary stabilization if needed.
Maintenance requirements
Wood chips require periodic refreshing as they decompose, typically every 2-3 years depending on climate and material type.
Solution: Plan for annual top-dressing as part of routine garden maintenance.
Common mistakes when using wood chips
Avoid these frequent errors that can turn wood chip benefits into problems:
- Never mix chips into soil: Apply only as surface mulch. Incorporating wood chips into planting soil causes severe nitrogen depletion and poor plant growth.
- Avoid “mulch volcanoes”: Piling chips against tree trunks creates moisture problems and encourages pest issues. Always maintain proper clearance.
- Don’t use treated materials: Pressure-treated lumber, painted wood, or chemically processed materials can contaminate soil and harm plants.
- Prevent over-application: Layers thicker than 4 inches restrict air flow and can suffocate plant roots.
- Plan for regular maintenance: Neglected wood chip mulches become compacted and lose effectiveness over time.
Conclusion
Wood chips as mulch represent one of the most effective, sustainable solutions available to modern gardeners. When applied correctly, they address virtually every common garden challenge while improving soil health and reducing maintenance requirements.
Start with a small area this season – you’ll quickly see why experienced gardeners consider wood chip mulching an essential practice.
By embracing this organic approach, you’re not just improving your garden – you’re participating in sustainable practices that benefit your local ecosystem while saving money and time. Your plants, soil, and wallet will thank you for making the switch to wood chip mulching.
Ready to transform your garden with more organic mulching solutions? Explore our garden knowledge base for expert guides, seasonal application tips, and sustainable yard care strategies!
Frequently asked questions (FAQs)
Is wood chip mulch safe for vegetable gardens?
Absolutely, especially aged chips. They provide excellent moisture retention and weed control while gradually improving soil health through organic matter decomposition.
How thick should I apply wood chips around trees?
Maintain 2 – 4 inches depth while keeping a 3-inch clearance from the trunk. This prevents moisture problems while providing optimal benefits.
Can fresh wood chips harm my plants?
Fresh chips are safe when used as surface mulch. Any nitrogen tie-up occurs only in the top inch of soil and doesn’t affect established plant roots.
How often should I replace wood chip mulch?
Plan to refresh with a 1 – 2 inch top layer every 18 – 24 months as the existing material decomposes and integrates into the soil.
Will wood chips attract termites to my house?
Only if placed directly against building foundations. Maintain proper clearance (12+ inches) and you’ll have no pest issues.

