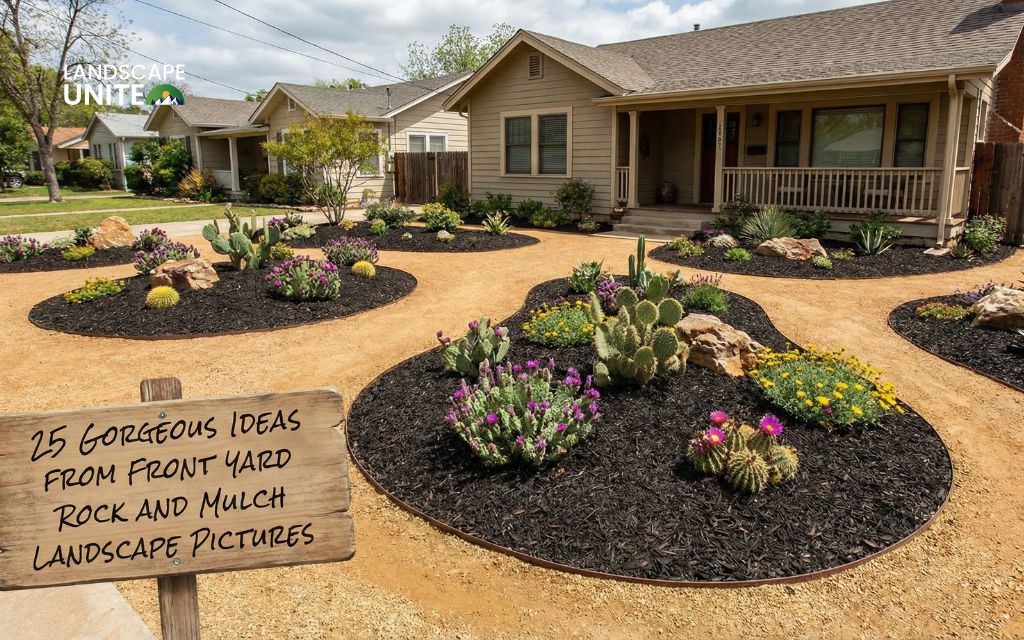
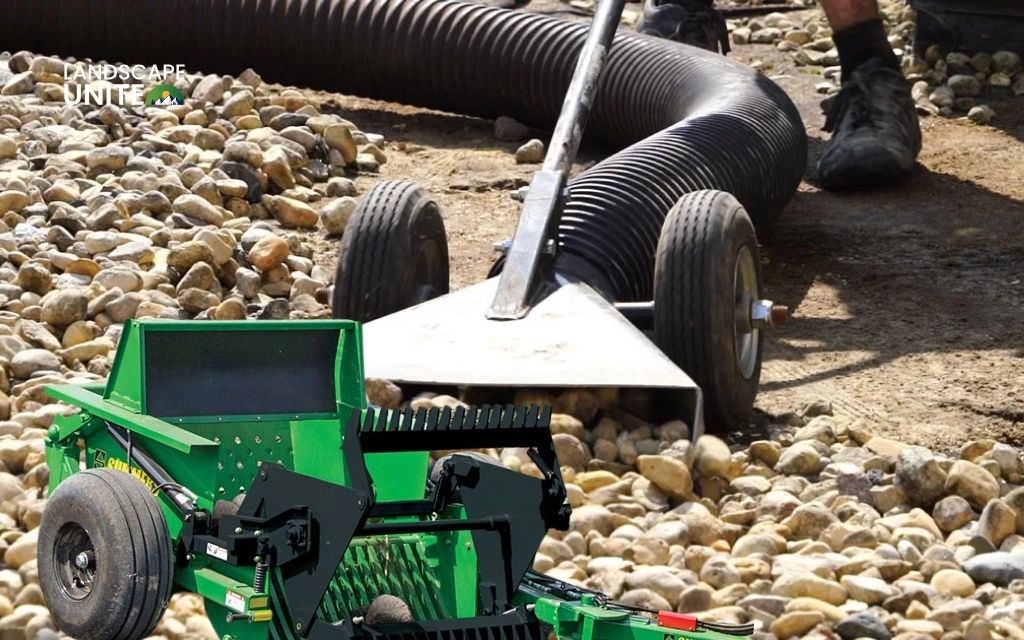
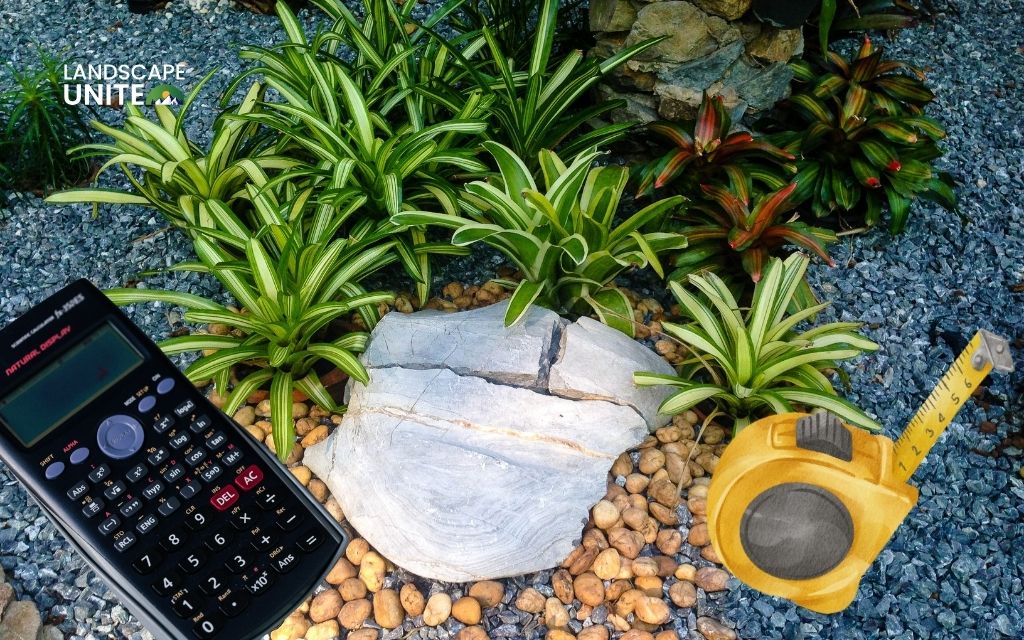
Have you been searching for ways to boost your home’s curb appeal without spending every weekend on yard work? Decorating flower beds with rocks might be exactly what you need. This landscaping approach combines natural stone materials with carefully selected plants to create eye-catching outdoor spaces that practically take care of themselves.
Rock flower beds offer serious advantages over traditional mulch gardens. They conserve water in drought-prone areas, suppress weeds effectively, and deliver year-round visual interest regardless of the season. From smooth river rock to angular crushed granite, these hardscaping elements create lasting beauty while reducing your maintenance time by up to 75%.
Whether you’re tackling a small front yard project or planning a complete backyard transformation, this guide walks you through everything you need to know. You’ll learn proper installation techniques, discover which plants thrive in rock environments, and avoid the common mistakes that trip up first-timers. Ready to create a landscape that turns heads and saves time?
Why homeowners choose decorative rocks for flower beds
Let’s cut straight to the practical benefits. When you’re deciding between rocks and traditional mulch, understanding the real-world differences matters more than aesthetic preferences alone.
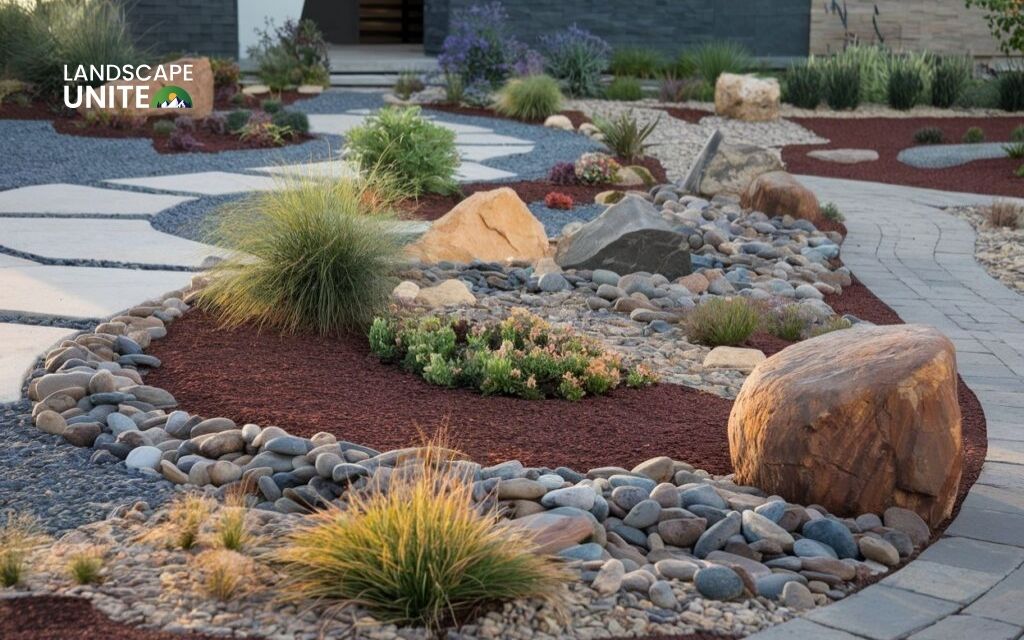
Key benefits of rock flower beds:
- Indefinite lifespan: Rocks last forever while mulch needs annual replacement
- Water savings: Reduce watering needs by 50-75% compared to mulched areas
- Long-term economics: Rock beds become more economical after just 3-4 years
- Market growth: Global landscaping rock market projected to reach $4.14 billion by 2033
- Temperature benefits: Rocks increase soil temperature by 5-15°F, creating ideal conditions for succulents and Mediterranean plants
- Permanent solution: Semi-permanent investment that withstands weather without degrading
The maintenance paradox you should know: Rock beds get marketed as “low-maintenance,” and that’s partially true. However, here’s something most guides won’t tell you: while rocks require less frequent attention, the maintenance they do need is specialized. Removing debris from between stones takes more effort than raking mulch, and rocks are extremely difficult to remove once installed.
Best situations for rocks: Xeriscaping projects, sloped areas needing erosion control, modern architectural designs, and foundation plantings around your house.
When mulch serves you better: Vegetable gardens requiring soil enrichment, acid-loving plants like azaleas, and landscapes you redesign frequently.
Critical reality: Rocks don’t automatically prevent weeds. Without proper landscape fabric installation, weed seeds still germinate between stones, and removing those weeds becomes significantly harder than from mulched beds. This common misconception trips up many homeowners who skip the fabric thinking rocks alone will solve their weed problems.
Rock flower beds vs. traditional mulch
Understanding the pros and cons rocks vs mulch flower beds helps you make informed decisions for your specific landscape needs. Let’s break down the real differences beyond marketing claims.
Side-by-side comparison
| Factor | Rock Flower Beds | Traditional Mulch |
| Lifespan | 10+ years | 1-2 years |
| Cost (Year 1) | $300-$800 | $100-$300 |
| Annual Cost | $0-$50 | $100-$400 |
| Maintenance | Very Low | Medium-High |
| Weed Control | Excellent (with fabric) | Good (needs replacement) |
| Soil Health | Neutral | Improves (adds nutrients) |
| Aesthetics | Modern, permanent | Natural, organic |
| Drainage | Excellent | Good |
| Plant Heat Stress | Higher (heat reflection) | Lower (insulates) |
The soil health consideration matters significantly. Rock mulch is permanent and doesn’t decompose, eliminating annual replacement but providing zero soil enrichment. Organic mulch breaks down over time, adding nutrients and improving soil structure.
When to choose each option
Choose rocks for:
- Permanent landscapes where you won’t be redesigning frequently
- Sloped areas requiring erosion control and stability
- Drought-prone areas where water conservation is essential
- Low-maintenance needs with minimal time for yard work
- Modern architectural styles complementing contemporary homes
- Foundation plantings around houses where drainage matters
Choose mulch for:
- Vegetable gardens needing nutrient-rich soil
- Frequent replanting and seasonal design changes
- Soil improvement projects for nutrient-poor areas
- Traditional aesthetics matching classic landscape styles
- Acid-loving plants like azaleas and rhododendrons
- Beds with moisture-loving perennials
Many homeowners successfully use both materials in different areas of their property. Rock beds near foundations and in front yards provide curb appeal with minimal maintenance, while mulched vegetable gardens and perennial borders deliver soil enrichment where plants need it most.
Want to dive deeper into making the right choice for your specific situation? Our comprehensive mulch alternatives guide explores additional options and helps you match materials to your landscape goals and maintenance preferences.
Selecting the best rocks for flower beds around house
Choosing your rock type sets the foundation for your entire design. Different stones create distinctly different aesthetics and serve varying functional purposes.
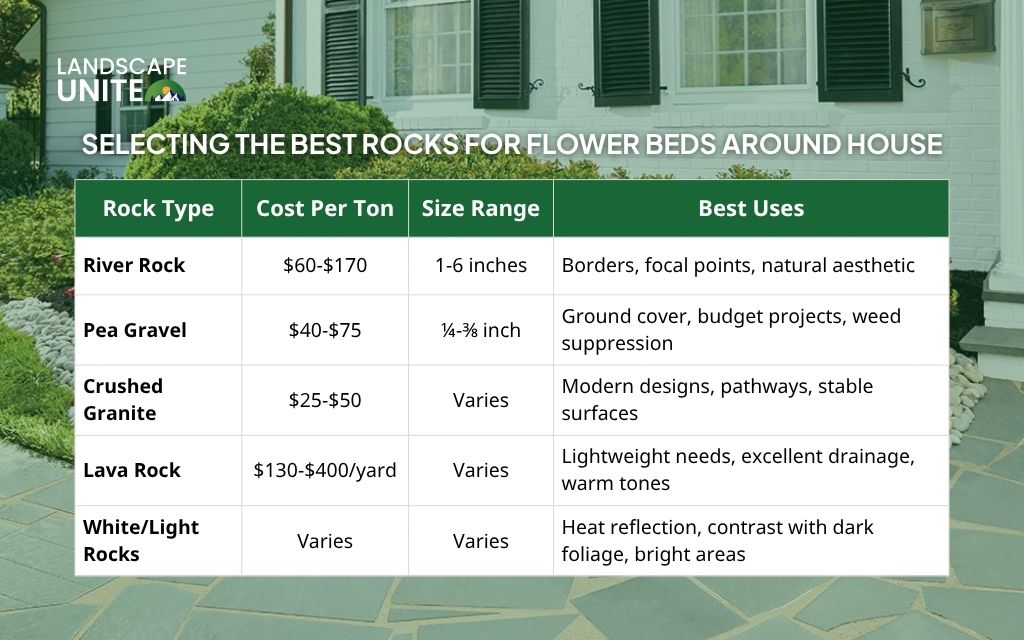
| Rock Type | Cost Per Ton | Size Range | Best Uses |
| River Rock | $60-$170 | 1-6 inches | Borders, focal points, natural aesthetic |
| Pea Gravel | $40-$75 | ¼-⅜ inch | Ground cover, budget projects, weed suppression |
| Crushed Granite | $25-$50 | Varies | Modern designs, pathways, stable surfaces |
| Lava Rock | $130-$400/yard | Varies | Lightweight needs, excellent drainage, warm tones |
| White/Light Rocks | Varies | Varies | Heat reflection, contrast with dark foliage, bright areas |
For the river rock vs pea gravel flower beds debate: Pea gravel costs less and suppresses weeds more effectively due to tighter stone spacing. River rock provides more visual drama with varied sizes and works beautifully for creating focal points. Many homeowners use both: larger river rock for borders and visual anchors, with pea gravel filling interior spaces.
Professional design secret: Use a single rock type throughout each bed. Mixing multiple stone varieties typically creates a disjointed, artificial appearance rather than the cohesive natural look you’re aiming for. Professional landscape designers consistently recommend this approach for polished results.
Want detailed comparisons of specific rock types for your region, including local availability and delivery options? Our complete rock selection guide covers everything from color coordination to texture matching. And if you’re wondering about landscape rock delivery near me options, we’ll help you find suppliers who can bring materials directly to your property, saving you multiple trips and heavy lifting.
How to decorate flower beds with rocks and plants: 5 essential steps
Ready to transform your flower bed? This proven installation process ensures professional results even if you’ve never tackled a landscaping project before.
Step 1: Prepare your area properly
Mark your flower bed outline using spray paint or a garden hose. Remove all weeds, grass, and debris. Level the soil surface and create a slight slope away from your house foundation to prevent water pooling.
Step 2: Install rock flower bed edging
Dig a trench 4-6 inches deep along your marked border. Add 1-2 inches of leveling sand, then place your edging stones flush and level. Rock flower bed edging installation requires patience because uneven edges become obvious once rocks are added. Backfill with soil for stability.
Step 3: Lay landscape fabric correctly
Here’s how to keep rocks from sinking in flower beds: heavy-duty commercial-grade landscape fabric. Roll out fabric with fuzzy side down. Overlap sheets by 6-12 inches. Cut X-shaped slits for existing plants. Secure every 12 inches with landscape stakes.
Without fabric, weed seeds germinate between stones and become exponentially harder to remove than from mulch.
Step 4: Add plants strategically
Before spreading rocks, cut through fabric and create soil pockets for new plants.
Plant categories for rock beds:
- Succulents: Sedum, Hens and Chicks, Agave
- Perennials: Lavender, Creeping Phlox, Russian Sage
- Ornamental Grasses: Blue Fescue, Fountain Grass
- Groundcovers: Rock Cress, Ajuga, Irish Moss
Avoid: Moisture-loving plants like hostas and acid-lovers like azaleas.
Looking for more drought tolerant plants for rock gardens? Our complete planting guide features regional recommendations.
Step 5: Spread rocks thoughtfully
Place larger rocks as visual anchors first. Fill around them with smaller stones, maintaining 2-3 inch depth throughout. Never exceed 3 inches. Keep rocks 1-2 inches away from plant stems to prevent crown rot.
Rock mulch flower bed ideas: design principles for stunning results
Great installation techniques get you halfway there. Thoughtful design transforms competent execution into landscapes that genuinely impress.
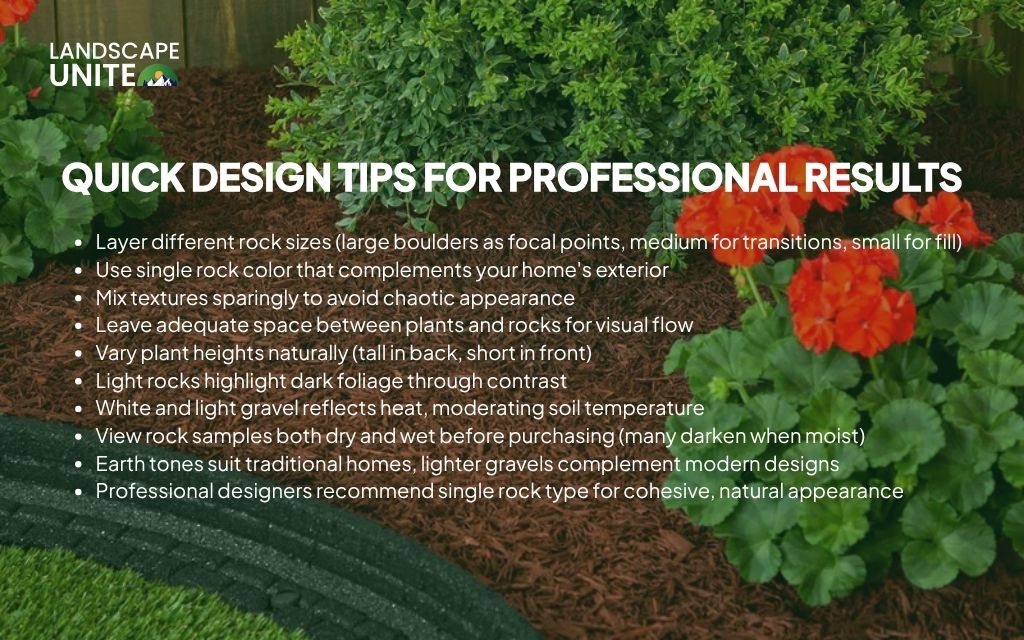
Quick design tips for professional results:
- Layer different rock sizes (large boulders as focal points, medium for transitions, small for fill)
- Use single rock color that complements your home’s exterior
- Mix textures sparingly to avoid chaotic appearance
- Leave adequate space between plants and rocks for visual flow
- Vary plant heights naturally (tall in back, short in front)
- Light rocks highlight dark foliage through contrast
- White and light gravel reflects heat, moderating soil temperature
- View rock samples both dry and wet before purchasing (many darken when moist)
- Earth tones suit traditional homes, lighter gravels complement modern designs
- Professional designers recommend single rock type for cohesive, natural appearance
Want more rock landscaping ideas front yard flower beds inspiration? Our design gallery features before-and-after transformations, seasonal color combinations, and style-specific approaches from cottage gardens to desert xeriscapes.
Common mistakes that undermine rock flower beds
Learning from others’ errors saves you time, money, and frustration. Here are the mistakes that appear consistently in unsuccessful projects:
- Skipping landscape fabric: Leads to weeds between stones that are harder to remove than from mulch
- Excessive rock depth: Depths over 3 inches create harmful soil temperatures and restrict water penetration
- Mixing multiple rock types: Creates visual chaos rather than cohesive design
- Wrong plant selection: Moisture-loving and acid-preferring plants struggle regardless of installation quality
- Rocks touching stems: Causes crown rot and concentrates heat stress on sensitive tissue
- No edging: Results in scattered rocks and messy lawn-to-bed transitions
- Poor drainage planning: Water pools despite rocks draining quickly; proper slope is essential
Quick maintenance guide for lasting beauty
Rock beds require less maintenance than mulched gardens, but they’re not maintenance-free. Understanding what attention they need keeps them looking sharp.
- Monthly: Remove fallen leaves and debris with leaf blower or rake. Spot-treat emerging weeds immediately.
- Seasonally: Spring assessment for winter damage and rock repositioning. Fall cleanup before leaves decompose.
- Annually: Inspect fabric for tears or exposure. Replenish thin areas with fresh rocks.
- When to consider changes: Fabric deterioration (7-15 year lifespan), declining plant health despite proper care, or severe weed infiltration. The semi-permanent nature of rock beds means major changes involve labor-intensive removal, making initial planning crucial.
FAQs about decorating flower beds with rocks
Do I need landscape fabric under rocks?
Yes, absolutely. Commercial-grade landscape fabric prevents weeds and stops rocks from sinking into soil. Without fabric, weed removal becomes extremely difficult as seeds germinate between stones. The roots establish in soil below while foliage emerges through rock gaps, making extraction challenging. Secure fabric every 12 inches with stakes and overlap seams by 6-12 inches for complete coverage. This step determines whether your rock bed succeeds or becomes a maintenance nightmare.
How deep should rocks be in flower beds?
Maintain 2-3 inches throughout your bed. This depth provides adequate weed suppression and attractive coverage while allowing water infiltration to plant roots. Never exceed 3 inches because excessive depth creates soil temperatures that stress even heat-tolerant plants. Scientific measurements show rock beds already increase soil temperature by 5-15°F compared to mulch. Additional depth intensifies this effect beyond what most plants tolerate, even drought-adapted species.
River rock vs pea gravel flower beds: which wins?
Choose based on your priorities and budget. Pea gravel costs less ($40-$75 per ton versus $60-$170 for river rock) and suppresses weeds more effectively due to tighter spacing between smaller stones. River rock provides more visual drama with varied sizes and works beautifully for creating focal points and borders. Many successful designs use both: river rock for borders and accent areas, pea gravel for interior fill. For comprehensive comparisons of all rock types, check our complete stone selection guide for detailed pros and cons.
What plants thrive in rock flower beds?
Select drought-tolerant, heat-loving species that handle the warmer, faster-draining conditions rocks create. Top performers include succulents (Sedum, Hens and Chicks, Agave), perennials (Lavender, Creeping Phlox, Russian Sage), ornamental grasses (Blue Fescue, Fountain Grass), and groundcovers (Rock Cress, Ajuga). Avoid moisture-loving plants like hostas and acid-preferring shrubs like azaleas because rocks increase soil temperature significantly and provide zero soil enrichment. For regional plant recommendations and design combinations, explore our comprehensive planting guides.
How much does a rock flower bed cost?
For a 100 square foot bed, expect to invest $230-$625 for DIY materials or $600-$1,500 with professional installation. Costs vary significantly based on rock type selection, edging materials, site preparation requirements, and regional pricing. Though rock beds cost more initially than mulch alternatives, they become more economical after 3-4 years since they never need replacement. For detailed pricing tailored to your specific project size and location, visit our cost calculator guides that break down expenses by material type and installation complexity.
Conclusion
Decorating flower beds with rocks creates landscapes that combine stunning visual appeal with practical water conservation and reduced maintenance demands. By following proper installation techniques including landscape fabric, strategic edging, compatible plant selection, and thoughtful rock placement, you’ll achieve professional results that enhance your home’s curb appeal while minimizing ongoing care requirements.
The key to success lies in careful planning from the start. Remember that rock beds represent a semi-permanent investment due to the labor-intensive removal process. Choose your rock type wisely, select plants that thrive in warmer soil conditions, and never skip the landscape fabric that prevents the weed problems plaguing so many rock bed projects.
Ready to transform your outdoor space? Start measuring your area, selecting drought-tolerant plants suited to your region, and gathering quality materials for installation. Your weekend project will deliver years of low-maintenance beauty.
Landscape Unite provides expert gardening and landscape design guidance, offering practical tips and inspiring ideas for homeowners seeking to create beautiful outdoor spaces.Contact Landscape Unite to discover more great landscaping tips and explore new posts on our blog for continued garden beautification inspiration and seasonal project ideas.
