Nothing transforms a landscape faster than clean, well-maintained flower beds. Whether you’re tackling spring cleanup to prepare for vibrant blooms or fall maintenance to protect your garden through winter, cleaning flower beds is essential for healthy plants and stunning curb appeal.
This comprehensive guide walks you through the entire process, from determining the best timing for your climate zone to mastering techniques for removing weeds without damaging perennials. You’ll discover exactly which tools you need, how to decide between spring and fall cleanup, and when it makes sense to hire professionals versus DIY.
Whether your beds are slightly overgrown or completely neglected, you’ll find practical, actionable solutions tailored to your situation. Ready to transform those messy beds into the pride of your property? Let’s dig in.
Why flower bed cleaning matters (more than you think)
Cleaning flower beds isn’t just about appearances. This fundamental garden maintenance practice creates the foundation for everything that happens in your landscape throughout the growing season. When you remove debris, dead plants, and competing weeds, you’re giving your desired plants the resources they need to thrive.
The hidden costs of neglected flower beds
Ignoring your flower beds comes with real consequences. Weeds steal water and nutrients from your prized perennials. Old mulch harbors disease and insects that attack healthy plants. Dead foliage blocks sunlight and traps moisture, creating perfect conditions for fungal problems. Over time, grass creeps inward from lawn areas, shrinking your beds and making future cleanup exponentially harder.
Property value takes a hit too. Real estate professionals consistently report that well-maintained landscaping can increase home value by 5-10%, while neglected beds signal deferred maintenance to potential buyers.

How clean beds boost plant health and curb appeal
Clean flower beds allow air to circulate around plant crowns, reducing disease pressure. When you remove spent annuals and cut back perennials properly, you eliminate hiding spots for pests and reduce competition for soil nutrients. Fresh mulch suppresses new weed germination while maintaining consistent soil moisture and temperature.
The visual impact is immediate and dramatic. Defined edges, tidy mulch, and healthy plants create focal points that draw the eye and frame your home beautifully. Neighbors notice, guests comment, and you feel proud every time you pull into your driveway.
The pollinator-friendly cleanup revolution
Here’s something most traditional gardening advice won’t tell you: aggressive fall cleanup might actually harm beneficial insects. The modern pollinator-friendly approach recommends leaving approximately 30% of flower bed debris, including hollow stems and some leaf litter, until late spring when temperatures stabilize.
Why does this matter? Native bees, butterflies, and other beneficial insects overwinter in plant materials. Mason bees lay eggs in hollow stems. Syrphid flies pupate in leaf litter. When you cut everything down in fall, you’re eliminating critical habitat for the very insects that pollinate your garden and control aphids naturally.
This doesn’t mean letting your beds turn into a jungle. You can still maintain a tidy appearance while supporting biodiversity by being selective about what you remove and when.
Spring vs. fall cleanup: when to tackle your flower beds
The best time to clean out flower beds depends on your goals, your climate zone, and increasingly, your ecological values. Both seasons offer advantages, and many gardeners now split the work between them.
Best time to clean flower beds for your climate zone
Geography matters tremendously in determining optimal cleanup timing. Your climate zone dictates when plants go dormant, when beneficial insects emerge, and when soil conditions allow you to work without causing damage.
Northern states in zones 3-5 should delay spring cleanup until late April or early May, when nighttime temperatures consistently reach 50°F for at least seven days. This temperature threshold matters because it signals that overwintering beneficial insects like native bees and butterflies have emerged from their winter shelter in plant debris.
Southern gardeners in zones 8-10 can begin spring work in early March, though the urgency is less critical since mild winters mean less dramatic seasonal transitions. Central zones 6-7 typically hit ideal conditions in mid-April.
Spring cleanup quick reference
| Your Zone | Start Cleanup | Key Signal |
| Zones 3-5 (North) | Late April to May | 50°F nights for 7+ days |
| Zones 6-7 (Central) | Mid-April | Forsythia blooming |
| Zones 8-10 (South) | Early March | After last frost |
The spring cleanup timeline (March-May)
Spring is traditionally the most popular time for cleaning flower beds, and for good reason. You can see exactly what survived winter, plants are just beginning active growth, and you’re naturally energized by warming weather to get outside.
The best time to clean flower beds in spring is after the last frost date for your area but before new growth gets too far along. Start by removing any remaining leaves and debris that accumulated over winter. Cut back perennials you left standing for winter interest or pollinator habitat, but wait until stems are dry and hollow to ensure beneficial insects have emerged.
This is also prime time for dividing overcrowded perennials, amending soil, and applying pre-emergent weed control before weed seeds germinate. You’ll see immediate results as fresh mulch goes down and plants begin their spring growth spurt.

Fall cleanup: why some experts say “wait until spring”
Fall cleanup has traditionally been the standard practice, but the ecological gardening movement is challenging this approach. The debate centers on balancing aesthetics and tidy winter landscapes against providing habitat for beneficial insects and birds.
If you choose fall cleanup, wait until after the first hard frost when plants have gone fully dormant. Remove spent annuals, cut back diseased perennial foliage that could harbor problems over winter, and refresh mulch to protect plant crowns from freeze-thaw cycles.
However, consider leaving seed heads on coneflowers, black-eyed Susans, and ornamental grasses. These provide food for birds through winter and add visual interest when covered with snow or frost. Leave some hollow-stemmed perennials like milkweed and mountain mint standing until spring to support overwintering insects.
Regional timing guide (North, South, East, West)
| Region | Spring Cleanup | Fall Cleanup | Special Considerations |
| Northern (Zones 3-5) | Late April to May | Complete by late October | Shortest growing season, protect against early freeze |
| Southern (Zones 8-10) | Late February to early March | November to December | Extended season, less dramatic transitions |
| Eastern (Humid) | April | October to November | Prioritize removing disease-prone foliage in fall |
| Western (Dry) | March to April | October to November | Focus on water conservation, time around rain patterns |
Essential tools and supplies for flower bed cleanup
Having the right tools transforms cleaning flower beds from an exhausting chore into a manageable project. You don’t need a shed full of expensive equipment, but investing in quality basics makes the work easier and protects your plants from damage.
Must-have hand tools for every gardener
| Tool | Purpose | Why You Need It |
| Garden rake | Remove leaves and debris | Flexible tines won’t damage plants |
| Bypass pruning shears | Cut perennial stems | Makes clean cuts up to 3/4 inch |
| Garden fork | Loosen soil, work in compost | Better than tilling for soil health |
| Hand trowel & weeder | Spot weeding, planting | Essential for detailed workhttps://docs.google.com/document/d/15ocI-JTaffOkOj3siCyxHOlxy-bYEUDYhV4v4O_tjlY/edit?tab=t.f6kpfdhr4k5x |
| Wheelbarrow or cart | Move materials | Saves time and energy |
| Flat-blade edger | Define bed borders | Prevents grass encroachment |
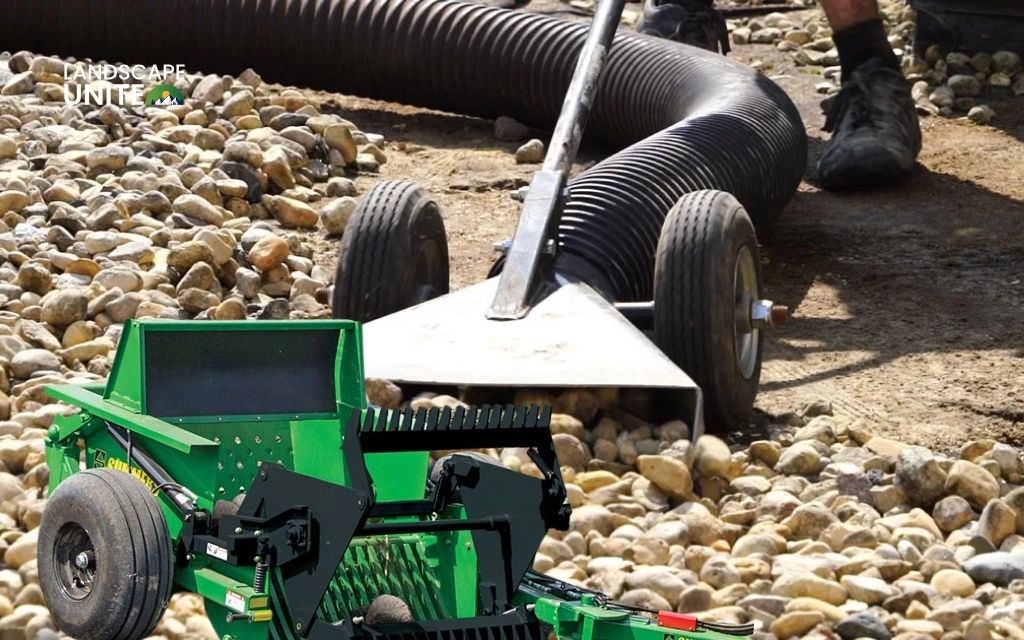
Power tools that save time (when to use them)
Power equipment speeds up large jobs but isn’t necessary for smaller beds or maintenance work.
- String trimmer with an edger attachment quickly redefines bed edges on straight runs. Be careful near plant stems, as string can damage bark and crowns.
- Leaf blower moves massive quantities of leaves quickly, though rakes work fine for smaller amounts and disturb soil less. Use lower power settings near plants.
- Tiller can help renovate heavily compacted beds, but modern no-till approaches often work better for soil health. If you till, do it once during renovation and then maintain beds without further tilling.
- Power hedge trimmer handles cutting back large ornamental grasses in one pass. Use it on ornamentals with tough, fibrous stems that would dull hand shears.
Safety gear and physical preparation
Cleaning flower beds is physical work. Protect yourself with proper gear and smart work habits.
Wear sturdy gloves to protect against thorns, splinters, and blisters. Knee pads or a garden kneeler save wear on joints during extended weeding sessions. Long sleeves and pants protect against poison ivy, insects, and sun exposure.
Lift properly by bending your knees and keeping your back straight. Take frequent breaks and stay hydrated. If you have physical limitations, work in shorter sessions over several days rather than pushing through pain.
Budget-friendly vs. premium tool options
Quality tools last decades when maintained properly, making them worth the investment. However, you can start with budget basics and upgrade over time.
For immediate use, mid-range tools from home centers serve most gardeners well. Spend more on items you’ll use constantly like pruning shears and hand tools. Save money on occasional-use items like specialized weeders.
Premium tools feature better steel that holds an edge longer, more comfortable grips, and replacement parts. Brands like Felco pruners and DeWit tools cost more upfront but often outlast several cheaper alternatives.
Step-by-step: how to clean flower beds (the complete process)
Learning how to clean flower beds in spring step by step ensures you don’t miss critical tasks or damage plants through improper timing. This systematic approach works whether you’re doing basic maintenance or tackling neglected beds.

Spring cleanup: your 8-step process
| Step | Task | Time Needed | Key Tips |
| 1 | Assess and plan | 15 minutes | Take photos, identify plants |
| 2 | Remove debris | 20-30 minutes | Rake gently near plant crowns |
| 3 | Cut back perennials | 30-45 minutes | Leave 2-3 inches above crown |
| 4 | Remove weeds | 30-60 minutes | Pull when soil is moist |
| 5 | Edge the beds | 15-20 minutes | Cut 2-3 inches deep |
| 6 | Prepare soil | 20-30 minutes | Add 1-2 inches compost |
| 7 | Apply pre-emergent | 10-15 minutes | When soil hits 55-60°F |
| 8 | Apply mulch | 30-45 minutes | 2-3 inches deep, follow 3-3-3 rule |
Step 1: Assess your flower beds and create a plan
Before you grab a rake, spend 15 minutes walking your property and evaluating each bed. Take photos from multiple angles. These “before” pictures provide motivation and help you track progress in future years.
Identify which plants are perennials worth saving versus weeds or unwanted volunteers. If you’re new to the property or uncertain about plant identification, wait until early spring when plants begin growing to see what emerges. Mark questionable plants with stakes and research them before deciding their fate.
Estimate how long cleanup will take based on bed size and condition. A well-maintained 50 square foot bed might need just 30-60 minutes. A neglected 200 square foot bed full of weeds could require 4-6 hours of work. Breaking large projects into manageable chunks prevents burnout.
Step 2: Remove debris, leaves, and dead annual plants
Start by clearing the surface. Rake out leaves, fallen branches, and accumulated debris. Don’t rake too aggressively near perennial crowns where new growth may already be emerging.
Compost pile: Healthy leaves, grass clippings, disease-free plant material
Trash bin: Diseased foliage, weed seed heads, treated wood mulch
Pull out dead annuals from last season, getting as much of the root system as possible. Petunias, marigolds, and impatiens typically die with the first frost and decompose over winter into brown, mushy remnants. These come out easily when soil is slightly moist.
Step 3: Cut back perennials (with important timing considerations)
Knowing how to clean flower beds without damaging perennials means understanding what to cut and when. Not all perennials should be cut back at the same time or in the same way.
Spring cutback guide:
- Cut to 2-3 inches: Hostas, daylilies, coneflowers, black-eyed Susans
- Prune to green growth: Lavender, Russian sage (don’t cut to ground)
- Leave standing until late spring: 30% of hollow stems for pollinators
For spring cleanup, cut back ornamental grasses and herbaceous perennials that died back over winter. Leave 2-3 inches of stem above the crown to protect the growing point.
Plants like lavender and Russian sage have woody bases that should be pruned back to green growth, not cut to the ground. Wait to see where new buds form, then prune just above them.
Step 4: Weed removal strategies that actually work
Learning how to remove weeds from flower beds without killing flowers requires recognizing different weed types and choosing appropriate control methods for each situation.
| Method | Best For | How To |
| Hand-pulling | Young weeds, near flowers | Pull when soil is moist, get entire root |
| Weeding tools | Taprooted weeds | Use fishtail weeder for dandelions |
| Vinegar (20%) | Weeds away from plants | Apply on sunny days |
| Boiling water | Cracks, isolated areas | Pour directly on weeds |
| Corn gluten meal | Prevention | Apply before germination |
For grass growing in flower beds, edge thoroughly to sever rhizomes connecting lawn to bed areas. Hand-pull grass clumps, getting roots. For persistent grass problems, consider smothering with cardboard covered by mulch, or spot-treating with appropriate herbicides while protecting nearby ornamentals.
Step 5: Edge your flower beds for clean, defined borders
Professional landscapers redefine bed edges annually because grass constantly tries to reclaim territory. Sharp edges instantly elevate your landscape’s appearance and make ongoing maintenance easier.
Use a flat-blade edger or half-moon edger to cut a clean line between lawn and bed. Cut straight down 2-3 inches to sever grass roots and rhizomes. Follow the natural curve of your beds, stepping on the edger blade for leverage in tough soil.
Create a slight angle with the bed side higher than the lawn side. This prevents soil and mulch from washing onto grass while making it harder for grass runners to invade.
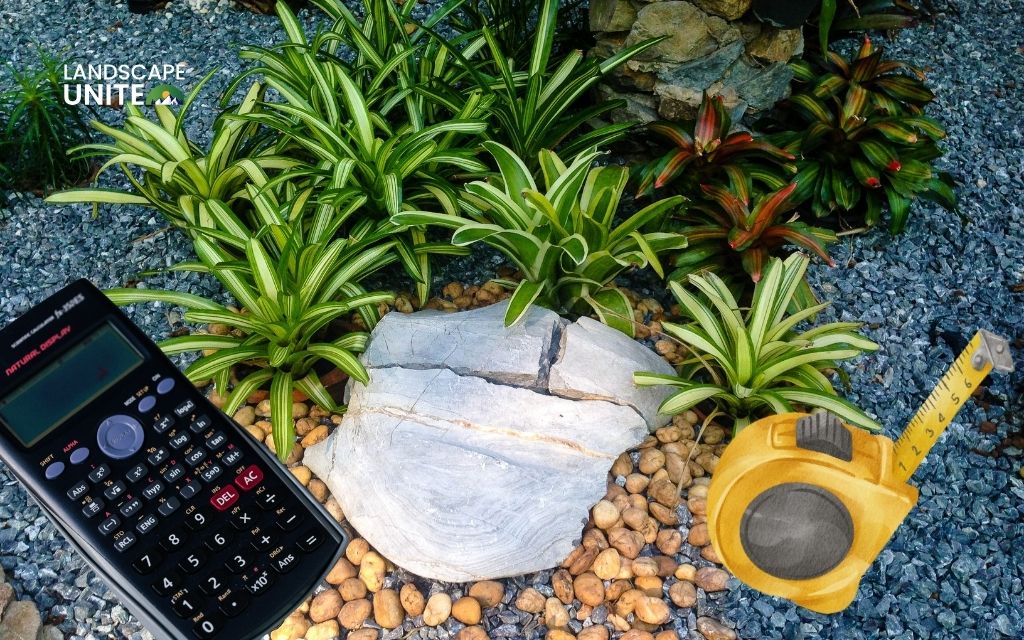
Step 6: Soil preparation and amendment
Healthy soil grows healthy plants. After removing weeds and debris, assess your soil quality and make improvements before mulching.
Quick soil prep checklist:
- Test pH (most flowers prefer 6.0-7.0)
- Add 1-2 inches aged compost
- Work into top few inches with garden fork
- Avoid working when too wet or too dry
The no-till method is gaining popularity because it preserves soil structure and beneficial microorganisms while preventing carbon release. Instead of tilling, simply top-dress with compost and let earthworms and soil biology incorporate it naturally.
Step 7: Apply pre-emergent weed control (optional)
Pre-emergent herbicides prevent weed seeds from germinating, saving you hours of hand-weeding later in the season. Timing is critical for these products to work effectively.
| Type | Application Rate | Duration | Best For |
| Corn gluten (organic) | 20 lbs per 1,000 sq ft | 6-8 weeks | Patient gardeners, adds nitrogen |
| Prodiamine (synthetic) | Follow label | 8-12 weeks | Maximum weed control |
Apply pre-emergents when soil temperatures reach 55-60°F for three consecutive days. This typically coincides with forsythia blooming in spring.
Important: Pre-emergents only work on seeds, not existing weeds. Clear all weeds before application.
Step 8: Mulch application for the finishing touch
Proper mulch application transforms cleaned flower beds from good to great. Mulch suppresses weeds, conserves moisture, regulates soil temperature, and gives beds a polished appearance.
The Professional 3-3-3 Mulch Rule:
- 3 inches deep = Optimal weed suppression and moisture retention
- 3-foot radius = Mulch-free zone around tree trunks
- 3 inches away = Clear space around all plant stems and crowns
Mulch options:
- Shredded hardwood bark: Longest-lasting, knits together
- Wood chips: Good value, breaks down faster
- Leaf compost: Enriches soil as it decomposes
- Rubber/stone: Low maintenance but doesn’t improve soil
Avoid “volcano mulching” where mulch is piled high against tree trunks or plant stems. This traps moisture against bark, encouraging rot and insect damage.
Tackling special flower bed cleanup challenges
Not all beds cooperate with standard cleanup procedures. These specialized situations require adapted strategies to achieve great results without causing more problems.
How to clean overgrown or neglected flower beds
The easiest way to clear overgrown flower bed areas depends on just how neglected they’ve become.
| Overgrowth Level | Best Method | Timeline |
| Severely neglected | Sheet mulching (lasagna method) | 3-6 months |
| Moderately overgrown | Section-by-section renovation | 2-4 weekends |
| Light overgrowth | Standard 8-step cleanup | 1 day |
Sheet mulching process:
- Mow down all vegetation
- Flag plants to save
- Lay cardboard (6-inch overlap)
- Wet thoroughly
- Cover with 4-6 inches mulch
- Plant through X-cuts immediately
This smothers weeds naturally without back-breaking digging. By the following season, cardboard has decomposed and weeds are eliminated.
Removing weeds without killing flowers
Selectivity is the key when dealing with weeds growing right next to prize perennials. Careful hand-pulling remains your safest option when weeds and flowers are intertwined.
Work when soil is moist but not saturated. Grasp weeds as close to the soil surface as possible and pull slowly and steadily to remove the entire root system without breaking it. Support the soil around nearby plants with your other hand to avoid disturbing their roots.
For chemical control, use selective post-emergent herbicides appropriate for your situation. Apply herbicides with a small pump sprayer or foam applicator for spot treatment rather than broadcast spraying. Use a cardboard shield to protect nearby desirable plants from drift.
Cleaning flower beds with heavy clay or compacted soil
| Problem | Solution | Frequency |
| Compaction | Use garden fork every 6-8 inches | Once during renovation |
| Poor drainage | Add 2-3 inches compost | Annually for 3-5 years |
| Hard clay | Apply gypsum (test first) | As needed based on soil test |
Address compaction first. Use a garden fork rather than a spade to loosen soil without inverting layers. Push the fork into soil every 6-8 inches and rock it back and forth to create cracks and air spaces.
Avoid working clay soil when it’s too wet. Digging or walking on wet clay destroys soil structure, creating hardpan layers that take years to recover.
Managing flower beds around trees and shrubs
Trees and shrubs add complexity to flower bed cleanup since their root systems spread throughout beds and their trunks can be damaged by careless tool use.
Do’s:
- Use hand tools near roots
- Keep mulch 3-6 inches from trunks
- Hand-pull weeds in root zones
- Choose shade-tolerant plants under trees
Don’ts:
- Cut large surface roots
- Pile mulch against bark
- Use herbicides near tree roots
- Plant sun lovers in dense shade
Cost considerations: DIY vs. hiring a professional
Understanding the financial side of cleaning flower beds helps you make smart decisions about which tasks to handle yourself and when professional help makes sense.
How much does flower bed cleanup cost?
Professional flower bed cleanup cost varies significantly based on bed size, condition, and regional labor rates. Basic maintenance on well-kept beds costs less than renovating neglected, overgrown areas.
Cost factors:
- Bed square footage
- Weed density and overgrowth level
- Accessibility (slopes, tight spaces)
- Debris disposal needs
- Additional services (mulch, plants)
For specific pricing information tailored to your situation, visit our blog for detailed cost guides that break down pricing factors by region and project scope.
When to DIY and when to call in the pros
| Choose DIY when you have: | Consider hiring professionals when: |
| Beds under 500 square feet | Beds over 1,000 square feet |
| Good physical fitness | Physical limitations exist |
| Basic tools available | Need power equipment |
| Time over multiple weekends | Need it done quickly |
| Interest in learning | Severe overgrowth beyond skill level |
The cost-benefit analysis often favors DIY for ongoing maintenance but professional help for major renovation projects. You might hire professionals for initial renovation, then maintain beds yourself going forward.
What professional services include
| Typically Included | Usually Extra |
| Debris removal | Mulch installation |
| Weed removal | Excessive debris disposal |
| Perennial cutback | Soil amendment |
| Bed edging | Plant installation/removal |
| Old mulch removal | Disease treatment |
Questions to ask before hiring:
- What specific tasks are included?
- How will they handle disposal?
- Are materials included or extra?
- What if they damage plants?
- Do they guarantee weed control?
- Will they provide photos?
Get at least three quotes for comparison, but don’t automatically choose the lowest bid.
Maintaining clean flower beds year-round
The real secret to beautiful flower beds isn’t one massive cleanup session. It’s consistent, minimal maintenance that prevents problems from developing.
Monthly maintenance tasks by season
| Season | Key Tasks | Time Investment |
| Spring | Remove winter debris, divide perennials, apply pre-emergent, refresh mulch, pull emerging weeds | 15-20 min/bed weekly |
| Summer | Deadhead blooms, pull weeds every 1-2 weeks, water deeply, monitor pests | 10-15 min/bed weekly |
| Fall | Remove spent annuals, cut back selected perennials, top-dress compost, apply mulch | 30-45 min/bed monthly |
| Winter | Avoid walking on frozen beds, brush snow off evergreens, plan spring changes | 5-10 min as needed |
Eco-friendly flower bed care practices
Supporting beneficial insects transforms flower bed maintenance from a battle against nature into partnership with it.
Pollinator-friendly practices:
- Leave 30% of hollow stems until late spring
- Maintain small brush piles in corners
- Leave leaf litter under shrubs
- Plant native flowers (coneflowers, asters, mountain mint)
- Use locally-sourced wood chips
- Choose biodegradable landscape fabric (jute, coconut coir)
Time-saving hacks from professional landscapers
| Hack | Time Saved | How It Works |
| Stage supplies first | 15-30 minutes | Load cart with everything before starting |
| Work least to messiest | 20-40 minutes | Edge first, mulch last |
| Use tarps for debris | 30-60 minutes | Drag full tarps vs. multiple trips |
| Mulch from delivery | 45-90 minutes | Wheelbarrow directly to beds |
| Create maintenance paths | Ongoing | Reach bed centers without trampling |
FAQs about cleaning flower beds
When should I clean out my flower beds?
Clean beds in early spring after nighttime temperatures reach 50°F for seven consecutive days. This protects overwintering beneficial insects. For fall cleanup, wait until after the first hard frost (late October to November). Leave approximately 30% of stems and seed heads standing to support pollinators and provide winter bird food.
Should I remove leaves from flower beds in spring?
Yes, but wait until late spring when beneficial insects have emerged. Remove thick leaf layers that block sunlight and trap moisture, but leave a light layer to benefit soil health. Keep some leaf litter under shrubs where it provides habitat for beneficial beetles and other pest-controlling insects.
What’s the best way to remove grass growing in flower beds?
Redefine bed edges with a flat-blade edger to sever grass rhizomes. Hand-pull grass clumps when soil is moist, getting all roots. For persistent problems, smother grass with cardboard covered by mulch for 3-6 months, or spot-treat with grass-selective herbicides. Address quickly since grass spreads fast once established.
How deep should mulch be in flower beds?
Apply 2-3 inches of mulch. Follow the 3-3-3 rule: 3 inches deep, 3-foot radius from tree trunks, 3 inches away from plant stems. Deeper mulch (4+ inches) suffocates roots. Thinner mulch (1 inch) provides poor weed control. Never pile mulch against trunks or stems.
Can I use landscape fabric when cleaning flower beds?
Traditional plastic fabric isn’t recommended. It blocks water and nutrients, suffocates soil, and creates long-term problems. Biodegradable alternatives (coconut coir, jute) work better, decomposing after 2-3 years. For most beds, proper 2-3 inch mulch application provides adequate weed suppression without fabric complications. Learn more about mulching options on our blog.
Transform your landscape with confidence
Cleaning flower beds ranks among the most rewarding landscaping projects you can tackle. Whether you’ve embraced the pollinator-friendly approach, completed a thorough spring renovation, or prepared your beds for winter protection, you’ve invested in both the health and beauty of your outdoor living space.
Don’t wait for perfect conditions or the ideal weekend. Start with just one bed, dedicate 30 minutes, and watch how quickly momentum builds. Your plants respond with vigorous growth. Your property gains immediate curb appeal. And you experience the deep satisfaction that comes from nurturing your garden.
At Landscape Unite, we’re passionate about helping gardeners like you create stunning outdoor spaces through expert advice and practical guidance.Ready to take your landscape to the next level? Contact us for more great tips, discover new posts on our blog, and join our community of lawn and landscape enthusiasts today!