Installing artificial grass can transform your outdoor space into a beautiful, low-maintenance landscape that stays green year-round. However, achieving professional-looking results hinges on one critical skill: cutting the turf correctly.
This comprehensive guide walks you through every aspect of how to cut artificial grass safely and accurately. From selecting the right tools to mastering seaming techniques, you’ll learn the professional methods that ensure your installation looks flawless and lasts for years.
Keep reading to discover the step-by-step process that will save you time, money, and frustration on your artificial grass project.
Tools and safety gear you’ll need
Success in cutting artificial grass starts with having the right equipment. Professional-quality tools not only make the job easier but also ensure clean, precise cuts that create seamless installations.
Essential cutting tools
- Utility knife or carpet cutter (with spare blades): Your primary cutting tool should feature a sharp, replaceable blade specifically designed for thick materials.
- Metal straightedge or aluminum ruler: A 4-foot metal straightedge provides the stability needed for long, straight cuts. Aluminum rulers resist bending under pressure and won’t dull your blade like plastic alternatives.
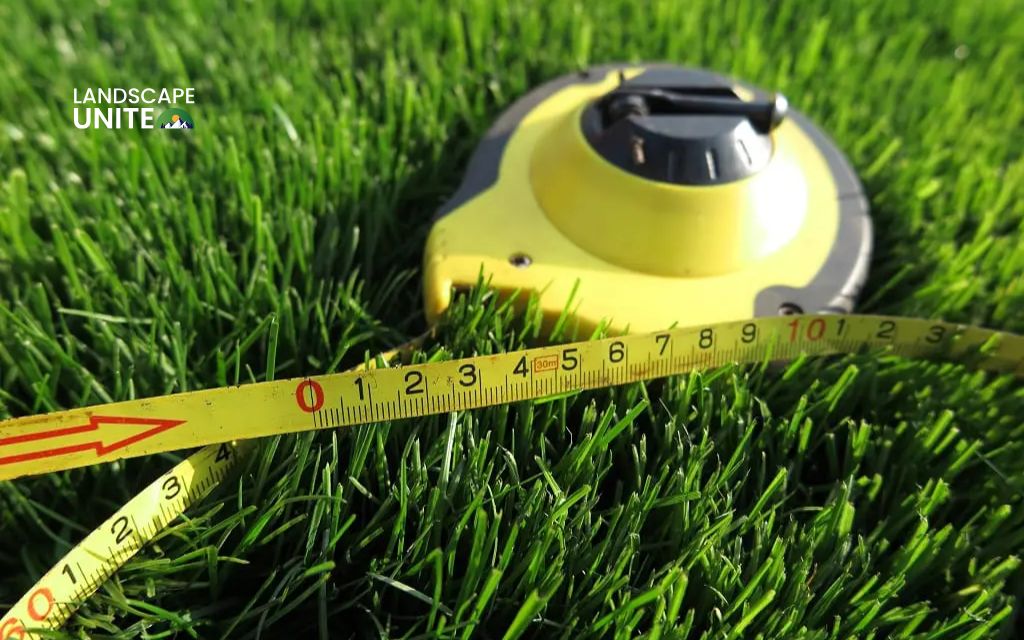
- Measuring tape, chalk, or marker: Use chalk for temporary marks on the turf backing, or a permanent marker for more visible lines that won’t rub off during handling.
- Stiff-bristle brush: A quality brush helps separate grass fibers from cut edges and removes debris from the turf surface. This tool is essential for achieving a natural appearance at seams and borders.
- (Optional) Heavy-duty scissors or turf cutter: For extensive projects or intricate curved cuts, specialized turf cutters can speed up the process while maintaining accuracy. Heavy-duty scissors work well for detailed work around obstacles.
Safety equipment
- Protective gloves: Work gloves with reinforced palms protect your hands from sharp blades while providing better grip control.
- Knee pads: Since much of the cutting work happens at ground level, quality knee pads prevent discomfort and potential injury during extended installation sessions.
- A stable, clean, non-slippery surface: Prepare a flat, debris-free workspace that won’t shift during cutting. A clean garage floor or large outdoor patio provides the ideal cutting surface for accurate measurements and safe blade handling.
How to cut artificial grass?
Cutting artificial grass requires patience, precision, and the right technique. Following these detailed steps ensures professional results while minimizing waste and avoiding common installation problems.
1. Prepare the area
Remove all obstacles from your workspace to prevent damage to the turf backing and ensure accurate measurements. Small stones or debris can create uneven surfaces that affect cutting precision.
Temperature changes and storage can cause artificial grass to develop memory creases.
Allowing the material to acclimate outdoors helps fibers return to their natural position, making cutting and installation easier.
2. Measure and mark
Careful measurement prevents expensive mistakes. Record all dimensions, including any obstacles, curves, or irregular shapes that require custom cutting. Double-checking measurements is essential since artificial grass cannot be “un-cut.”
Always mark the backing material, not the grass surface. Clear, visible lines guide your cuts and prevent confusion during the cutting process. Use a straightedge to ensure straight marking lines.
Artificial grass has a grain direction, similar to carpet. All pieces must be installed with fibers running in the same direction to avoid visible color variations and ensure a uniform appearance.
3. Make straight cuts
The backing material features stitch lines that provide natural cutting guides. Following these lines ensures clean cuts that won’t unravel over time.
A 45-degree angle creates beveled edges that fit together more seamlessly than straight vertical cuts. This technique reduces visible seam lines and creates stronger joints.
Dull blades tear rather than cut, creating rough edges that don’t join properly. Change blades frequently throughout the project to maintain cutting quality and reduce effort required.
4. Cut curves and custom shapes
Curved cuts require patience and precision. Work slowly, making small scoring cuts rather than attempting to slice through in one motion. This technique provides better control and smoother curves.
Artificial grass can expand and contract slightly with temperature changes. Small gaps accommodate this movement and prevent buckling or bunching at seams.
5. Handle seams like a pro
Use “S” or slightly wavy seam cuts to disguise joins. Straight seams are more visible than irregular ones. Creating subtle serpentine cuts makes seams virtually invisible once the grass fibers are brushed into position.
Avoid pushing edges too tightly together, which can cause fibers to stand up unnaturally.
Forcing seams creates raised ridges where fibers push against each other. Proper gap spacing allows fibers to lay naturally while still creating an invisible joint.
6. Finish and blend
Use a stiff brush to lift grass fibers and blend cut edges with the surrounding turf. This final step eliminates the appearance of cut lines and creates a seamless surface.
Clean up all cutting debris to prevent it from becoming embedded in the turf. Loose backing material or cut fibers can create an unprofessional appearance if left in place.
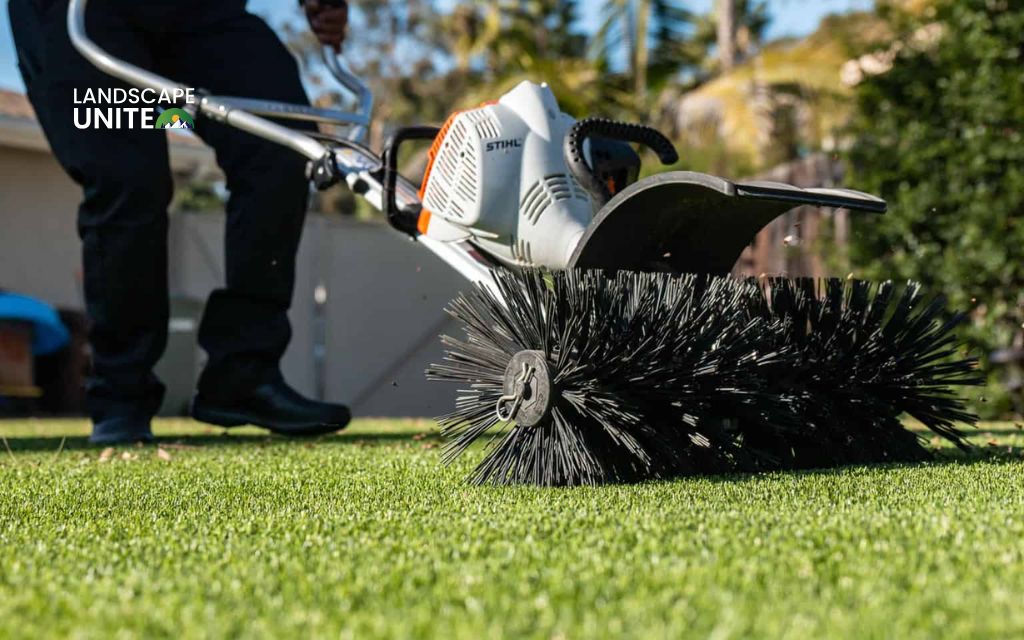
Why does proper cutting matter?
Cutting accurately is key to the look, durability, and performance of your artificial grass. The difference between professional and amateur installations often comes down to cutting precision and attention to detail.
- Helps seams blend seamlessly: Precise cuts create joints that are virtually invisible once installation is complete. Poor cutting techniques result in obvious seam lines that detract from the natural appearance you’re trying to achieve.
- Ensures turf fits snugly around edges, corners, and objects: Accurate cutting allows the artificial grass to conform perfectly to landscape features, creating clean edges around patios, walkways, and garden beds. Proper fit eliminates gaps where weeds might grow.
- Reduces waste of expensive materials: Artificial grass represents a significant investment, and cutting mistakes can be costly. Careful measurement and precise cutting maximize material usage and minimize waste.
- Increases lifespan and wear resistance of your turf: Well-cut seams distribute foot traffic evenly across the surface, preventing premature wear at joints. Proper cutting techniques contribute to the long-term durability of your installation.
Common mistakes to avoid
Learning from common cutting errors saves time, money, and frustration during your artificial grass installation project.
- Cutting from the front side (damages fibers): Always cut from the backing side to avoid damaging grass fibers. Cutting through the pile creates ragged edges and can permanently damage the turf surface.
- Using dull blades: Sharp blades are essential for clean cuts. Dull blades require more pressure, increase the risk of accidents, and create rough edges that don’t join properly.
- Not leaving extra turf at edges for adjustments: Always cut slightly oversize initially. Extra material can be trimmed away, but there’s no way to add material back if you cut too short.
- Cutting flush against obstacles without precise measuring first: Rushing to fit turf around obstacles often results in gaps or overlaps. Take time to measure carefully and make relief cuts where necessary.
Conclusion
Cutting artificial grass is easy when you have the right tools, follow the correct steps, and take your time. A careful approach will give you a professional-looking, long-lasting finish without visible seams. Remember that patience and precision during the cutting phase will pay dividends throughout the life of your installation.
The techniques covered in this guide will help you achieve results that rival professional installations while saving significant money on labor costs. From preparing your workspace to mastering advanced seaming techniques, each step contributes to a beautiful, durable artificial grass surface that will enhance your landscape for years to come.
Check out more artificial grass guides to inspire your best garden from our gardening hub, where you’ll find comprehensive resources for every aspect of landscape design and maintenance.
Frequently asked questions (FAQs)
Can I cut artificial grass with scissors?
While scissors can work for small detail cuts or trimming around obstacles, they’re not ideal for large sections. Heavy-duty scissors may handle thin artificial grass, but thicker, high-quality turf requires a sharp utility knife or carpet cutter for clean, precise edges. Scissors tend to create frayed cuts that don’t seam well together.
Should I cut from the front or back of the turf?
Always cut from the back (backing side) of the artificial grass. Cutting from the front damages the grass fibers and creates ragged edges that are difficult to seam properly. The backing material provides a stable cutting surface and clear stitch lines to guide your cuts.
How do I make sure seams aren’t visible?
Create invisible seams by cutting slightly wavy or “S-shaped” lines rather than perfectly straight cuts, ensuring all turf pieces have fibers running in the same direction, leaving a small gap (about 1/8 inch) between pieces, and brushing fibers upright across the seam area after installation. Proper cutting technique and patient finishing work are key to seamless results.
What’s the easiest way to cut curves in artificial grass?
For curved cuts, use the tip of a sharp utility knife to make small, incremental cuts rather than trying to slice through in one motion. Work slowly and follow your marked line carefully. For tight curves, make relief cuts perpendicular to the curve to prevent bunching. Practice on scrap pieces first if you’re unsure about the technique.
How do I prevent edges from fraying after cutting?
Prevent fraying by using a very sharp blade, replacing dull blades frequently, cutting along stitch lines in the backing material, and avoiding pulling or stretching the turf during cutting. After cutting, brush the fibers upright and remove any loose backing material. If minor fraying occurs, carefully trim loose threads with scissors rather than pulling them.
