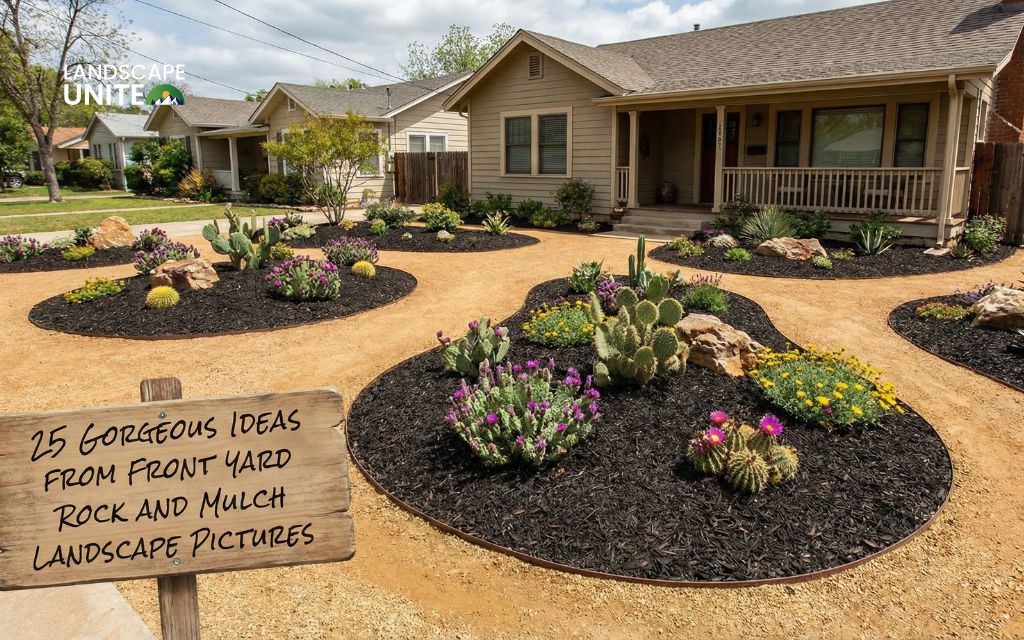
Transform your outdoor space into a stunning, low-maintenance landscape that conserves water and stands the test of time. Installing landscape rock might seem daunting, but with the right approach, you can create beautiful hardscaping that enhances your property value while reducing yard work.
Whether you’re dealing with desert conditions, managing water runoff, or simply wanting a durable alternative to traditional lawns, this comprehensive guide will walk you through everything you need to know about how to install landscape rock successfully.
 1")
Why landscape rock transforms your outdoor space
Landscape rock offers unmatched benefits for modern homeowners. Unlike traditional grass lawns that demand constant watering, mowing, and fertilizing, rock landscaping provides a sustainable solution that thrives in any climate.
Low-maintenance landscaping
Quality rock installations last 10-15 years with minimal upkeep, while organic mulches need replacement every 1-2 years. Rocks don’t fade, decompose, or blow away, maintaining their appearance through all seasons.
This translates to significant time and cost savings – rock landscapes can reduce water usage by 30-50% compared to traditional lawns.
Weed and pest control
The combination of landscape fabric and rock creates an effective barrier that blocks sunlight, preventing weed seed germination. Properly installed rock landscaping reduces weed problems by 80-90%, significantly decreasing or eliminating the need for herbicides.
Rock around foundations also deters termites, carpenter ants, and other wood-destroying insects that thrive in mulch environments.
Enhanced drainage and erosion prevention
Rocks allow water to flow through while holding soil firmly in place, providing excellent drainage and erosion control. This is valuable on slopes where rocks prevent soil washout during heavy rains.
Properly installed rock directs water away from your home’s foundation while preventing soil splash during storms. This reduces basement flooding risks and protects against moisture damage.
Rock also eliminates standing water in low spots, making your yard more functional after rainfall.
Curb appeal and property value
Well-executed rock landscapes create immediate visual impact that enhances curb appeal year-round. Available in diverse colors, sizes, and textures – from river rock to lava rock, marble chips to decorative glass – landscape rock complements any architectural style.
Quality landscaping typically returns 100 – 200% of investment at resale. Rock landscapes signal to potential buyers that the property is well-maintained and won’t require immediate yard work.
 2")
Essential tools and materials for rock installation
Before you begin learning how to install rocks in landscaping, gather these crucial materials:
Rock varieties
- River rock for smooth, rounded aesthetics
- Crushed granite for natural desert appeal
- Lava rock for lightweight, porous drainage
- Decorative gravel for pathways and borders
Tools essentials:
- Commercial-grade landscape fabric (UV-resistant)
- Metal or concrete edging materials
- Hand tamper or plate compactor rental
- Wheelbarrow for efficient transport
- Utility knife and landscape staples
- Measuring tape and spray paint for marking
Step-by-step guide: How to install landscape rock
Step 1: Plan & prepare the area
Before you purchase a single stone, proper planning sets the foundation for success.
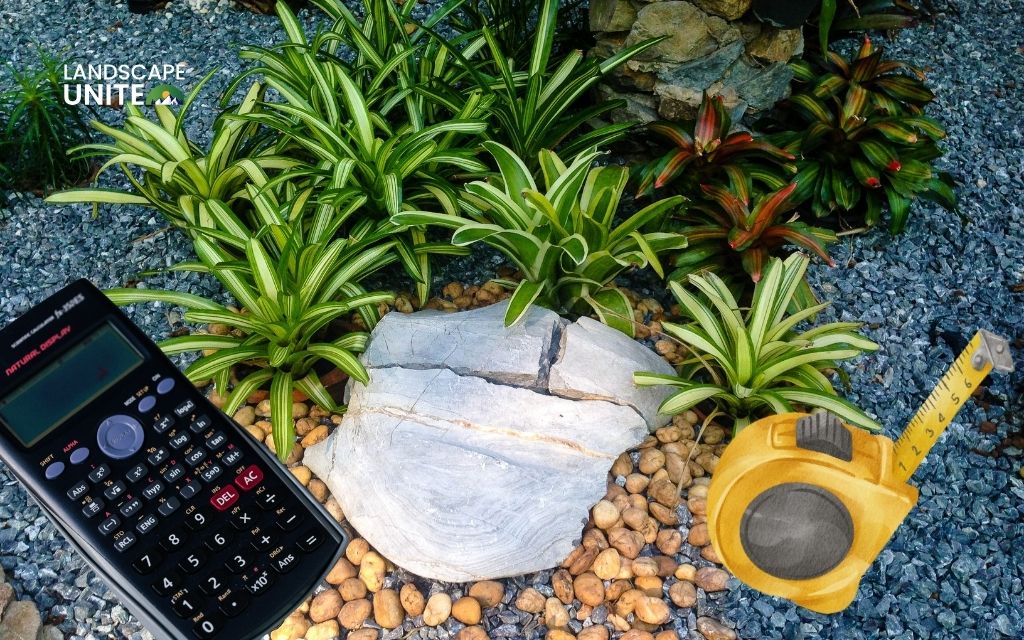
Measure the area
Start by measuring your project area carefully – length times width will give you square footage, which you’ll need to calculate material quantities.
- For a 2-inch depth: multiply square footage by 0.17, then divide by 27 to get cubic yards
- For a 3-inch depth: multiply square footage by 0.25, then divide by 27
- For a 4-inch depth: multiply square footage by 0.33, then divide by 27
Always add 10-15% extra to account for settling and uneven terrain.
Clearing the area
Remove all existing vegetation, including grass, weeds, and old mulch. Dig down 3 – 5 inches below your desired finished grade to accommodate both fabric and rock layers.
For stubborn grass, consider using a sod cutter or applying an organic herbicide 2 – 3 weeks before starting. Remove any roots, debris, or large clumps of poor soil that could create uneven spots later.
Define your edges
Install metal, plastic, or stone edging to contain the rocks and create clean borders. This step is crucial – without proper edging, your rocks will migrate into lawn areas and create a messy appearance.
Secure edging with stakes every 3 – 4 feet and ensure it sits at least 1 inch above your planned rock surface.
 3")
Step 2: Level & compact the base
A solid, level base prevents settling and creates a professional finish.
- After clearing vegetation, use a garden rake to smooth out the soil surface, removing any high spots and filling low areas.
- Use a hand tamper for small projects (under 100 square feet) or rent a plate compactor for larger areas.
- Make multiple passes in different directions, applying firm, even pressure.
- The soil should feel solid underfoot – if you can easily make a footprint, keep compacting.
- For areas with poor drainage or very soft soil, consider adding a 1 – 2 inch layer of crushed gravel as a base before compacting. This creates additional stability and improves water flow.
 4")
Step 3: How deep should landscape rock be
Too shallow, and weeds will push through. Too deep, and you’re wasting money on materials you don’t need.
Our guidelines:
- Small gravel and pea gravel (⅜ to ¾ inch): 2 – 3 inches deep
- Medium river rock (1 – 3 inches): 3 inches deep
- Large decorative rock (3 – 5 inches): 3 – 4 inches deep
- Walkways and high-traffic areas: 4 inches minimum
The goal is complete coverage that blocks sunlight from reaching weed seeds while creating visual impact. In areas where you’ll be walking regularly, err on the deeper side to prevent rocks from sinking into the soil and exposing bare ground.
 5")
Step 4: Install landscape fabric
Understanding how to install landscape fabric under rocks is crucial for long-term success.
Quality landscape fabric (also called weed barrier) blocks weeds while allowing water and air to penetrate to the soil below.
- Choose the right fabric: Use commercial-grade, woven polypropylene fabric (3-4 oz. weight minimum). Avoid cheap plastic sheeting, which prevents drainage and degrades quickly.
- Roll it out: Unroll fabric across your prepared area, working in manageable sections. Keep fabric taut but not overly stretched.
- Overlap generously: Where fabric sheets meet, overlap by 6-8 inches to prevent weeds from sneaking through gaps. This is especially important on slopes.
- Secure properly: Use landscape fabric stakes or pins every 3-4 feet along edges and at all overlap points. Don’t skimp here—wind can work under loose fabric and create bulges.
- Cut around obstacles: For trees, posts, or structures, cut X-shaped slits in the fabric and fit it snugly around the base. Overlap the flaps for complete coverage.
 6")
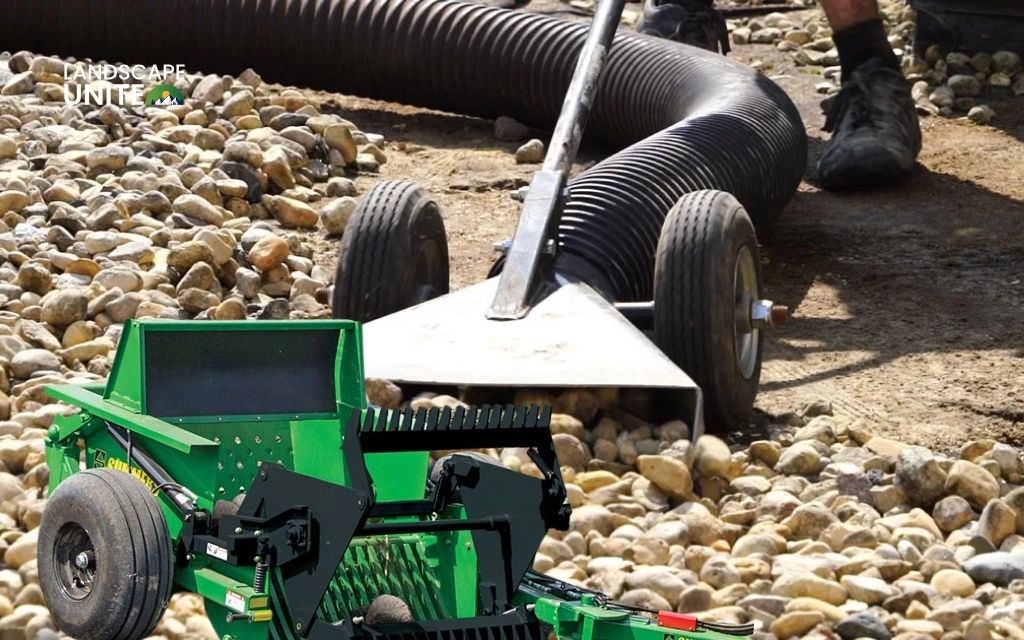
Step 5: Lay the rocks
Start by having your rock delivered as close to your project area as possible to minimize hauling. If dumped in your driveway, use a wheelbarrow to transport rocks in manageable loads.
- Pour strategically: Don’t dump all rocks at once. Work in 10 – 15 foot sections, pouring rocks onto the fabric and spreading as you go.
- Spread evenly: Use a metal garden rake or bow rake to distribute rocks to your desired depth. Pull rocks toward you rather than pushing them away. This gives you better control and prevents tearing the fabric.
- Check coverage: Walk around the area and look for any exposed fabric edges or thin spots. The fabric should be completely hidden, with rocks forming a continuous blanket.
- Mind the borders: Pay special attention to edges, ensuring rocks meet your edging material cleanly. This creates the crisp, finished look that separates DIY from professional installations.
 7")
Step 6: Plant wisely
Strategic planting transforms a rock landscape from stark to stunning. The key is choosing plants that complement the rock aesthetic while thriving in well-drained conditions.
- Ornamental grasses: Fountain grass, blue fescue, and maiden grass provide vertical interest and movement
- Drought-tolerant perennials: Lavender, Russian sage, and sedum require minimal water once established
- Architectural plants: Yucca, agave, and ornamental cacti create bold statements
- Low-growing groundcovers: Creeping thyme and ice plant soften rock edges
Planting through rocks:
- Cut the fabric: Make an X-shaped cut in the fabric where you want to plant, folding back the flaps
- Dig the hole: Remove soil to accommodate the plant’s root ball plus 2 inches all around
- Amend the soil: Mix in compost or planting mix to improve the soil structure
- Plant and backfill: Position the plant at the same depth it was growing in its container, then backfill with improved soil
- Replace rocks: Carefully arrange rocks around the plant base, leaving a 2-3 inch gap around the stem for watering and air circulation
 8")
Step 7: Finishing touches
These final details elevate your installation from good to exceptional.
Rinse and refresh
New landscape rock often arrives dusty from transportation and processing. Use a garden hose to rinse rocks thoroughly, washing away fine particles that dull their appearance. This simple step reveals the true colors and makes your installation sparkle.
Quality check
Walk your entire project area, looking for:
- Low spots where rocks have settled unevenly
- Exposed fabric edges
- Gaps along borders or edging
- Areas where depth seems insufficient
Add rocks to any thin spots and adjust as needed. Getting this right now prevents having to touch up later.
Add personality
Consider these enhancements:
- Seating areas: A simple bench nestled among rocks creates an inviting retreat
- Garden lighting: Solar stake lights or low-voltage LED fixtures create evening ambiance
- Decorative accents: Large boulders, birdbaths, or garden sculptures serve as focal points
- Container plants: Strategically placed pots add color without committing to in-ground planting
 9")
DIY vs professional installation: Making the right choice
DIY installation works best when
- Your area is relatively flat and accessible
- You have adequate time and physical capability
- The project covers less than 1,000 square feet
- You enjoy hands-on outdoor projects
Professional installation makes sense for
- Sloped or complex terrain
- Large-scale projects requiring heavy equipment
- Areas with drainage challenges
- When you need guaranteed results with warranty protection
 10")
Professional contractors bring specialized tools, experience with local soil conditions, and efficient installation techniques that ensure long-lasting results.
For landscape rock pricing details and personalized estimates, you can visit Mile High Lifescape to connect with experienced professionals who understand your regional requirements.
Common installation mistakes to avoid
- Inadequate site preparation leads to settling and uneven surfaces. Never skip the soil grading and compaction steps.
- Wrong fabric choices can create drainage problems. Avoid non-permeable materials that trap water and cause plant root rot.
- Insufficient edging allows rocks to migrate and creates maintenance headaches. Invest in quality materials and proper installation.
- Incorrect depth is common when homeowners assume more rock equals better results. Stick to 2 – 3 inches for optimal coverage and drainage.
- Poor drainage planning causes water pooling and erosion. Always grade away from structures and consider seasonal water flow patterns.
Oops, things didn’t go as planned? No problem! Follow our step-by-step guide to removing garden rocks and start fresh, your way.
Maintenance tips for lasting results
Once you master how to install rock landscaping, maintaining your investment becomes simple. Annual maintenance involves:
- Removing accumulated debris and organic matter
- Adding fresh rock to areas affected by settling
- Treating any weeds that penetrate the fabric barrier
- Adjusting edging if frost heaving occurs
Seasonal considerations: In colder climates, ice and snow can shift rocks slightly. Spring touch-ups keep your installation looking professional year-round.
Check out the detailed guide on maintaining garden rocks in the following article.
Conclusion
Learning how to install landscape rock opens up endless possibilities for creating beautiful, sustainable outdoor spaces. Whether you choose DIY installation or professional services, the key lies in proper planning, quality materials, and attention to detail.
Your rock landscape will provide years of low-maintenance beauty while conserving water and increasing property value. Take the first step toward transforming your outdoor space today.
Visit our blog regularly for seasonal hardscaping tips, design trends, and solutions to common landscaping challenges. Your dream landscape is just one project away.
Looking for more garden rock ideas? Read the articles below:
- 20+ rock landscaping ideas to make your lawn both beautiful and water-wise
- 18+ backyard rock landscaping designs that turn any garden into a showpiece
- 21 rock landscaping ideas to turn your poolside into a private oasis
- 16+ front yard rock landscaping designs you’ll want to try right now
Frequently asked questions (FAQs)
What do you put down before rocks for landscaping?
Install landscape fabric or weed barrier before adding rocks. Commercial-grade, permeable fabric prevents weeds while allowing proper water drainage.
What’s the best time of year to install landscaping rock?
Spring and fall offer ideal conditions with moderate temperatures and stable soil conditions. Avoid frozen ground in winter or extremely hot summer periods.
How deep should landscape rock be?
Maintain 2 – 3 inches depth for most applications. This provides adequate coverage while ensuring proper water infiltration and drainage.
Can I install rock over existing grass?
Remove all grass and organic matter first. Installing over existing vegetation leads to decomposition, settling, and weed breakthrough.
How do I keep landscape rocks in place?
Use quality edging, proper fabric installation, and appropriate rock sizes for your climate. Professional installation ensures long-term stability.