Learning how to winterize a pool properly isn’t just about convenience – it’s about avoiding thousands of dollars in freeze damage that can plague an improperly closed pool.
Whether you’re managing an inground oasis or an above ground family retreat, proper winterization ensures your pool emerges from winter ready for another season of enjoyment. The process might seem daunting at first, but with the right approach, winterizing your pool becomes a manageable task that sets you up for success when warm weather returns.
This comprehensive guide walks you through everything you need to know about pool winterization that protects your pool through the coldest months. Keep reading to master the art of pool winterization and safeguard your backyard investment.
Supplies & equipment you’ll need
Before diving into the winterization process, gathering the right supplies ensures a smooth and efficient closure:
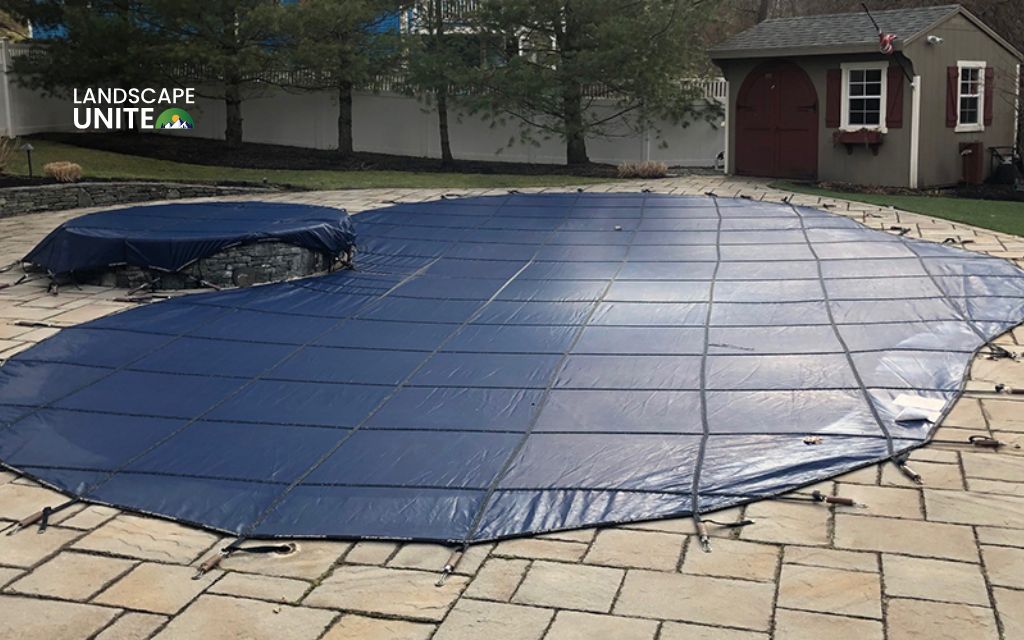
- Pool cover (safety or winter-specific): Choose between solid covers that block sunlight or mesh covers that allow drainage
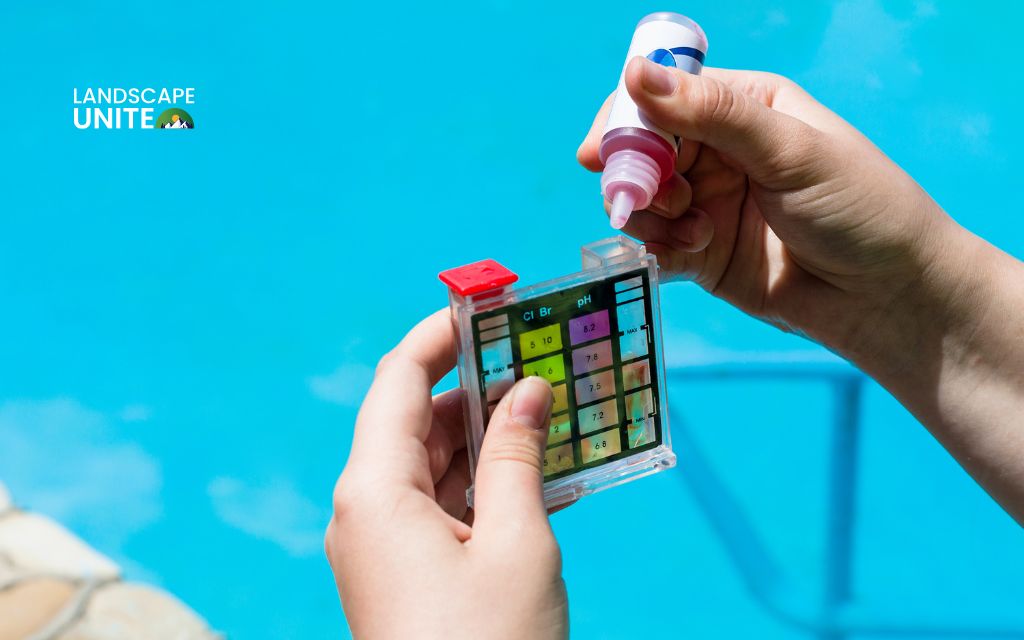
- Water testing kit: Digital or test strips for accurate chemical readings
- Pool shock and algaecide: High-quality oxidizers and algae preventatives designed for winter storage
- Winterizing chemicals: Specialized chemical kits formulated for long-term pool closure
- Skimmer plugs/winterizing plugs: Rubber or threaded plugs that seal openings against freeze damage
- Air compressor or shop vac: Essential for blowing water from plumbing lines
- Gizzmo for skimmer protection: Expandable device that prevents skimmer cracking in inground pools
- Return line plugs: Secure fittings that seal return jets completely
- Pool pillow (for above ground pools): Inflatable cushion that absorbs ice expansion pressure
Step-by-step: How to winterize a pool
Step 1: Clean the pool thoroughly
Begin by removing all debris from the water surface using your leaf net, paying special attention to organic matter that can stain or decompose over winter. Scrub the pool walls, starting from the waterline and working downward to dislodge algae, oils, and accumulated grime.
Vacuum the pool bottom thoroughly, ensuring you capture all settled debris.
This step prevents staining and significantly reduces the organic load that feeds algae growth during the closed season. A clean pool requires fewer chemicals and emerges in better condition when you reopen in spring.
Don’t overlook the pool’s filtration system during this cleaning phase.
Backwash sand and DE filters, or clean cartridge filters according to manufacturer specifications.
Step 2: Balance your pool water
Proper water chemistry protects both your pool surfaces and equipment throughout the winter months. Test and adjust your water balance several days before adding winterizing chemicals, allowing time for complete circulation and stabilization.
Target ranges for winter closure:
- pH: 7.2-7.6 (slightly lower helps winterizing chemicals work effectively)
- Total Alkalinity: 80-120 ppm (provides pH stability during storage)
- Calcium Hardness: 150-300 ppm (prevents surface etching or scaling)
Step 3: Add winterizing chemicals
Winterizing chemicals create a protective barrier against algae growth, bacteria, and water quality degradation during the closed season.
- Begin by shocking your pool with a high-quality calcium hypochlorite or sodium dichlor shock, using 1-2 pounds per 10,000 gallons depending on current chlorine levels.
- Add algaecide according to manufacturer directions, typically 16-32 ounces per 10,000 gallons for standard formulations.
- Include chlorine stabilizer (cyanuric acid) if your shock doesn’t contain it, targeting 30-50 ppm to protect residual chlorine from UV degradation.
- Run your filtration system for at least 12-24 hours after adding chemicals to ensure complete distribution and mixing. This circulation time allows chemicals to reach every area of your pool and begin their protective work.
Note: Copper-based algaecides provide excellent long-term protection, while polymer-based options work well for pools with delicate surfaces or electronic equipment.
Step 4: Lower the water level
Proper water level adjustment prevents costly freeze damage to skimmers, return lines, and other pool equipment. The exact level depends on your pool type and local climate conditions, but following established guidelines protects against ice expansion damage.
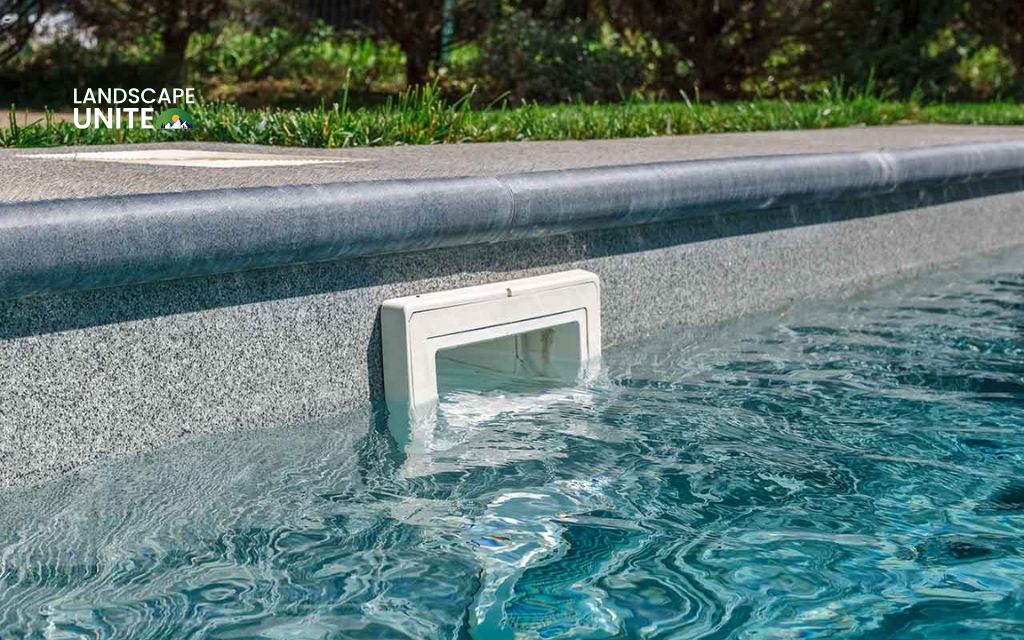
- For inground pools: Lower water 4-6 inches below the skimmer opening. This level prevents ice from forming inside the skimmer while maintaining enough water to support the pool structure.
- For above ground pools: Reduce water level to just below the return line fitting. Above ground pools require less water removal since their skimmers typically sit higher on the pool wall, and the flexible liner can accommodate some ice movement.
Use your pool pump to lower the water level efficiently, or rent a submersible pump for faster results. Never completely drain your pool, as ground pressure can cause structural damage, liner floating, or concrete cracking.
Step 5: Drain and blow out equipment
Equipment protection forms the core of successful pool winterization.
Begin by disconnecting all electrical connections and removing your pump, filter, and heater. Drain these components completely, as even small amounts of trapped water can cause expensive freeze damage.
Use an air compressor or powerful shop vacuum to blow water from all plumbing lines. Start with the main drain line, then move to return lines, and finish with the skimmer line. Continue blowing until only air emerges from each line – any remaining water can freeze and crack pipes or fittings.
Install winter plugs immediately after blowing out each line and store drained equipment in a dry, protected location where temperatures won’t drop below freezing.
Step 6: Protect skimmer and return lines
Skimmers face the greatest freeze risk during winter, requiring special protection beyond simple water level reduction. For inground pools, install a Gizzmo – an expandable device that absorbs ice pressure inside the skimmer throat. These inexpensive tools prevent costly skimmer replacement by accommodating ice expansion.
Alternatively, use pool antifreeze in skimmer lines if complete water removal isn’t possible. Pool-safe propylene glycol antifreeze protects against freeze damage without harming pool surfaces or creating spring cleanup issues. Never use automotive antifreeze, which is toxic and can damage pool equipment.
Plug all return jets securely using appropriate-sized return line plugs. These plugs should fit snugly without requiring excessive force, and quality plugs include O-rings or gaskets for reliable sealing. Test each plug by gently pulling to ensure secure installation.
Cover exposed plumbing with insulation in areas prone to extreme cold. Foam pipe insulation provides additional protection for above-ground plumbing that can’t be completely drained or protected by other means.
Step 7: Install pool pillow (above ground only)
Above ground pools benefit significantly from pool pillows – inflatable devices that absorb ice expansion pressure and prevent cover damage. Position the pillow in your pool’s center, inflating it to about 60-70% capacity to allow for compression without bursting.
The pillow serves multiple functions beyond ice absorption. It elevates the pool cover’s center, promoting water drainage and preventing pooling that can stress cover seams. This elevation also reduces the likelihood of cover sagging, which can lead to water accumulation and potential collapse.
Secure the pillow using the attached strings or rope, anchoring it to prevent drifting during installation or wind events. Some pool owners connect the pillow to the pool’s top rail using bungee cords, ensuring it stays centered throughout the winter season.
Choose a pillow sized appropriately for your pool – typically 4×4 feet for most residential above ground pools. Quality pillows include reinforced seams and durable vinyl construction that withstands repeated inflation and the pressures of winter weather.
Step 8: Cover the pool securely
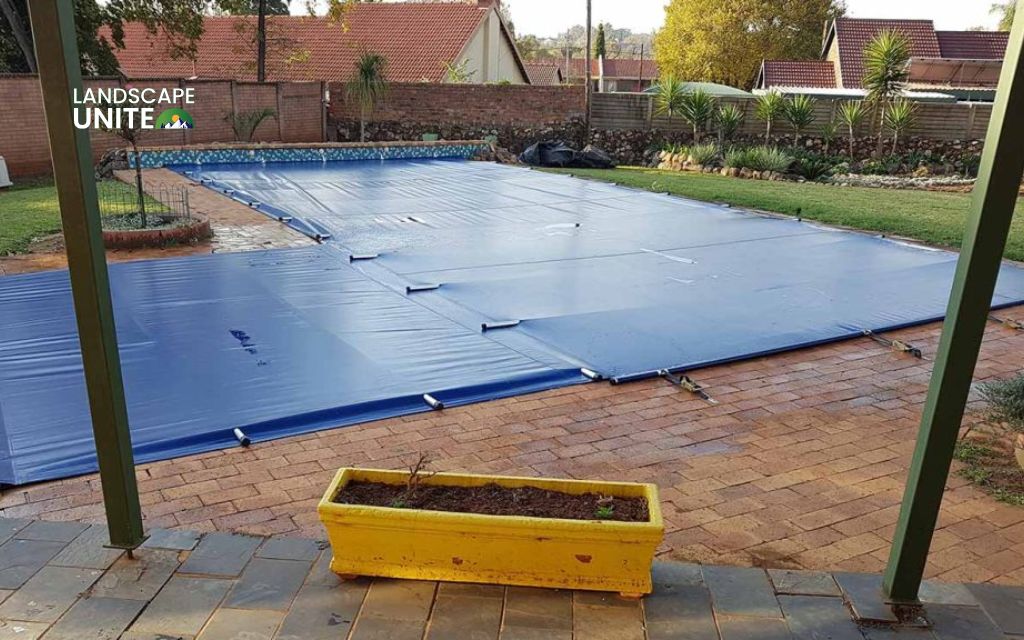
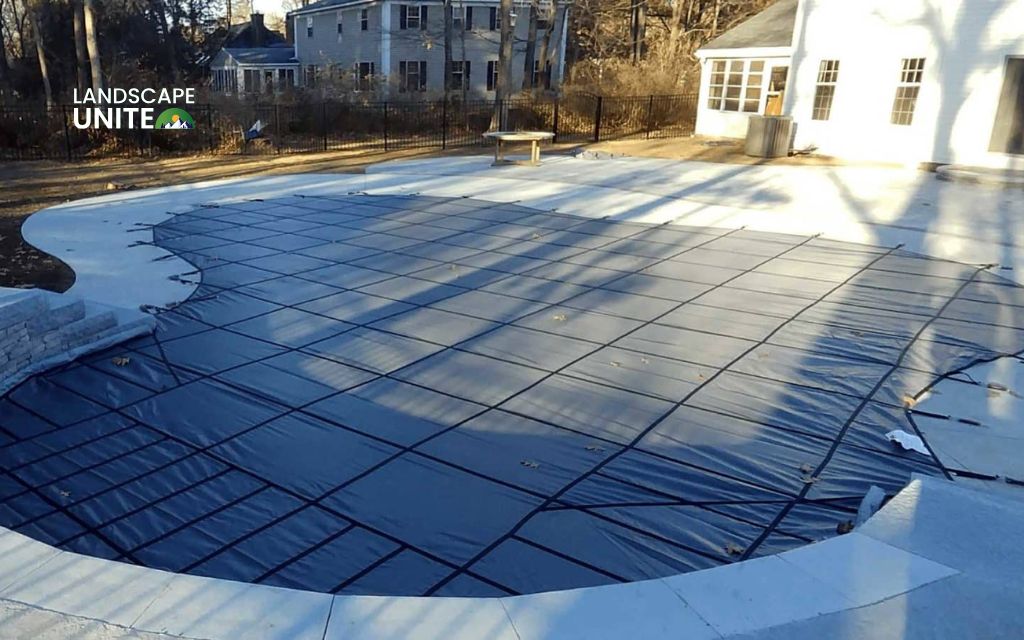
Your pool cover represents the final barrier between your prepared pool and winter’s challenges. Choose between safety covers that support weight and protect against accidental entry, or winter covers designed primarily for debris protection and light blocking.
- Install the cover carefully, ensuring complete pool coverage without gaps that allow debris or precipitation entry.
- Safety covers require professional installation of anchoring points, while winter covers use water bags, cover clips, or tension straps for security.
- Ensure proper cover fit – covers should extend beyond the pool coping by at least 3-4 inches for reliable sealing.
- Eliminate wrinkles and air pockets that can collect water or create weak points vulnerable to wind damage.
For above ground pools, use cover clips or a cable and winch system to secure the cover tightly around the pool’s circumference. The cover should be taut enough to shed water and debris but not so tight that normal settling causes tearing.
Step 9: Store accessories and equipment indoors
Complete your winterization by removing and properly storing all pool accessories and portable equipment.
- Clean each item thoroughly before storage to prevent staining, corrosion, or deterioration during the off-season.
- Store ladders, automatic cleaners, poles, hoses, and other equipment in a dry location protected from freezing temperatures.
- Coil hoses loosely to prevent kinking, and hang items when possible to maintain their shape and prevent damage from stacking.
- Clean and dry diving boards, slides, and other large accessories before storage. Apply appropriate protectants to metal components and check for wear or damage that should be addressed before next season.
Inground vs. above ground pool winterization: Key differences
Understanding the differences between inground and above ground pool winterization helps you apply the correct techniques for your specific pool type.
| Aspect | Inground Pools | Above Ground Pools |
| Water Level | Lower 4-6 inches below skimmer opening to protect underground plumbing | Lower to just below return line fitting; flexible liner accommodates ice movement |
| Cover Type | Safety covers with deck anchors or solid covers with water bag anchors | Lighter covers with cable/winch systems or clips around top rail |
| Air Pillow | Not needed due to rigid construction and different ice management | Essential to absorb ice expansion and protect vinyl liner |
| Equipment | Permanent equipment pads require selective disconnection and in-place winterization | Complete equipment removal and indoor storage for better freeze protection |
Winterize a pool with a sand filter
Sand filter systems require specific winterization steps to prevent freeze damage to the filter tank and multiport valve.
- Preparation Steps: Start by backwashing the filter thoroughly, then switch to rinse mode and run for 30 seconds to settle the sand bed. This removes debris and contaminants that could cause problems during winter storage.
- Winterization Mode: If your multiport valve has a “winterize” or “closed” setting, turn to this position after the final rinse. This setting isolates the filter from the system while keeping the valve mechanism protected. For valves without this setting, position between two settings (never directly on a setting) to relieve pressure.
- Complete Drainage: Remove the drain plug from the bottom of the filter tank and allow all water to drain completely. Also drain the multiport valve by removing its drain plug. Store these plugs safely for spring reinstallation. Any trapped water can freeze and crack the tank or valve body, requiring expensive replacement.
When is the best time to winterize a pool?
The optimal time to winterize your pool depends on water temperature, not calendar dates.
Across most of the United States, this typically occurs between late September and early November, depending on your geographic location.
Begin winterization when your pool water consistently stays below 65°F (18°C) for several days. At this temperature, algae growth slows significantly, and winterizing chemicals remain effective longer.
When to consider hiring a professional
Consider professional winterization services in these key situations:
- Complex pool systems – Pools with multiple pumps, heaters, automation systems, or integrated spas require specialized knowledge for proper winterization
- Uncertain about blowing out lines – Incomplete plumbing line drainage is one of the most expensive winterization mistakes, potentially causing thousands in freeze damage
- Lack of proper equipment – Professional winterization requires specific tools like air compressors, quality plugs, and winterizing chemicals that may cost more than the service
- First-time pool owners – Professional service provides hands-on education while ensuring proper protection, teaching the process for future DIY winterization
- Warranty and insurance protection – Professionals offer coverage for their work, protecting against errors that could cause expensive equipment or structural damage
Conclusion
Winterizing your pool properly protects your investment and ensures countless hours of future enjoyment when the swimming season returns. While the process might seem complex initially, following these 9 essential steps creates a systematic approach that becomes routine with experience.
Remember that successful winterization combines proper timing, quality supplies, and careful attention to detail. Don’t rush the process – each step builds upon the previous ones to create comprehensive winter protection that serves your pool throughout the dormant season.
Check out our comprehensive landscaping library to learn more about how to take care of your landscape during winter months, where seasonal maintenance expertise helps you protect and enhance your entire outdoor investment.
Frequently asked questions (FAQs)
Can I winterize my pool without lowering the water level?
Lowering the water level is essential for proper winterization. Ice expansion can cause severe damage to skimmers, return lines, and other equipment if water levels remain too high. The water level reduction creates necessary space for ice formation without damaging pool components.
Do I need to drain the pool completely?
Never drain your pool completely during winterization. Draining removes the structural support that water provides, potentially causing liner damage, concrete cracking, or pool shifting due to ground pressure. Lower the water level only as specified for your pool type.
Is antifreeze necessary in pool lines?
Pool antifreeze is only necessary if you cannot completely blow out all water from your plumbing lines. Proper line drainage eliminates the need for antifreeze in most installations. When antifreeze is needed, use only pool-safe propylene glycol formulations.
Do you leave water in a pool over winter?
Yes, pools should maintain appropriate water levels throughout winter. The water provides structural support and prevents damage from ground pressure or liner movement. Only lower the water level to protect equipment -never drain completely.
Do I need to shock my pool before closing it for the winter?
Shocking your pool before winterization is essential for water quality maintenance during the closed season. The shock treatment eliminates bacteria and contaminants while providing residual sanitization that works with other winterizing chemicals to prevent algae growth and water quality problems.
