When winter temperatures begin to drop, your saltwater pool faces unique challenges that standard chlorinated pools don’t encounter. Freezing temperatures can wreak havoc on saltwater systems if not properly winterized, causing expensive damage.
This comprehensive guide for how to winterize a salt water pool walks you through essential steps to protect your salt cell, plumbing, and water chemistry using proven techniques developed through years of professional pool maintenance experience.
By following these detailed instructions, you’ll save money, prevent costly freeze damage, and simplify your spring pool opening process significantly.
Supplies you’ll need
Before beginning the winterization process, gather these essential supplies to ensure you can complete each step without interruption:
Pool cover and protection:
- Saltwater-compatible pool cover (avoid cheap covers that deteriorate from salt exposure)
- Air pillow for above-ground pools
- Cover cables or water bags for secure attachment
Testing and chemical supplies:
- Water testing kit capable of measuring salt levels, pH, total alkalinity, and stabilizer
- Digital salt meter for precise readings (recommended for accuracy)
- Saltwater-friendly winterizing chemical kit
- Non-chlorine shock or salt-compatible chlorine shock
- Winter algaecide designed for saltwater systems
- Metal sequestrant or stain inhibitor
Equipment and tools:
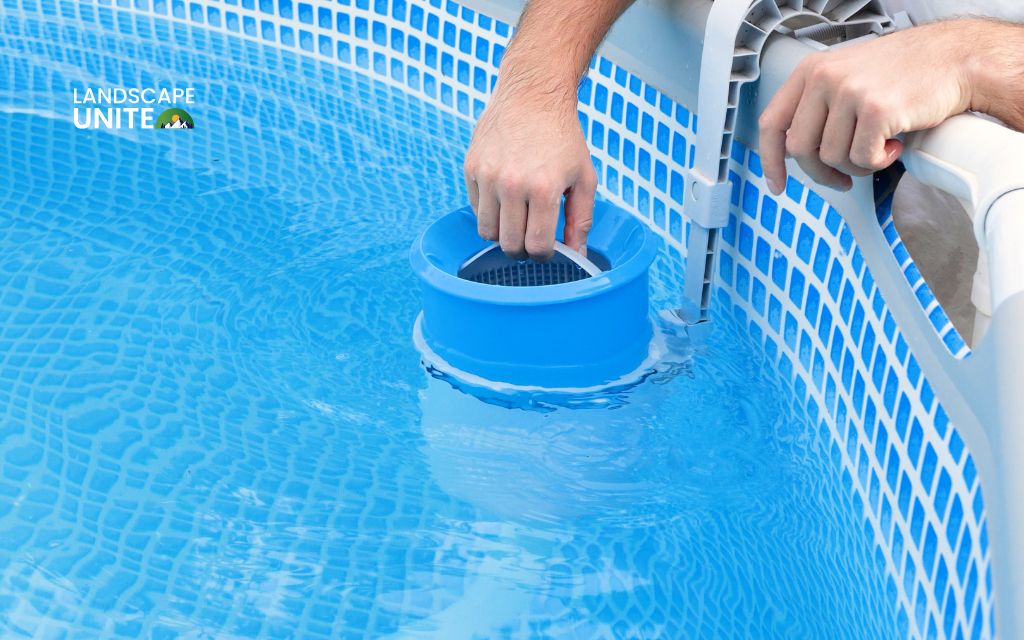
- Skimmer plugs (Gizzmos work best for most applications)
- Return jet plugs
- Air compressor or powerful shop vacuum for blowing out lines
- Salt cell cleaner (manufacturer-approved solution)
- Basic hand tools for equipment disassembly
Safety equipment:
- Safety goggles and gloves for chemical handling
- Non-slip footwear for working around wet pool areas
How to winterize a salt water pool (step-by-step)
Clean and balance your pool water
Start by removing all visible debris from the pool surface and bottom using your regular skimming and vacuuming routine. Pay special attention to areas around steps, corners, and behind ladders where organic matter tends to accumulate. Even small amounts of debris can create problems during the long winter closure period.
Next, focus on achieving optimal water balance parameters that work specifically for saltwater systems:
- pH Level: Adjust to 7.2 – 7.6 using pH increaser or decreaser as needed
- Total alkalinity: Maintain between 80 – 120 ppm to provide proper pH buffering
- Calcium hardness: Keep between 200 – 400 ppm (leaning toward higher end for plaster pools)
- Salt level: Verify salt concentration matches your system’s requirements (typically 2,700–4,500 ppm)
- Stabilizer (CYA): Maintain 30 – 50 ppm for outdoor pools
Shock and add winter chemicals
Effective chemical treatment creates a protective barrier against algae and bacteria that would otherwise flourish in stagnant winter water.
- Choose a non-chlorine shock or salt-system-friendly chlorine shock, avoiding calcium hypochlorite products that can damage saltwater equipment.
- Add shock according to package directions, typically requiring 1 – 2 pounds per 10,000 gallons depending on current chlorine levels and organic load.
- Follow shock treatment with winter-specific algaecide designed for saltwater pools. These products typically contain copper or polyquat compounds that prevent algae formation without interfering with salt cell operation when you reopen in spring.
- Add metal sequestrant or stain inhibitor to prevent mineral deposits and metal staining during the dormant period.
- Allow chemicals to circulate for 24 – 48 hours before proceeding to equipment shutdown, ensuring even distribution throughout the water volume.
Clean and remove the salt cell
- Begin by turning off the salt system at the control panel and allowing the system to complete any active generation cycle.
- Carefully disconnect electrical connections according to your owner’s manual, taking photos of wire positions for easy spring reconnection.
- Remove the salt cell from its housing, handling carefully to avoid damaging delicate electrode plates. Inspect the cell for calcium buildup, which appears as white, chalky deposits on the metal plates.
- If buildup is present, soak the cell in manufacturer-approved cleaning solution, typically a mild muriatic acid mixture designed specifically for salt cells.
- After cleaning (if needed), rinse the cell with fresh water and allow it to dry.
- Store the salt cell indoors in a temperature-stable environment, ideally in its original packaging or wrapped in soft cloth to prevent physical damage.
Never use harsh chemicals or abrasive tools that can damage the electrode coating and reduce cell lifespan. Follow cleaning solution manufacturer instructions exactly, including proper disposal methods for used cleaning solution.
Lower the water level
For most pool types, lower water level to approximately 4 – 6 inches below the skimmer opening and below return jet fittings. This positioning prevents water from entering skimmer and return lines where it could freeze and cause expensive damage.
Specific considerations:
- Vinyl pools: Avoid draining too much water, as lack of water pressure can cause liner shrinkage and damage
- Fiberglass pools: Follow manufacturer specifications, typically maintaining higher water levels than concrete pools
- Gunite/concrete pools: Can accommodate more dramatic water level reduction if necessary for plumbing protection
Blow out the lines and plug them
Line preparation prevents the most common and expensive winter damage: frozen and cracked plumbing lines.
- Connect an air compressor or powerful shop vacuum to your pool’s return lines through the skimmer or dedicated blowout ports.
- Set air pressure to 15 – 20 PSI maximum to avoid damaging plumbing components.
- Begin with return lines, blowing air through each line until you see steady bubbles emerging from return jets.
- Continue air flow for 30 – 60 seconds after bubbles appear to ensure complete water removal from lines. Immediately install return plugs in each jet opening, creating an airtight seal that prevents water re-entry.
- Move to skimmer lines, blowing out water while watching for air bubbles in the skimmer.
- Install Gizzmo devices in skimmer openings, threading them securely to create expansion space if any remaining water freezes.
Drain and protect equipment
Equipment protection requires methodical draining and storage of removable components that cannot withstand freezing temperatures.
- Start with the pool pump by removing all drain plugs located at the bottom of the pump housing.
- These plugs allow any residual water to drain out, preventing pump housing cracks that cost hundreds to repair. Store drain plugs in a labeled container for easy spring retrieval.
- For sand or DE filters, backwash thoroughly, then set the multiport valve to winterize position if available, or remove the valve entirely for indoor storage.
- Cartridge filters should be removed, cleaned, and stored indoors in a dry location away from freezing temperatures.
- Drain pool heaters according to manufacturer instructions, which typically involves opening specific drain valves and removing heat exchanger drain plugs.
- Gas heaters may require additional steps to protect gas lines and controls from moisture and freezing.
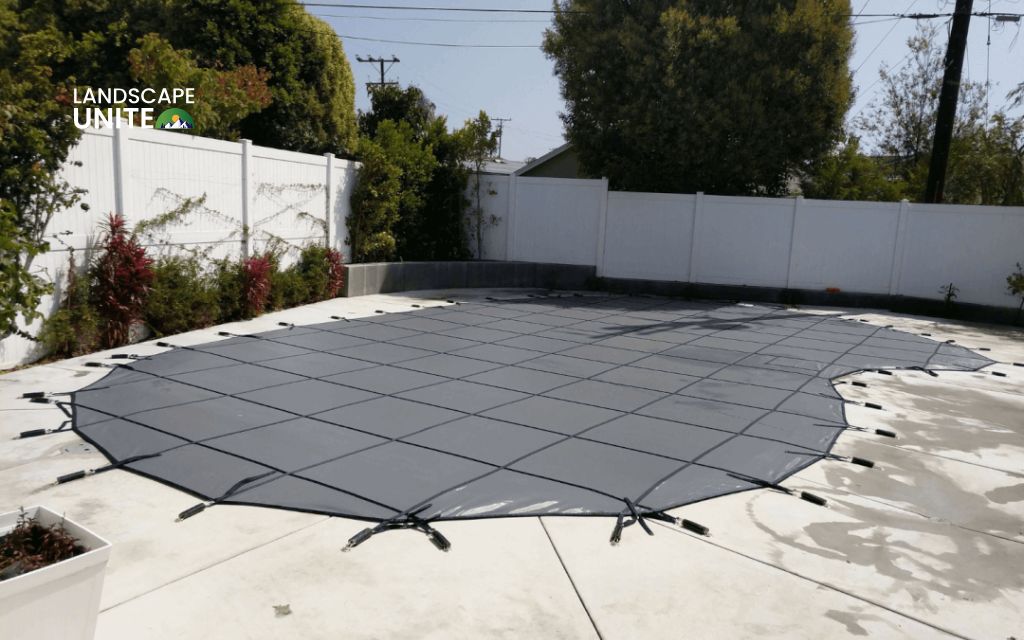
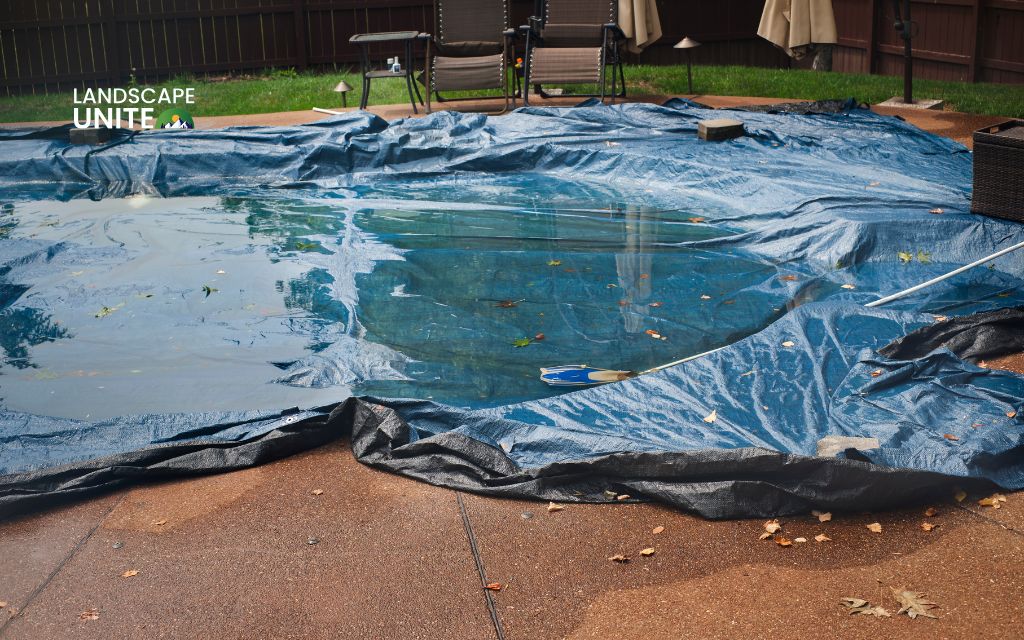
Cover the pool
Pool covering provides the final protective layer against debris, sunlight, and temperature fluctuations that can complicate spring opening.
Select a winter cover specifically rated for saltwater pools, as standard covers may deteriorate rapidly when exposed to salt residue and UV rays. Look for covers with UV inhibitors and reinforced stress points that handle wind loading and debris accumulation.
- In-ground pools, position the cover carefully to ensure complete water surface coverage with adequate overhang for secure attachment. Use water bags or cover clips rather than blocks that can fall into the pool and damage the cover or pool surface.
- Above-ground pool owners should install an air pillow in the pool center before covering, creating a dome that sheds debris and provides expansion space for ice formation. Secure the cover with cables or bungee systems that maintain tension without over-stressing cover materials.
Why you need to winterize a salt water pool
Understanding the consequences of inadequate winterization helps prioritize this essential maintenance task and justify the time investment required.
Equipment protection
Salt cells, control panels, and circulation pumps contain sensitive electronic components and precision-manufactured parts that suffer permanent damage when exposed to freezing water.
A cracked salt cell housing or damaged electrode plates typically require complete unit replacement at costs ranging from $400 to $1,200, depending on system capacity and manufacturer.
Plumbing system integrity
Water expands approximately 9% when freezing, creating tremendous pressure inside closed plumbing systems.
Burst pipes, cracked fittings, and damaged equipment housings result in extensive repairs that often exceed $2,000 – 5,000 depending on system complexity and access difficulty.
Water quality maintenance
Properly winterized pools maintain cleaner water with balanced chemistry, preventing algae blooms, mineral staining, and organic contamination that makes spring startup difficult and expensive.
Clean winter water requires minimal spring treatment compared to neglected pools that may need complete draining and refilling.
Component lifespan extension
Professional winterization extends equipment life by preventing freeze-thaw cycles that stress materials and create microscopic damage that accumulates over time.
Pool owners who winterize properly often achieve 15 – 20 years of service from major equipment compared to 8 – 12 years for systems exposed to winter damage.
When to winterize a salt water pool
The ideal time to winterize a saltwater pool is when water temperatures consistently drop below 65°F, which typically occurs between late September and early November depending on your location.
Start winterization when your pool water maintains temperatures below 65°F for several consecutive days. At this temperature, salt chlorine generators become ineffective and vulnerable to damage, making continued operation both wasteful and harmful to equipment.
Geographic timeline:
- Northern climates (zones 3-5): Late September to mid-October
- Moderate climates (zones 6-7): Mid to late October
- Warmer regions with occasional freezes (zones 8-9): Early to mid-November
Common mistakes to avoid
Avoid these critical winterization errors that can cost thousands in repairs and make spring opening a nightmare:
- Leaving the salt cell connected during freezing weather: Even one night of freezing temperatures can crack the cell housing and destroy electrode plates, requiring $800-1,500 replacement.
- Skipping proper line blowout or forgetting to install plugs: This is the most expensive mistake saltwater pool owners make. Water remaining in lines will freeze, expand, and crack pipes and fittings.
- Closing the pool with unbalanced water chemistry: Improper pH, alkalinity, or salt levels create perfect conditions for algae growth, metal staining, and surface damage during winter.
- Using incompatible chemicals designed for chlorinated pools: Standard pool chemicals can damage salt system components and create harmful reactions. Only use winterizing chemicals specifically labeled as saltwater-compatible to avoid expensive equipment damage.
- Inadequate equipment drainage: Failing to remove all drain plugs from pumps, filters, and heaters leaves water that will freeze and crack housings. Follow manufacturer instructions exactly and store all drain plugs in a labeled container for spring reinstallation.
Conclusion
Winterizing a saltwater pool doesn’t need to be intimidating. With the right timing, supplies, and process, you can confidently protect your system from freeze damage and ensure a smooth reopening in spring.
The key steps are simple: balance your water chemistry, remove and store the salt cell indoors, blow out all lines thoroughly, and cover properly. Following this systematic approach prevents costly equipment damage while preserving water quality through winter months.
Take your time with each step, especially line preparation and equipment drainage, as shortcuts in these areas lead to expensive spring repairs. Your investment in proper winterization pays dividends through reduced maintenance costs and extended equipment life.
Learn more about how to take care of your landscape and create beautiful outdoor spaces in our comprehensive landscaping library this winter.
Frequently asked questions (FAQs)
Can I leave the salt cell over winter?
No, salt cells must be removed and stored indoors during winter. Freezing water will crack the cell housing and damage electrode plates, resulting in expensive replacement costs. Clean the cell if needed, dry it, and store in a temperature-controlled environment until spring startup.
How often should I check the pool in winter?
Inspect your covered pool monthly during winter, looking for cover integrity, water level stability, and signs of ice formation or debris accumulation. After significant storms, check that covers remain secure and no damage has occurred to visible equipment.
What if I don’t have a compressor?
A powerful shop vacuum can substitute for an air compressor when blowing out pool lines. Set the vacuum to blow rather than suction, and use appropriate fittings to create sealed connections. Alternatively, many pool supply stores rent compressors specifically for winterization tasks.
Can I winterize without draining the pool?
Partial drainage is typically necessary to protect skimmers and return fittings from freeze damage. However, never completely drain pools without professional consultation, as groundwater pressure can damage pool shells, particularly fiberglass and vinyl liner pools.
How to shock a salt water pool after winter?
Spring pool opening requires gradual chemical restoration rather than aggressive shocking. Start by testing and balancing basic water chemistry, then add appropriate saltwater-compatible shock if needed. Reinstall and restart your salt system only after achieving proper water balance and ensuring equipment is properly connected
