While many gardeners assume their strawberry plants are tough enough to handle whatever winter throws at them, the reality is quite different.
Without proper winterization, even the hardiest strawberry varieties can suffer damage or complete loss when exposed to freeze-thaw cycles, harsh winds, and extreme temperature fluctuations.
In the sections below, you’ll learn the exact step-by-step process for winterizing plants, and uncover the critical timing that can make or break your winterization efforts.
Keep reading to transform your winter plant care routine and set your strawberries up for their most productive season yet.
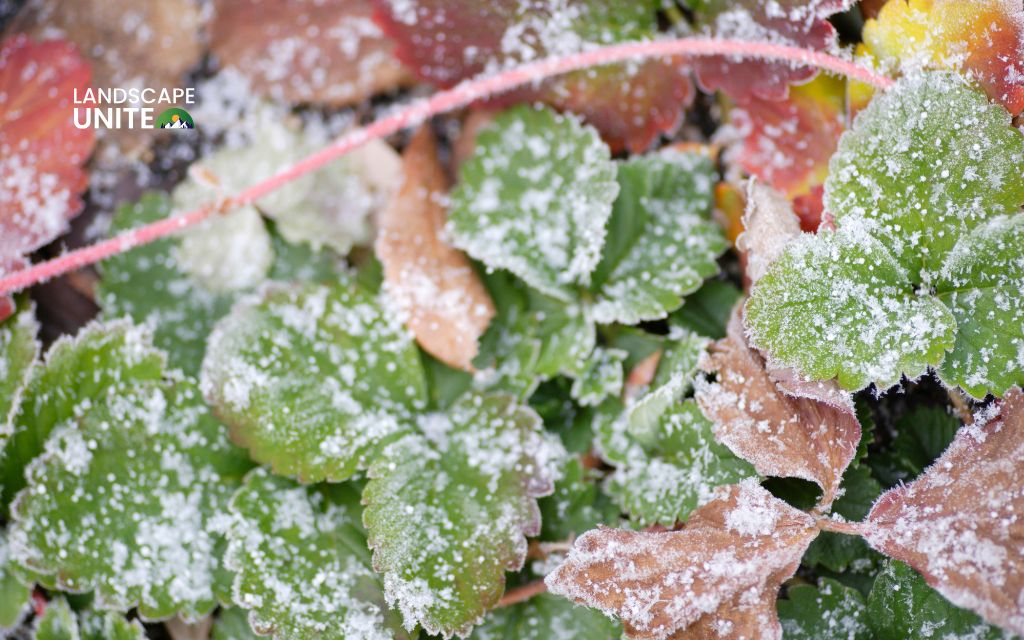
How to winterize strawberry plants
These 4 essential steps will protect your strawberry patch through the coldest months while preserving the plant’s energy for vigorous spring growth.
Step 1: Stop fertilizing & let plants enter dormancy
Stop all fertilizing by late August or early September, depending on your zone.
Fertilizing too late in the season encourages tender new growth that cannot harden off before winter arrives, making plants extremely vulnerable to frost damage. This soft growth acts like a beacon for cold injury, potentially killing the entire plant.
Allow your strawberry plants to naturally slow their growth and begin entering dormancy.
You’ll notice the plants producing fewer runners and leaves as daylight hours decrease and temperatures drop. This natural process is essential for winter survival, as dormant plants can withstand much colder temperatures than actively growing ones.
Step 2: Trim dead foliage (optional)
Once your plants show signs of dormancy, you can optionally remove dead, diseased, or heavily matted foliage.
However, resist the urge to cut everything back. Remove only brown, black, or obviously diseased leaves that could harbor fungal spores or pests over winter. These problematic leaves should be disposed of in the trash, not composted.
Leave all healthy green leaves intact, especially those in the center crown area. These living leaves serve as natural insulation for the plant’s most vulnerable part – the crown where new growth emerges.
Step 3: Mulch generously
The most critical step in winterizing strawberry plants is applying mulch, but timing is everything.
Wait until your soil has experienced consistent freezing temperatures of 25-28°F for several nights. Mulching too early traps heat in the soil, preventing proper dormancy and potentially causing crown rot.
The best mulching materials include clean, seed-free straw, pine needles, shredded leaves, or specialized frost cloth. Straw is the traditional favorite because it’s lightweight, insulating, and easy to remove in spring.
Cover the entire planting area, not just around individual plants. Gently tamp down the mulch to prevent it from blowing away, but don’t pack it so tightly that air circulation is eliminated.
Step 4: Check after freeze-thaw events
After significant weather events – particularly ice storms, heavy winds, or rapid freeze-thaw cycles – inspect your strawberry patch and reapply mulch where needed.
Wind can blow lightweight materials like straw across your yard, leaving plants exposed. Heavy ice followed by rapid melting can compact mulch, reducing its insulating properties.
Keep extra mulching material on hand for touch-ups throughout the winter months.
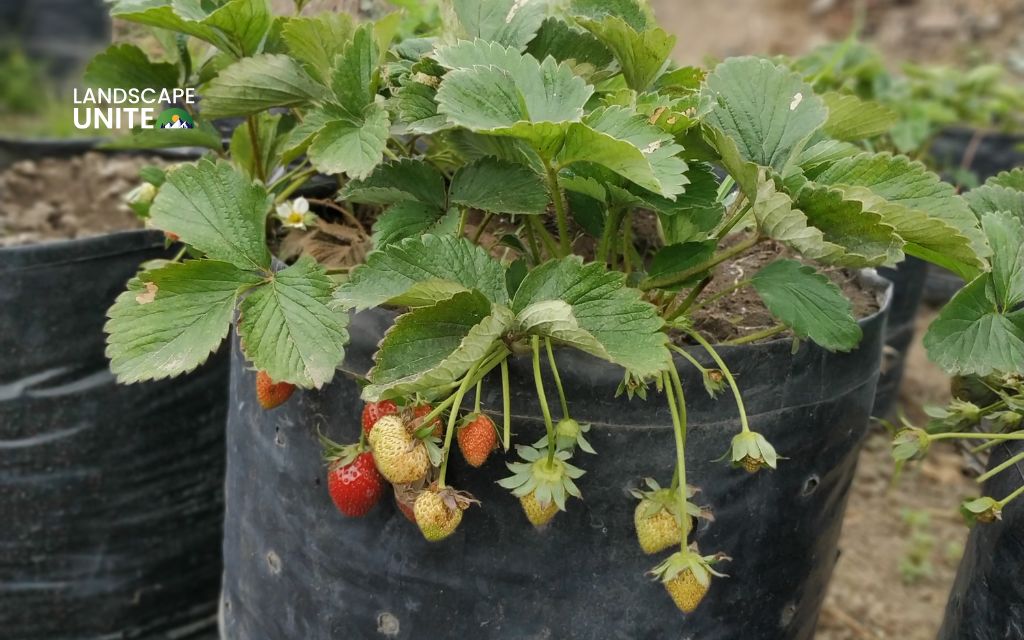
How to winterize strawberries in containers & raised beds
Unlike in-ground plants that benefit from earth’s natural insulation, container roots are exposed to freezing air from all sides. Raised beds, while offering better drainage, also experience more temperature fluctuation than ground-level plantings.
Option 1: Move containers indoors or to sheltered area
The most reliable method for winterizing containerized strawberries involves relocating them to a protected environment.
Move containers to an unheated garage, shed, basement, or cold frame where temperatures remain above 10°F but below 45°F. This temperature range maintains dormancy while preventing root damage from extreme cold.
In these protected locations, maintain minimal watering throughout winter.
Check containers monthly and water lightly if the soil becomes completely dry. Overwatering dormant plants in cool conditions frequently leads to root rot and plant death.
Option 2: Insulate pots for outdoor storage
If indoor storage isn’t possible, you can successfully overwinter containers outdoors with proper insulation.
Wrap pots with insulating materials such as burlap, bubble wrap, old blankets, or specialized plant protection fabric. Multiple layers provide better insulation than single thick coverings.
Group containers close to your house foundation, which radiates heat and provides wind protection. Arrange them in clusters, as grouped pots help insulate each other. Place the most tender varieties in the center of the grouping for maximum protection.
After wrapping containers, apply a thick 4-6 inch layer of mulch over the soil surface using straw or shredded bark. This surface mulch provides additional crown protection and helps regulate soil temperature fluctuations.
Why winterizing strawberry plants is essential
Here are the five most important reasons why winterizing strawberry plants should be your top priority:
Crown protection from freeze-thaw damage
The strawberry crown – the central growing point where roots, stems, and leaves meet – is vulnerable to temperature fluctuations. Repeated freeze-thaw cycles cause soil to expand and contract, potentially heaving plants out of the ground and exposing roots to fatal cold injury that kills the entire plant.
Elimination of crown rot risk
Unprotected plants exposed to winter moisture and temperature stress can develop crown rot, a fungal disease that spreads rapidly through strawberry patches. Once established, crown rot can destroy entire plantings and contaminate soil for future growing seasons.
Maximization of spring productivity
Properly winterized strawberry plants emerge from dormancy with healthy, intact root systems and undamaged growing points. This translates directly into vigorous early spring growth, earlier flowering, and fruit production that can exceed unprotected plants by 40% or more.
Long-term plant investment protection
Established strawberry plants represent years of investment in soil preparation, plant selection, and garden development.
Winter protection ensures these valuable perennials continue producing abundant harvests for 3-5 years or longer, rather than requiring costly replacement due to preventable winter damage.
When to start winterizing your strawberries
Timing is critical for successful strawberry winterization. Start too early and you risk trapping heat that prevents proper dormancy; wait too long and sudden cold snaps can damage unprotected plants.
Begin winterization after the first few light frosts, once plants show clear signs of dormancy (reduced growth, fewer runners, yellowing older leaves).
Wait until soil temperature consistently stays at 25-28°F for several nights before applying mulch. This ensures plants have properly hardened off and entered full dormancy.
Key Indicator: Look for soil freezing, not just air temperature. Your soil thermometer is more reliable than weather forecasts for mulching decisions.
Check out other plants winterization guides from our gardening blog:
What NOT to do when winterizing strawberry plants
Avoiding these common winterization mistakes is just as important as following proper techniques. These errors can undo all your careful preparation and leave plants vulnerable to winter damage.
Critical mistakes to avoid:
- Don’t mulch too early: Premature mulching traps heat and moisture around plant crowns, preventing natural dormancy and creating perfect conditions for fungal diseases and root rot
- Don’t prune aggressively: Cutting back healthy green leaves removes natural crown protection from harsh winds and temperature extremes; only remove dead, diseased, or heavily matted foliage
- Don’t skip watering entirely: While dormant plants need much less moisture, they still require occasional watering to prevent desiccation, especially container plants
- Don’t use hay as mulch: Hay contains numerous weed seeds that will germinate in spring and may harbor insects and disease organisms; stick with clean, seed-free straw instead
- Don’t pack mulch too tightly: Compressed mulch loses its insulating properties and blocks essential air circulation; apply loosely and allow for air movement
- Don’t fertilize after late August: Late-season fertilizing encourages tender new growth that cannot harden off before winter, making plants vulnerable to frost damage
Conclusion
Winterizing your strawberry plants doesn’t require extensive time or expensive materials, but it makes all the difference between a thriving harvest and disappointing yields.
With the right mulching materials, proper timing, and careful attention to your plants’ needs, your strawberry patch will not only survive the harshest winter conditions – it will reward you with sweet, abundant harvests throughout the following growing season.
For more expert garden guidance, explore our extensive plant care resources and discover additional winter care techniques that will keep your entire garden thriving through the cold months ahead.
Frequently asked questions (FAQs)
Should I cut back all leaves before winter?
No. Only remove dead, diseased, or heavily matted leaves that could harbor problems over winter. Green leaves help protect the crown from wind and cold while providing natural insulation. Aggressive pruning removes this protection and can lead to winter injury.
Is straw or pine mulch better for winterizing strawberries?
Both materials work effectively when properly applied. Clean, seed-free straw is the traditional choice because it’s lightweight, insulating, and easy to remove in spring. Fluffy pine needles also provide excellent insulation and naturally resist compaction. Choose based on availability and cost in your area.
Can strawberries survive winter in pots?
Yes, containerized strawberries can successfully overwinter with proper care. However, they require additional protection because pot-grown roots are exposed to freezing air from all sides. Move containers to protected areas or wrap them with insulating materials to prevent root damage from extreme cold.
When do I remove winter mulch in spring?
Remove mulch gradually after your area’s last hard frost date, typically when soil temperatures consistently stay above 40°F. Remove it slowly over 1-2 weeks rather than all at once to avoid shocking plants with sudden temperature changes.

