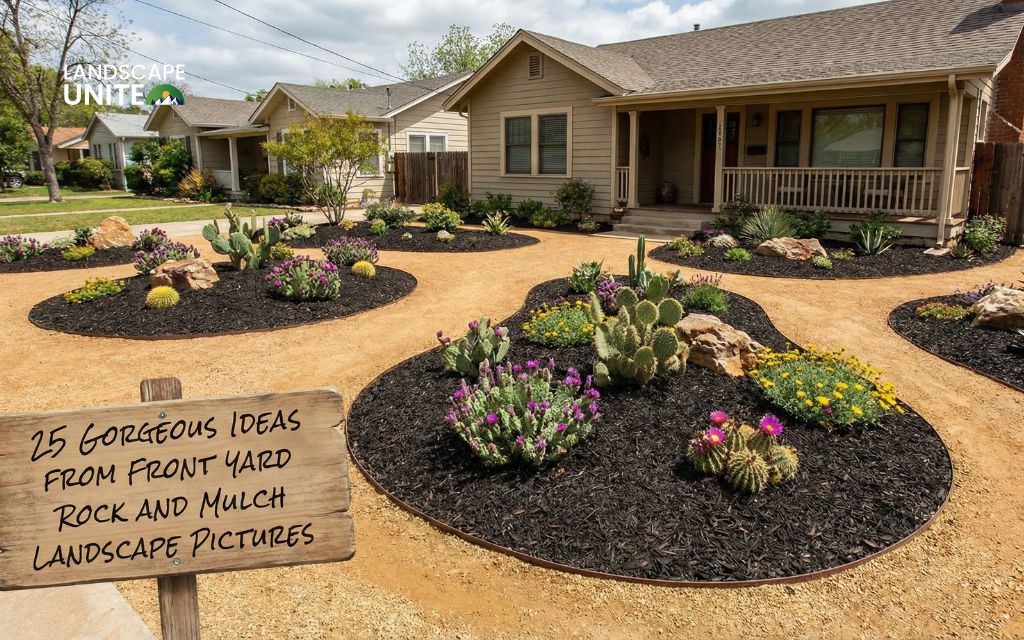
Are you tired of looking at outdated landscape rock that’s collected weeds and lost its appeal? Whether you’re planning a new landscape features, a garden makeover or converting rock beds to lawn, landscape rock removal doesn’t have to be overwhelming. This comprehensive guide will walk you through everything you need to know about removing landscaping rocks efficiently and safely.
Want to dive deeper? Check out more rock landscaping topics below:
- 8 best types of landscaping rocks for Colorado
- 6 easy steps to clean your rocks and make them look brand new
- 16+ rock landscaping ideas that will totally transform your front yard
- 18+ backyard rock ideas that turn any garden into a relaxing retreat
Why homeowners choose landscape rock removal
Many homeowners find themselves needing rock removal for various reasons. Your once-pristine rock beds might now harbor stubborn weeds, or perhaps you’re ready for a completely new landscape design. Converting rock areas to plant beds or lawn spaces can dramatically transform your outdoor living area.
The most common reasons for landscape rock removal include aging materials that no longer serve their purpose, a desire for more sustainable gardening options, and simple aesthetic changes. Some homeowners discover that their rock installations interfere with proper drainage or make yard maintenance more difficult than expected.
Essential tools for removing landscape rocks
Choosing the right equipment makes the difference between a manageable project and a backbreaking ordeal. The best way to remove landscape rock depends largely on your yard size and rock depth.
For smaller areas, you’ll need basic hand tools:
- Flat shovel for scooping and lifting
- Hard rake for loosening embedded rocks
- Wheelbarrow for efficient transport
- Heavy-duty work gloves for protection
- Tarps or buckets for staging materials

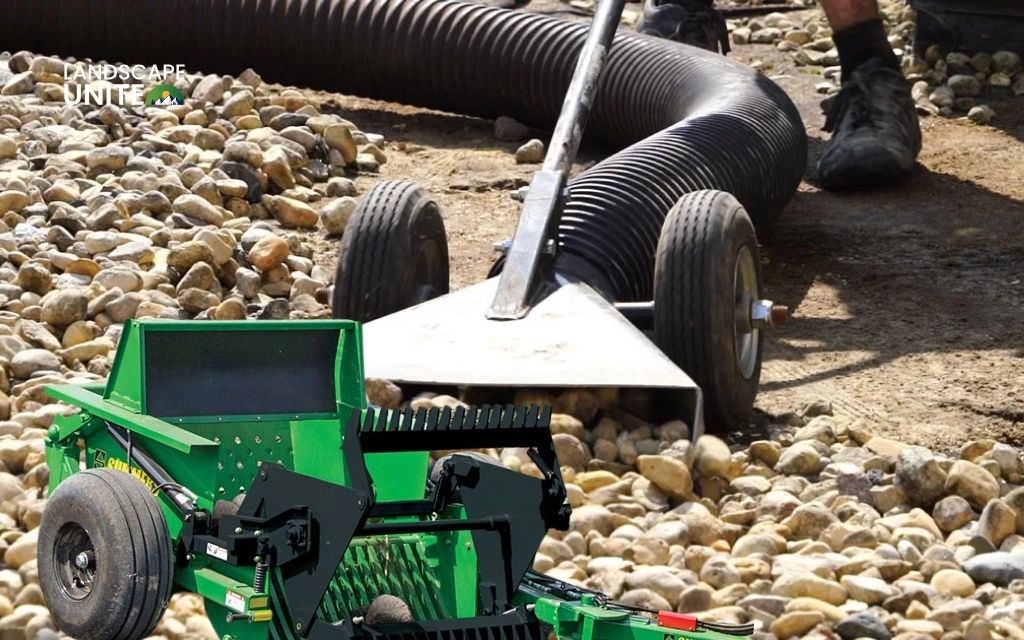
Larger projects may require power equipment. A skid steer loader becomes valuable for areas over 500 square feet, especially when dealing with deep rock beds. Many tool rental centers offer weekend rates that make heavy equipment affordable for DIY projects.
Pro tip: Always wear protective gear including sturdy boots, eye protection, and work gloves. Your safety should never be compromised during any landscaping project.
Step-by-step guide: How to remove landscape rock
Step 1: Prepare your work area
Start by clearing any obstacles from the removal zone. Mark the locations of sprinkler lines, electrical cables, or other utilities. Call 811 before digging if you suspect underground utilities in your work area.
Plan your disposal method before starting. Having a clear strategy saves time and prevents your removed rock from becoming a bigger problem than the original installation.
Step 2: Remove surface rocks systematically
Work in manageable sections rather than tackling the entire area at once. Use your rake to loosen rocks, then scoop them with your shovel into your transport container. This methodical approach prevents fatigue and ensures thorough removal.
The easiest way to remove landscaping rocks is to work when the ground is dry. Wet conditions make rocks heavier and more difficult to handle cleanly.
Step 3: Address landscape fabric
Most rock installations include landscape fabric or plastic sheeting underneath. Remove this material carefully, as degraded fabric can tear and create disposal challenges. Properly removing old fabric prevents future weed problems in your redesigned space.
Step 4: Clean and level the exposed soil
Once you’ve completed the rock removal, you’ll need to level and prepare the soil surface. Remove any remaining debris and smooth the area for your next landscaping phase.

Best disposal options for removed landscape rock
Smart disposal can actually save money and reduce waste. The best way to remove rocks from landscaping includes planning their next use.
Reuse opportunities:
- Create decorative pathways
- Build retaining wall drainage
- Establish dry creek beds
- Construct border edging
Disposal alternatives:
- List clean rock on local marketplace apps
- Contact landscaping supply companies
- Check municipal recycling programs
- Rent appropriate-sized dumpsters for mixed debris
Remember to clean soil and debris from rocks before recycling or selling. Clean materials are more valuable and easier to repurpose.
Understanding landscape rock removal cost factors
Several variables affect your project expenses. DIY landscape rock removal cost includes tool rental, disposal fees, and your valuable time. Professional services factor in labor, equipment, and disposal logistics.
Smaller residential projects under 200 square feet often work well as DIY endeavors. Larger installations or those requiring specialized equipment may benefit from professional removal services.
The easiest way to remove landscape rock economically is matching your method to your project scope. Don’t rent expensive equipment for small jobs or attempt massive removals with hand tools.
For detailed cost breakdowns and professional service options, explore more landscaping rock cost guides on our blog.
Safety considerations during rock removal
Physical safety should guide every decision during your landscape rock removal project. Proper lifting technique prevents back injuries that can sideline your project for weeks.
Key safety practices:
- Lift with your legs, not your back
- Take frequent breaks to prevent overexertion
- Stay hydrated, especially in warm weather
- Secure wheelbarrow loads to prevent spills
- Wear appropriate protective equipment
High-altitude locations require extra attention to hydration and pacing. Mountain environments can cause faster fatigue and dehydration than you might expect.
When to consider professional landscape rock removal
Professional services make sense for extensive projects, difficult access areas, or when time constraints are important. Landscaping contractors have specialized equipment that makes quick work of large-scale rock removal.
Consider professional removal when:
- Your project exceeds 1,000 square feet
- Access is limited for equipment or disposal
- Underground utilities complicate DIY work
- Physical limitations affect your ability to complete the work safely
Professional teams can often complete in one day what might take a homeowner several weekends to accomplish.

Preparing for your next landscaping phase
Successful landscape rock removal creates opportunities for exciting outdoor improvements. Your cleaned space might become a vegetable garden, expanded lawn area, or sophisticated plant beds.
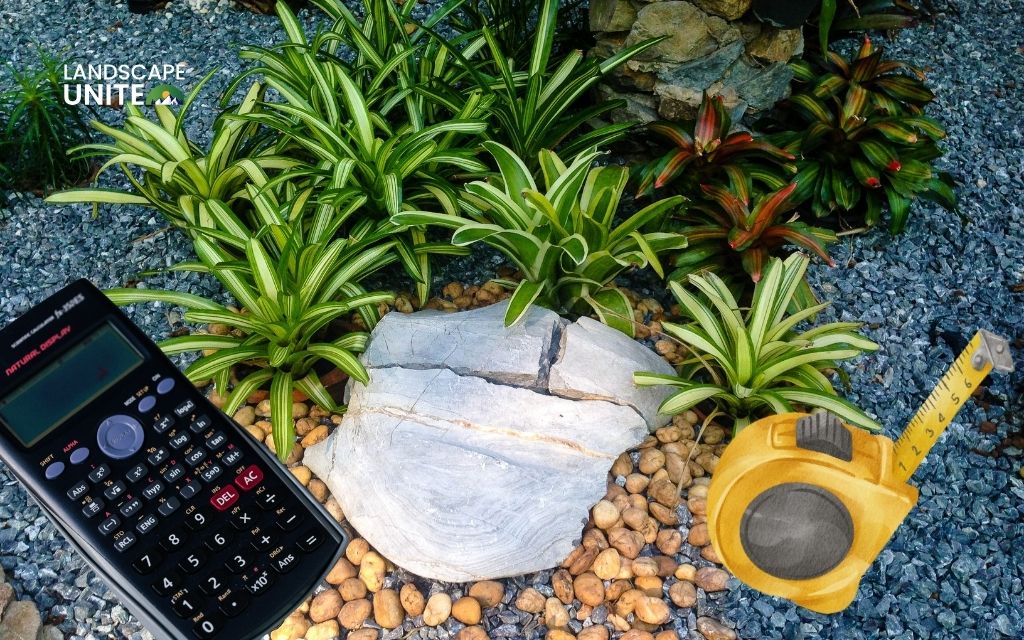
Consider soil testing after rock removal to understand what amendments might benefit your new landscaping. Years under rock coverage can change soil composition and drainage characteristics.
Conclusion
Landscape rock removal opens exciting possibilities for your outdoor space. Whether you tackle the project yourself or work with professionals, proper planning and execution create the foundation for beautiful new landscaping.
Ready to start your landscape transformation? Subscribe to the Landscape Unite blog for more expert tips on hardscaping, gardening, and outdoor design. Discover new posts that help you create the perfect outdoor living space for your home.
At Landscape Unite, we’re committed to providing the best information about landscaping, hardscaping, gardening, and tools for everyone. Our insights come from Mile High Lifescape’s years of professional experience helping homeowners achieve their outdoor dreams.
Frequently asked questions (FAQs)
Can I reuse landscape rock I remove from my yard?
Yes, cleaned landscape rock works perfectly for other outdoor projects like pathways, drainage applications, or decorative borders around trees and garden beds.
What’s the easiest way to remove landscaping rocks from large areas?
For areas over 500 square feet, rent a skid steer or consider professional removal services. The equipment makes quick work of what would be extremely labor-intensive by hand.
Do I need permits for landscape rock removal?
Most residential rock removal doesn’t require permits, but check local regulations for large projects or if you’re near easements or utility corridors.
How do I dispose of old landscape fabric?
Degraded landscape fabric goes to regular waste disposal. Most recycling centers don’t accept this material, so factor disposal costs into your project budget.
Should I remove rocks myself or hire professionals?
DIY works well for smaller areas under 300 square feet. Larger projects, difficult access, or time constraints often make professional removal more cost-effective. For personalized advice based on your specific situation, our team can help you make the best decision.